Get Inspired.
Every single FTC personal and commercial project in one place.
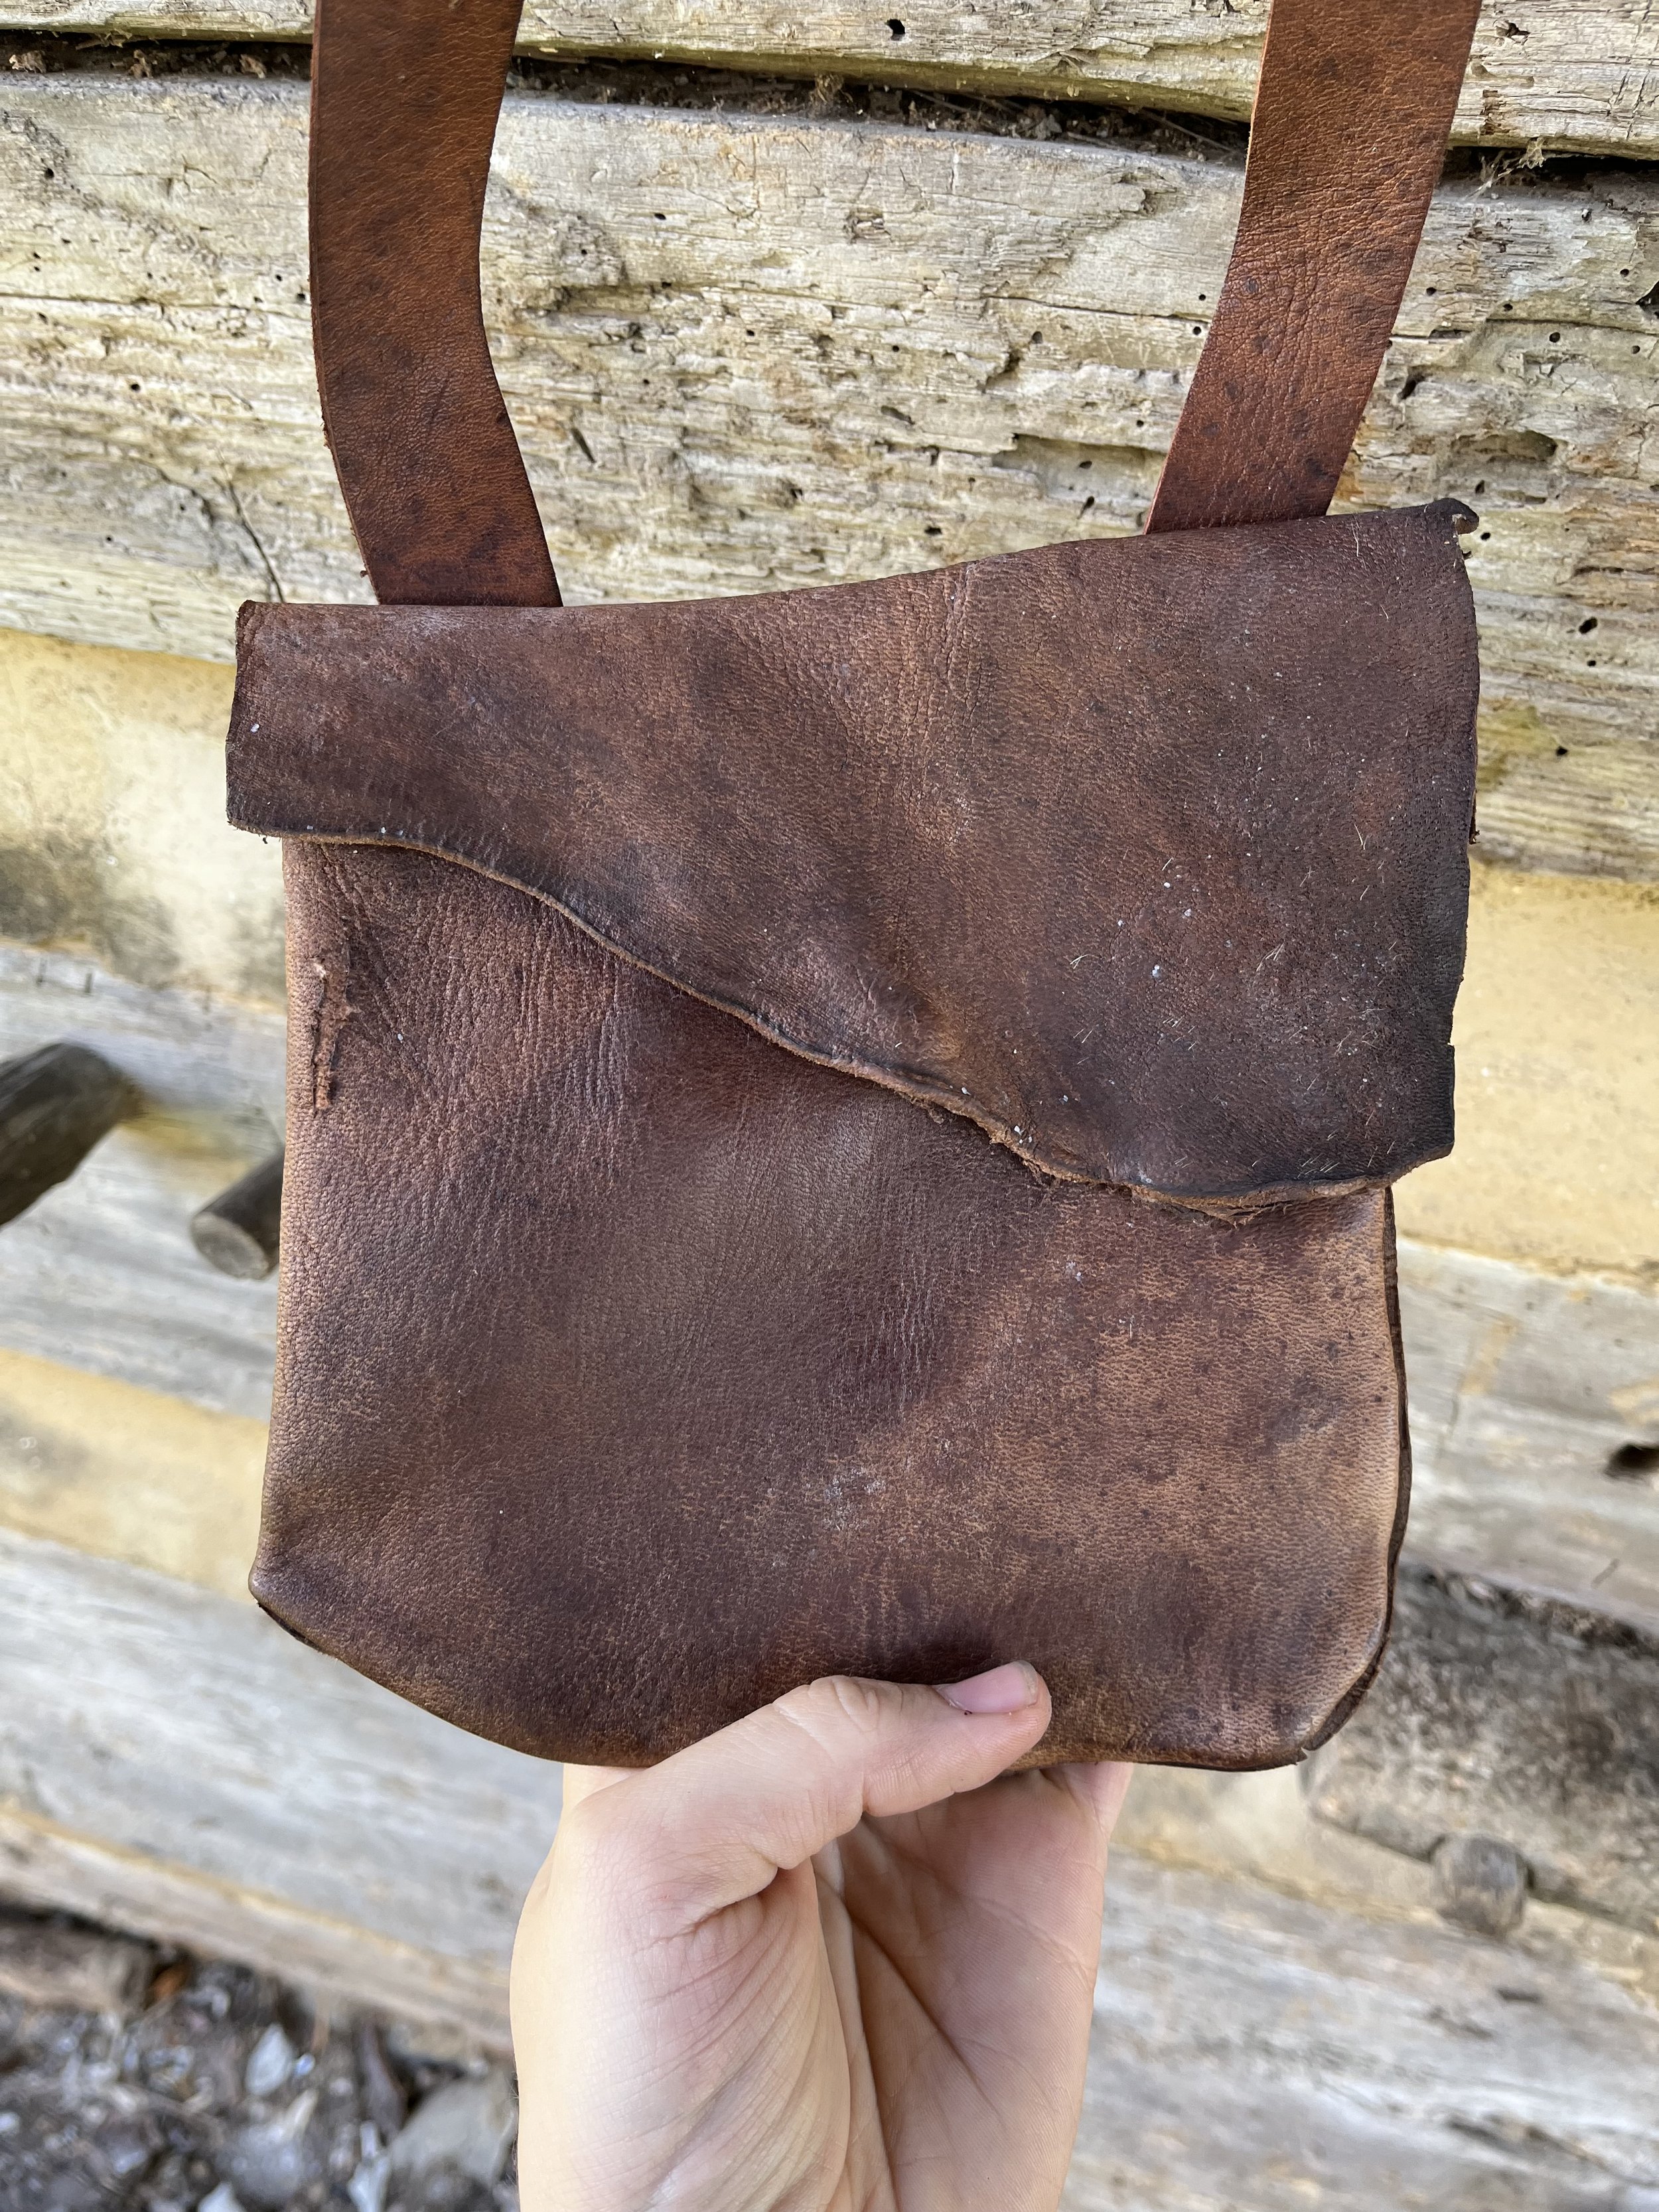
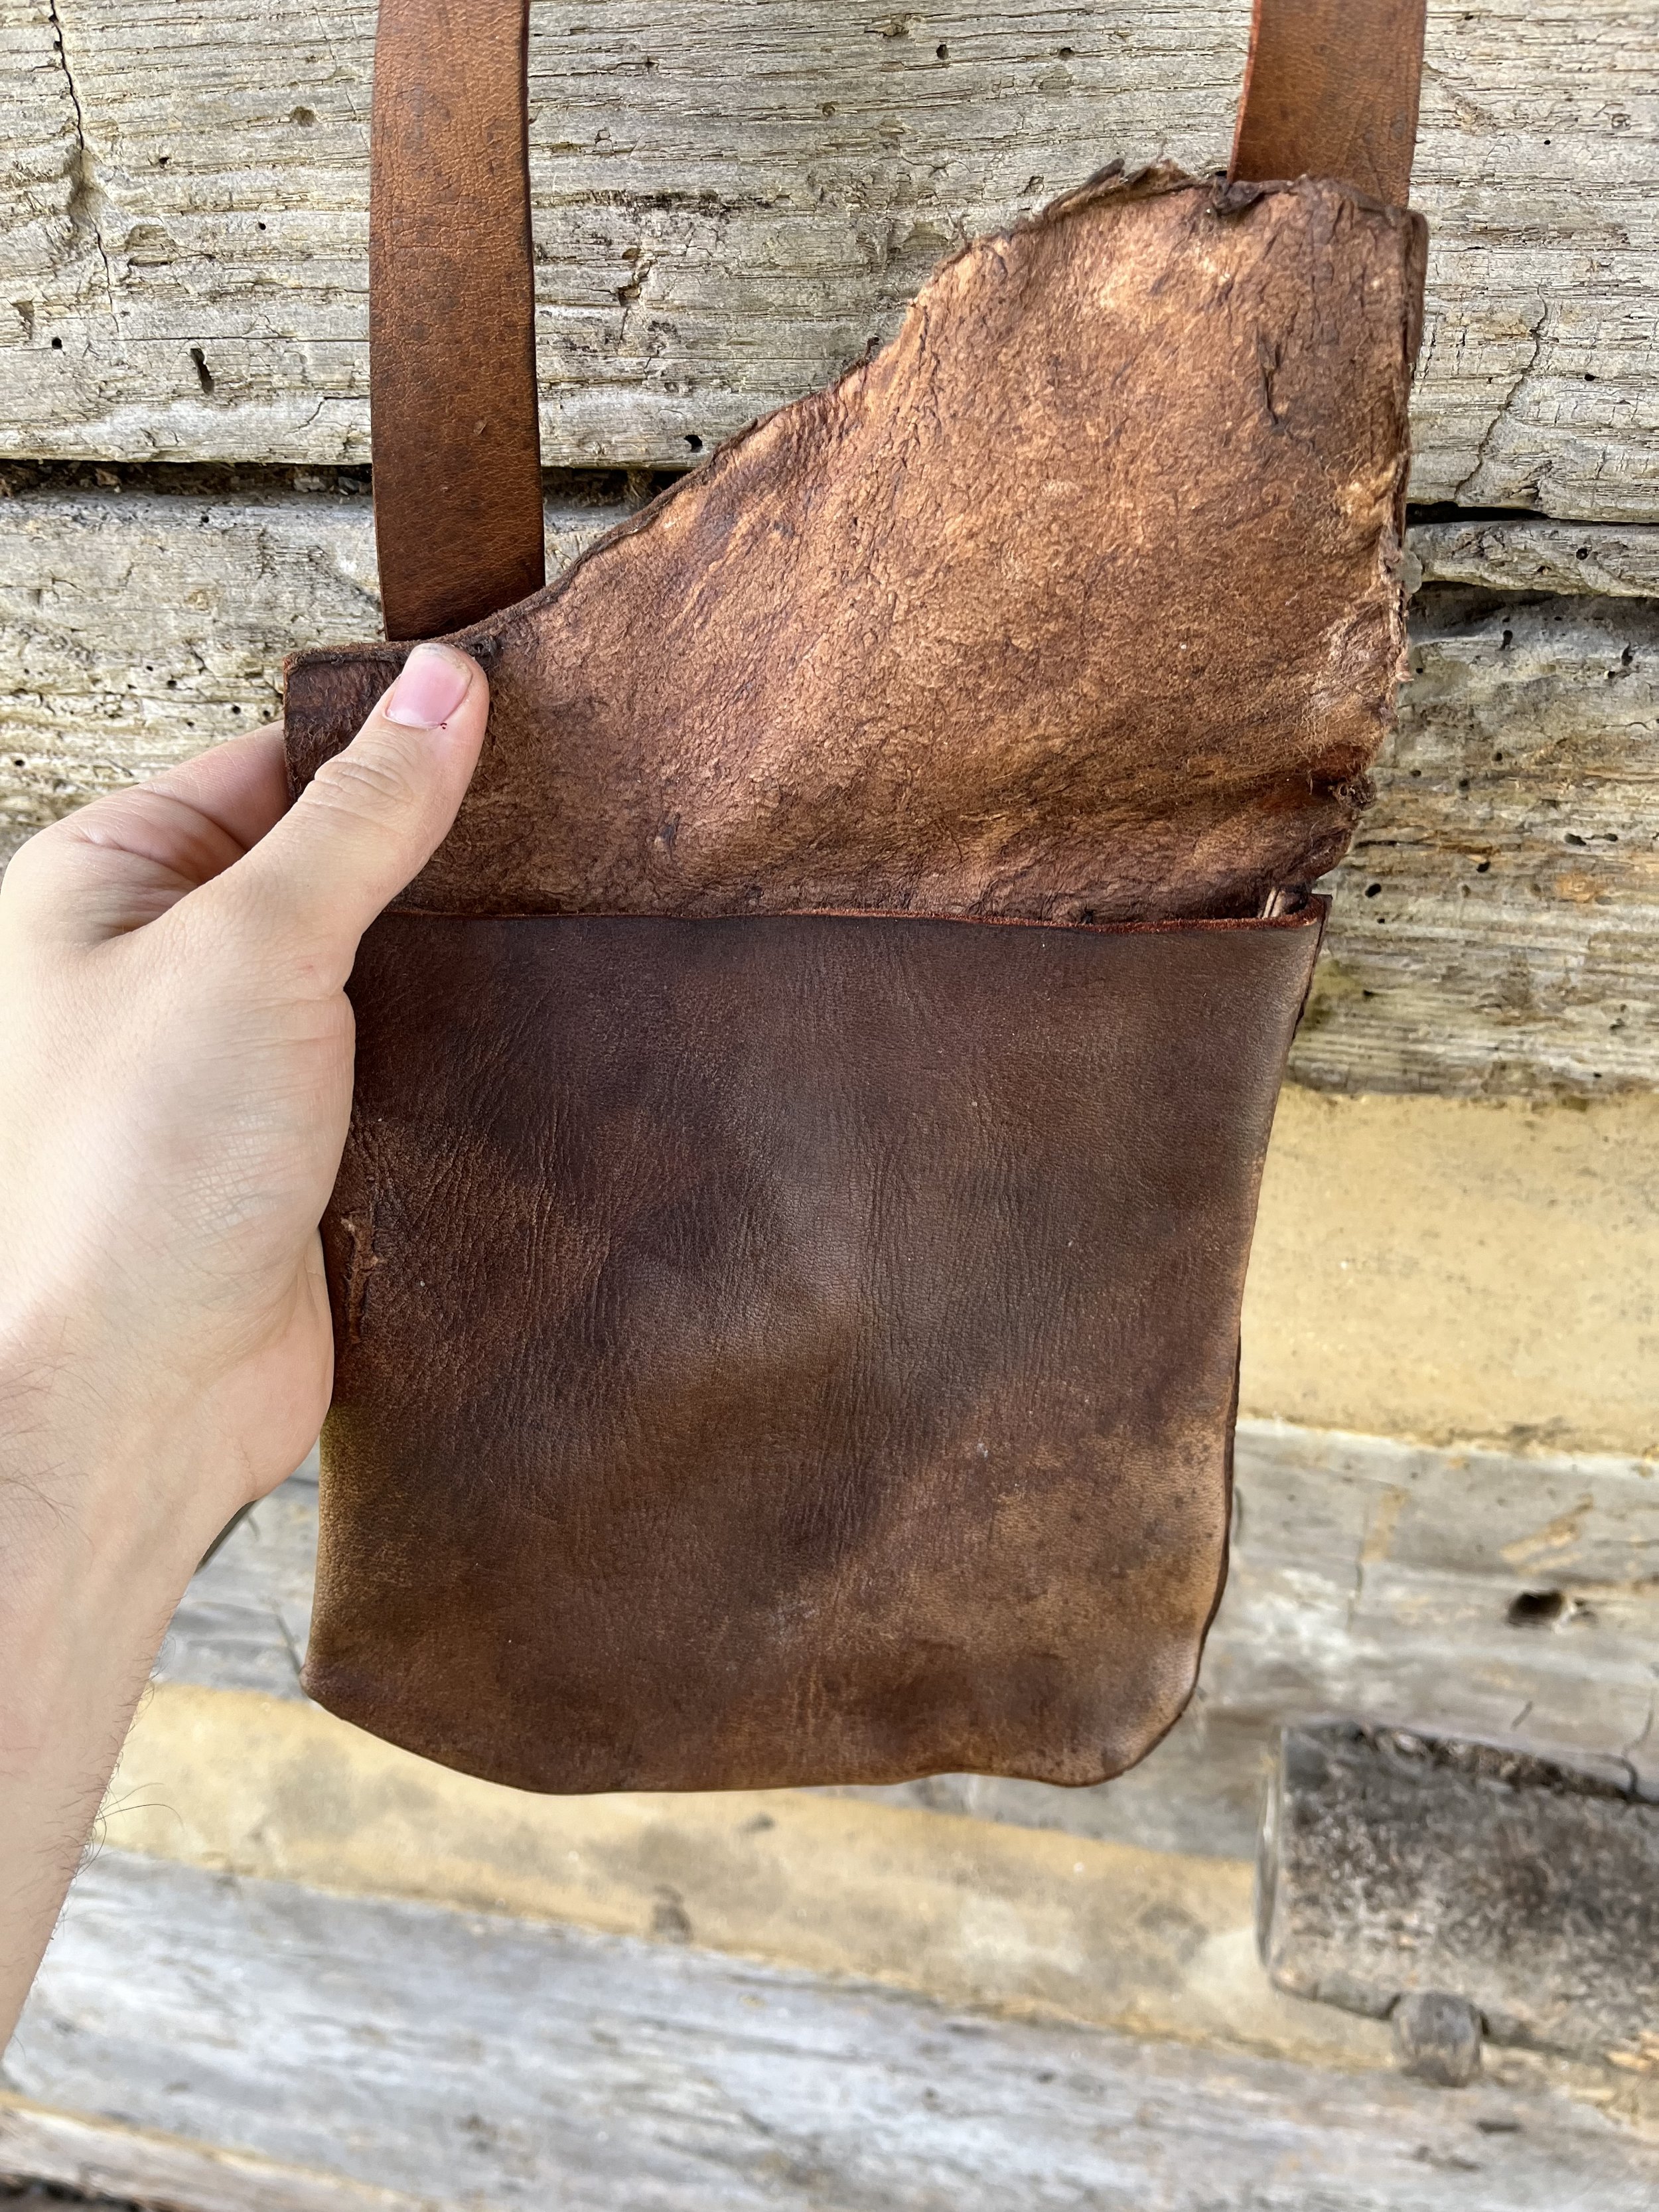
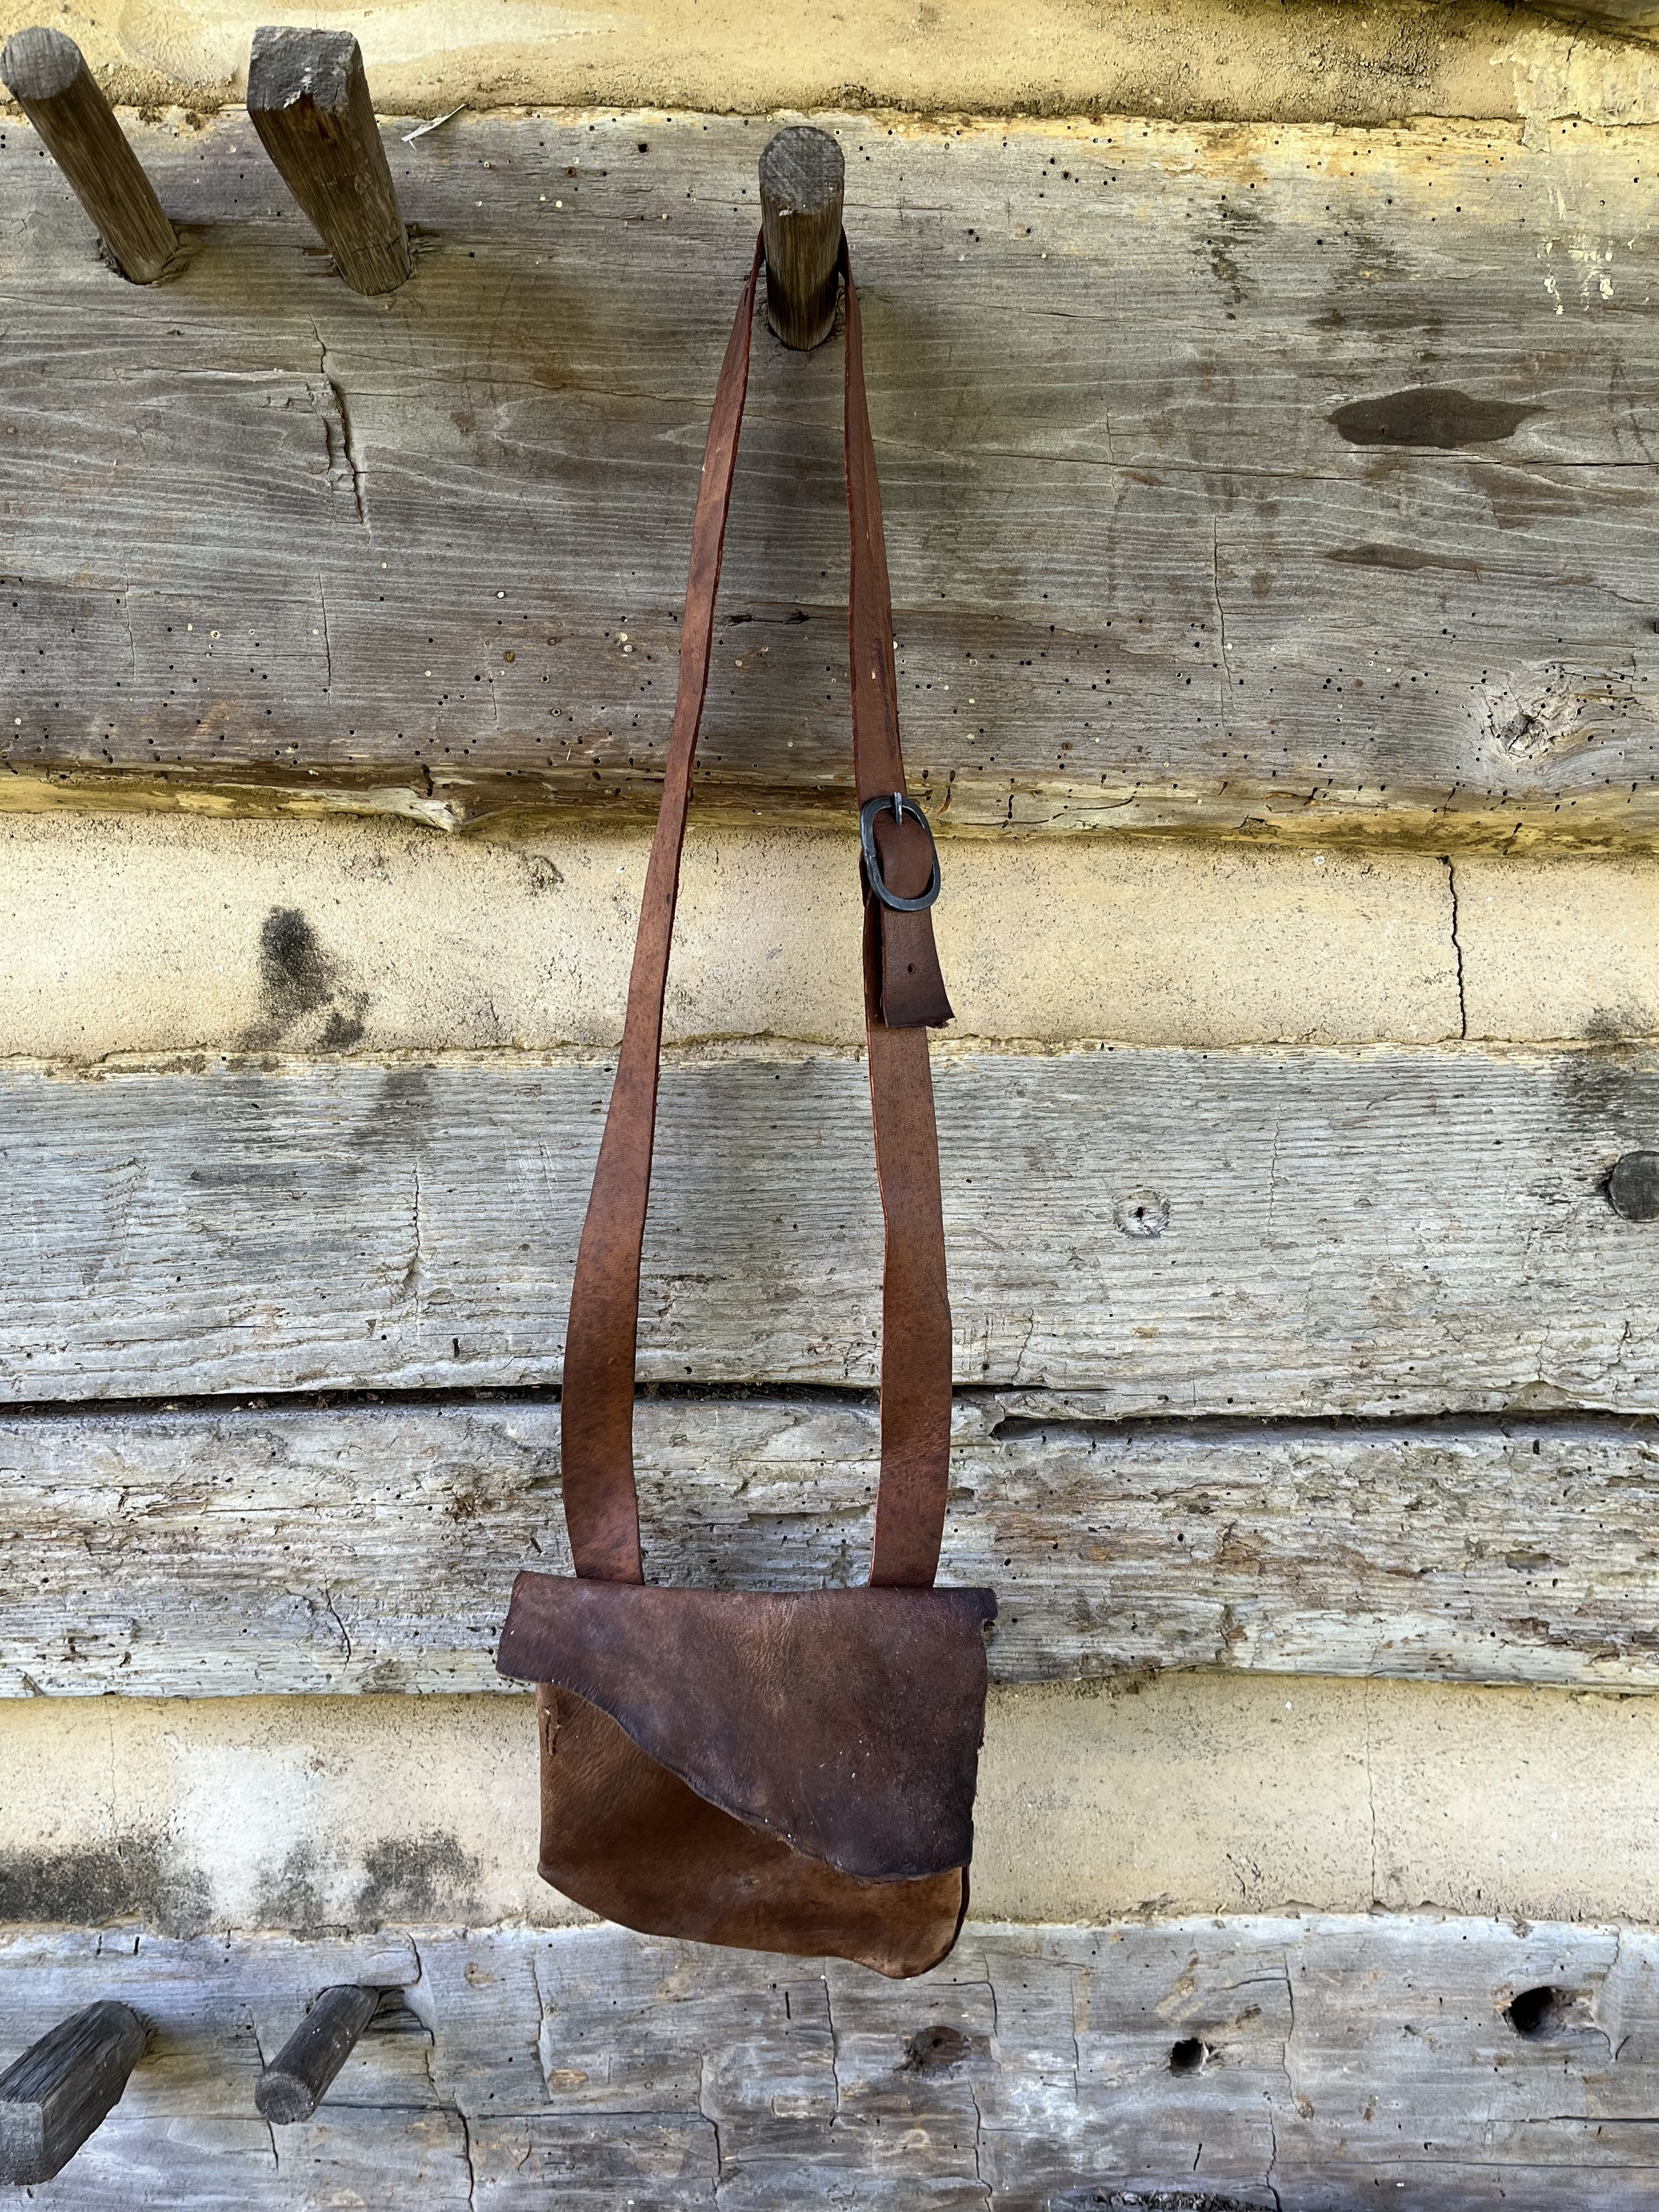
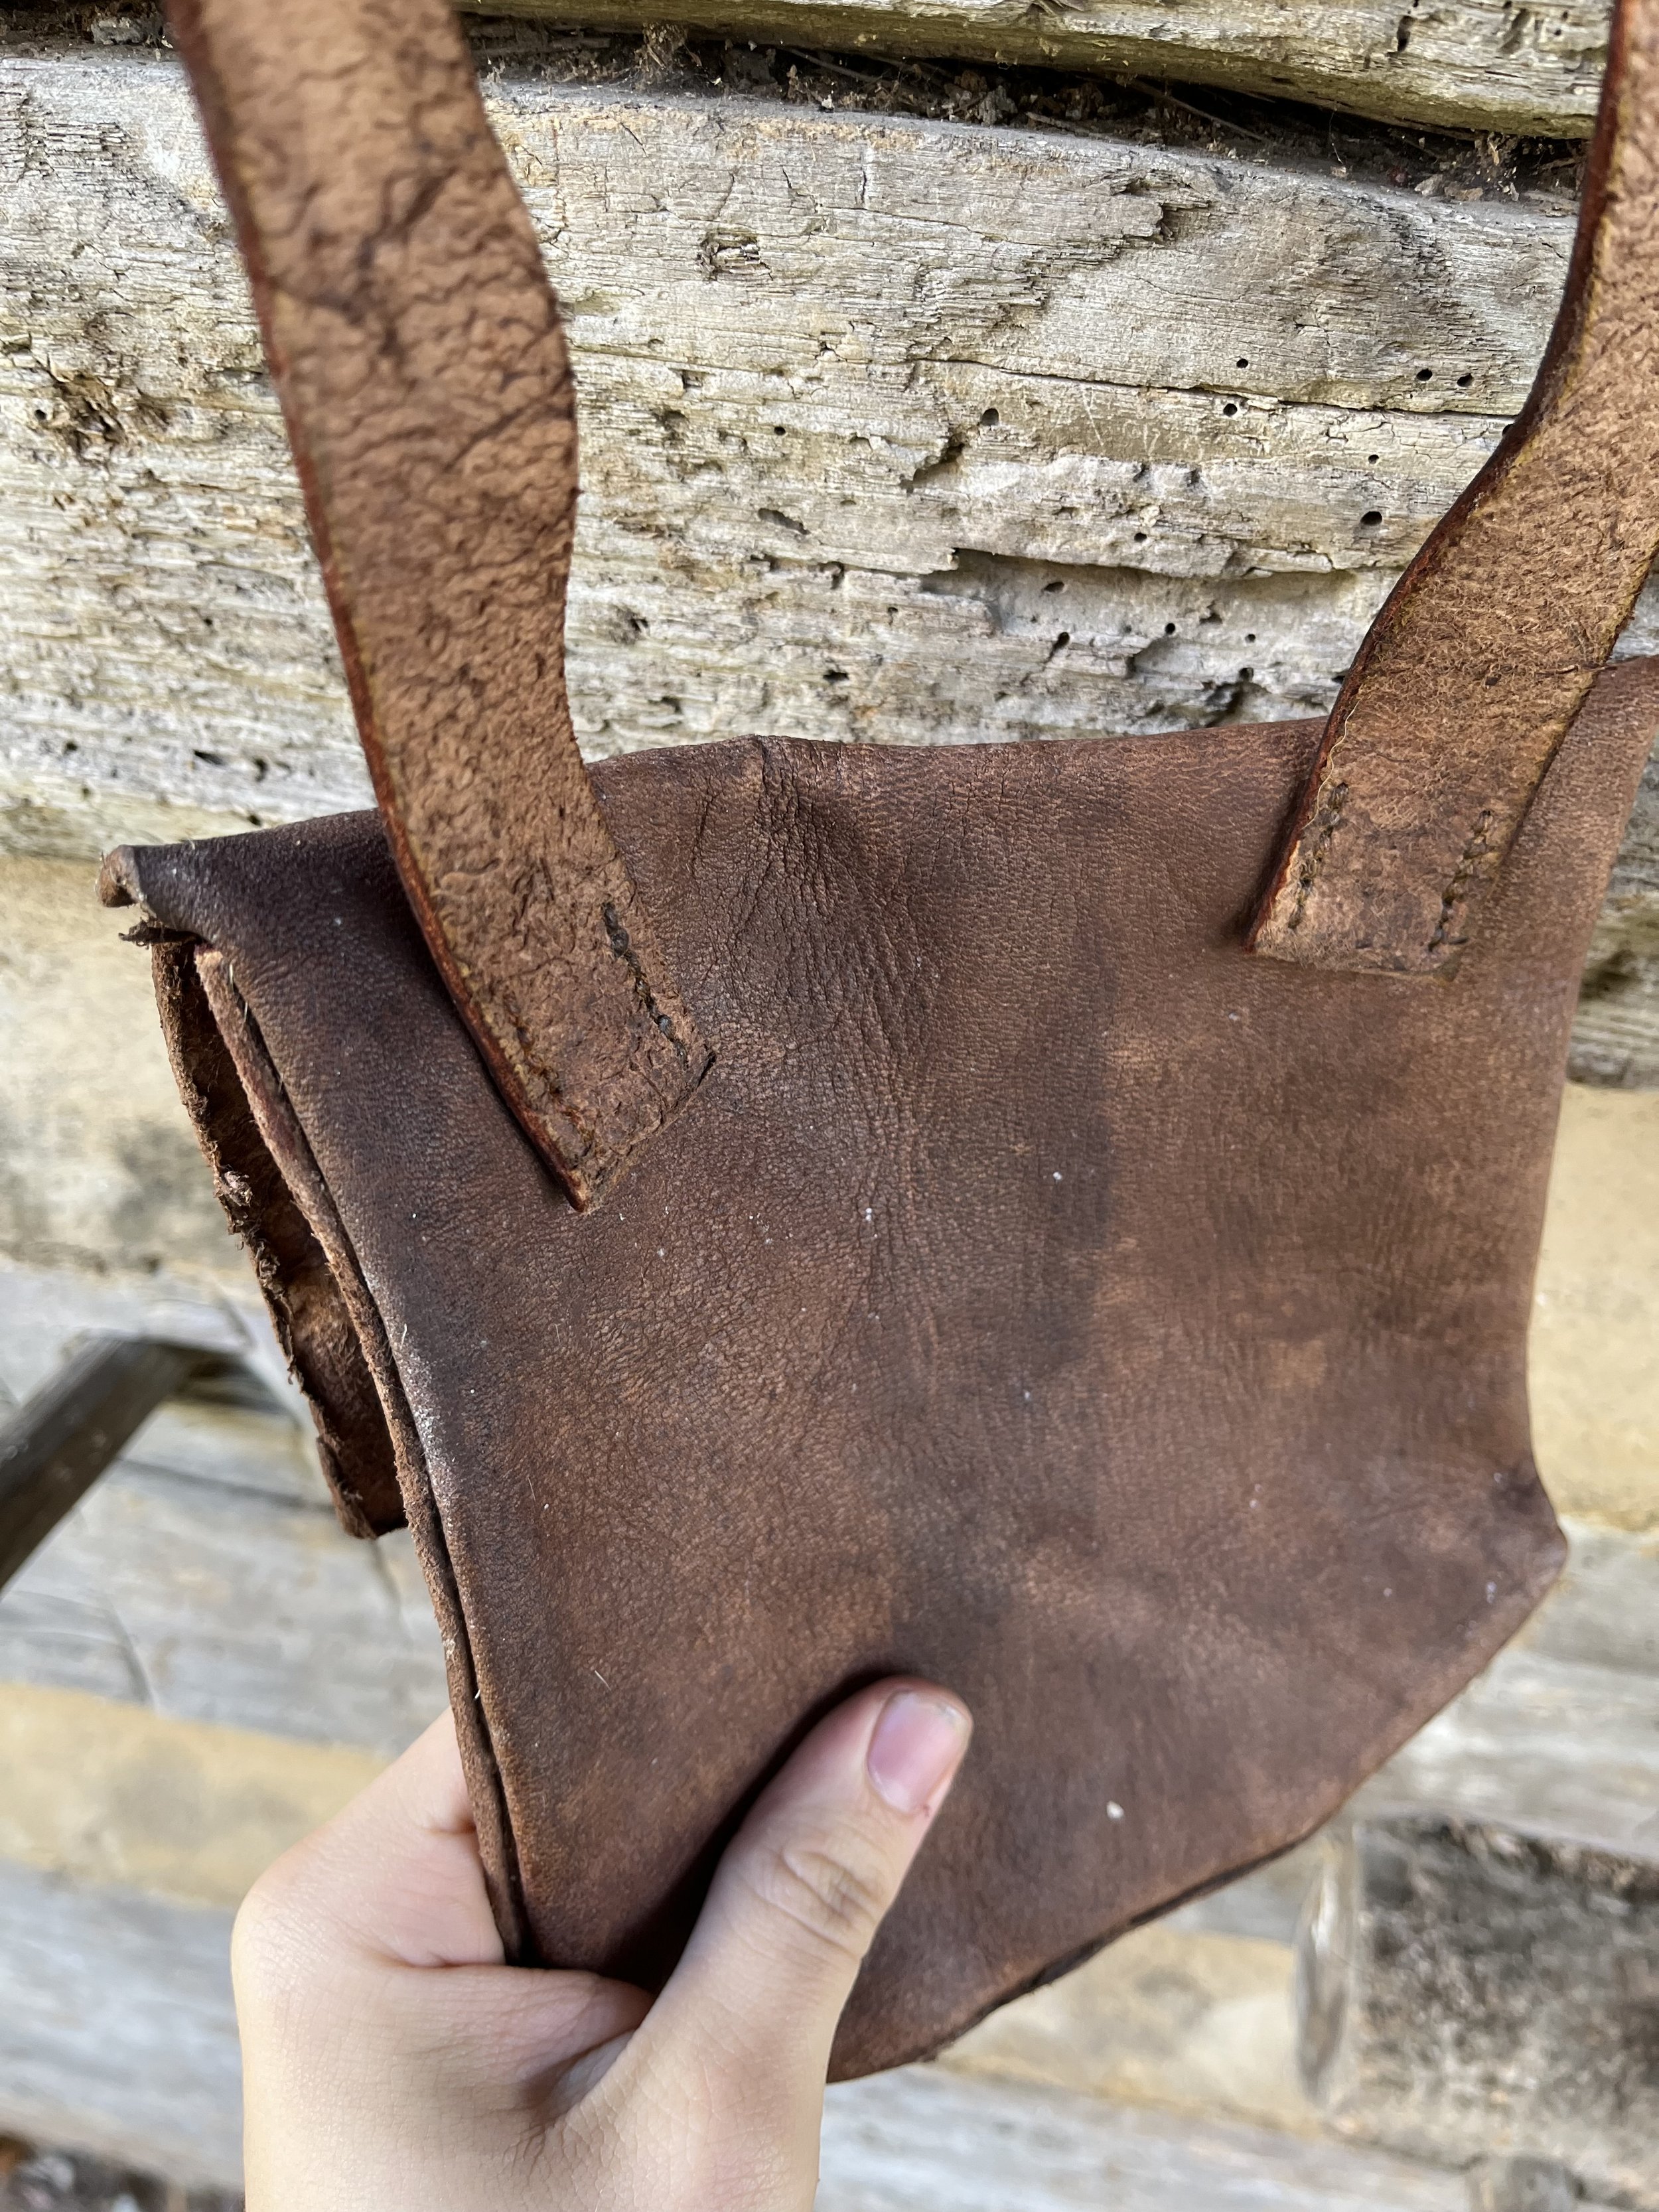
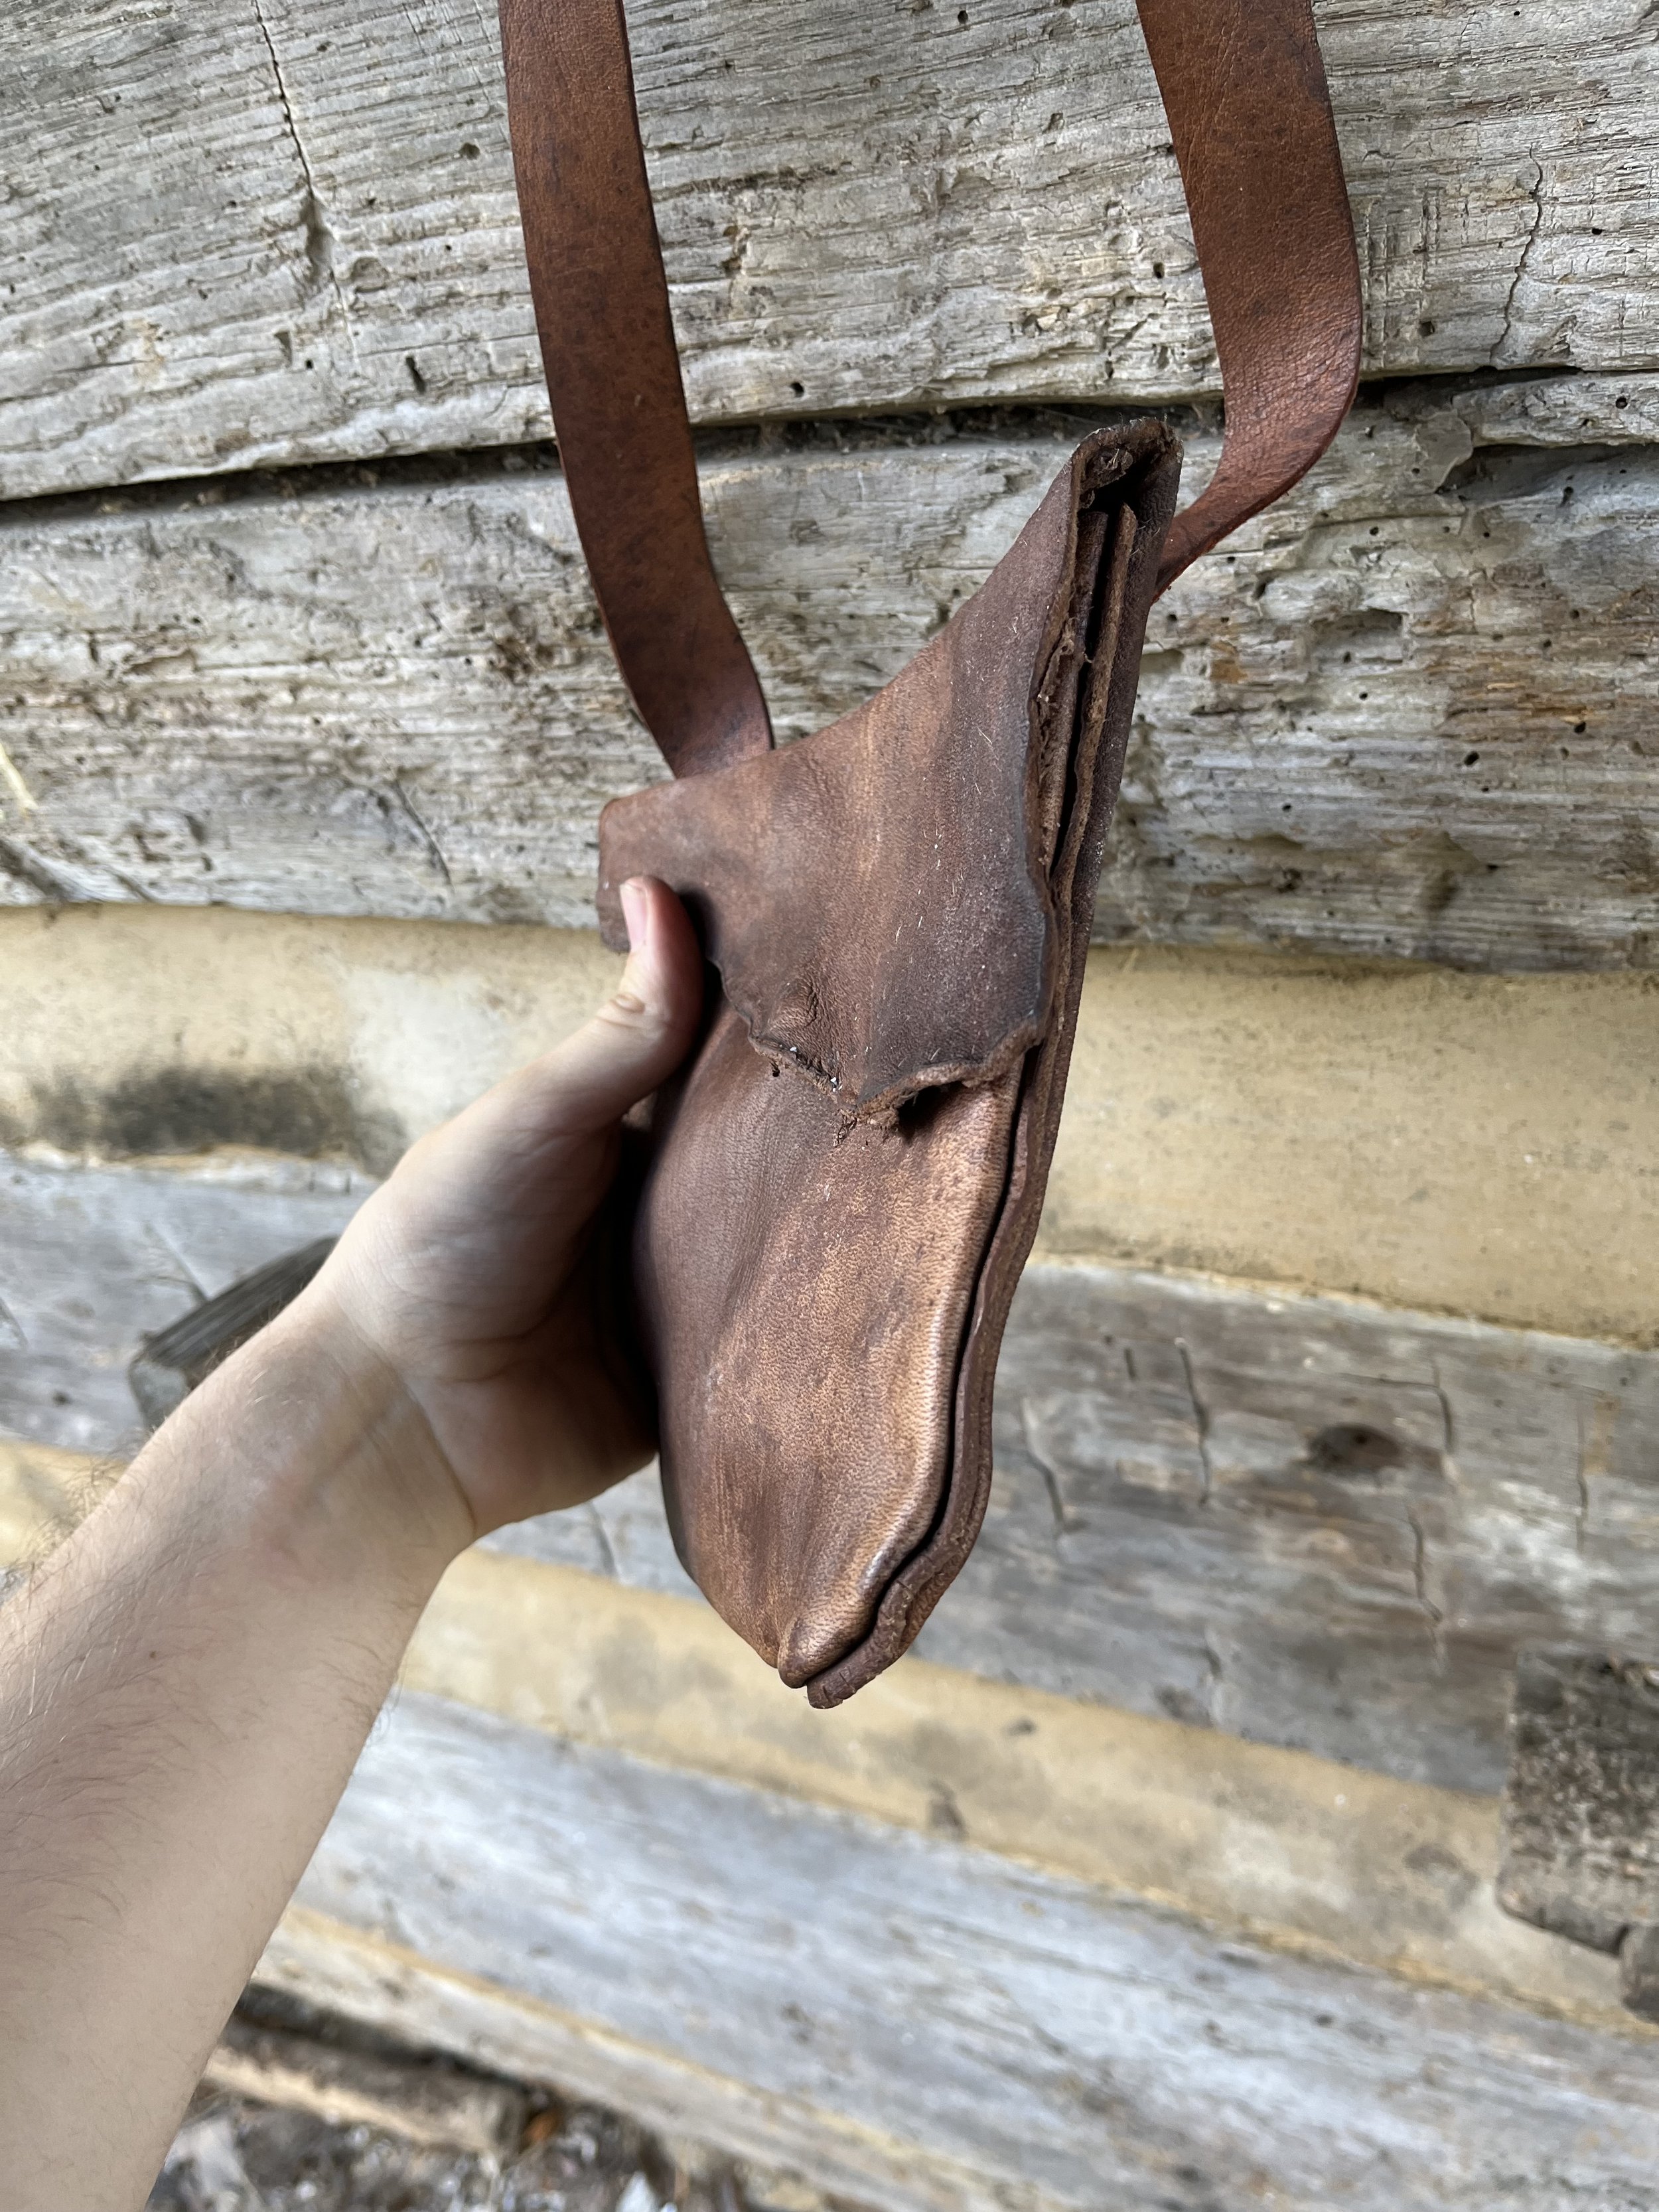
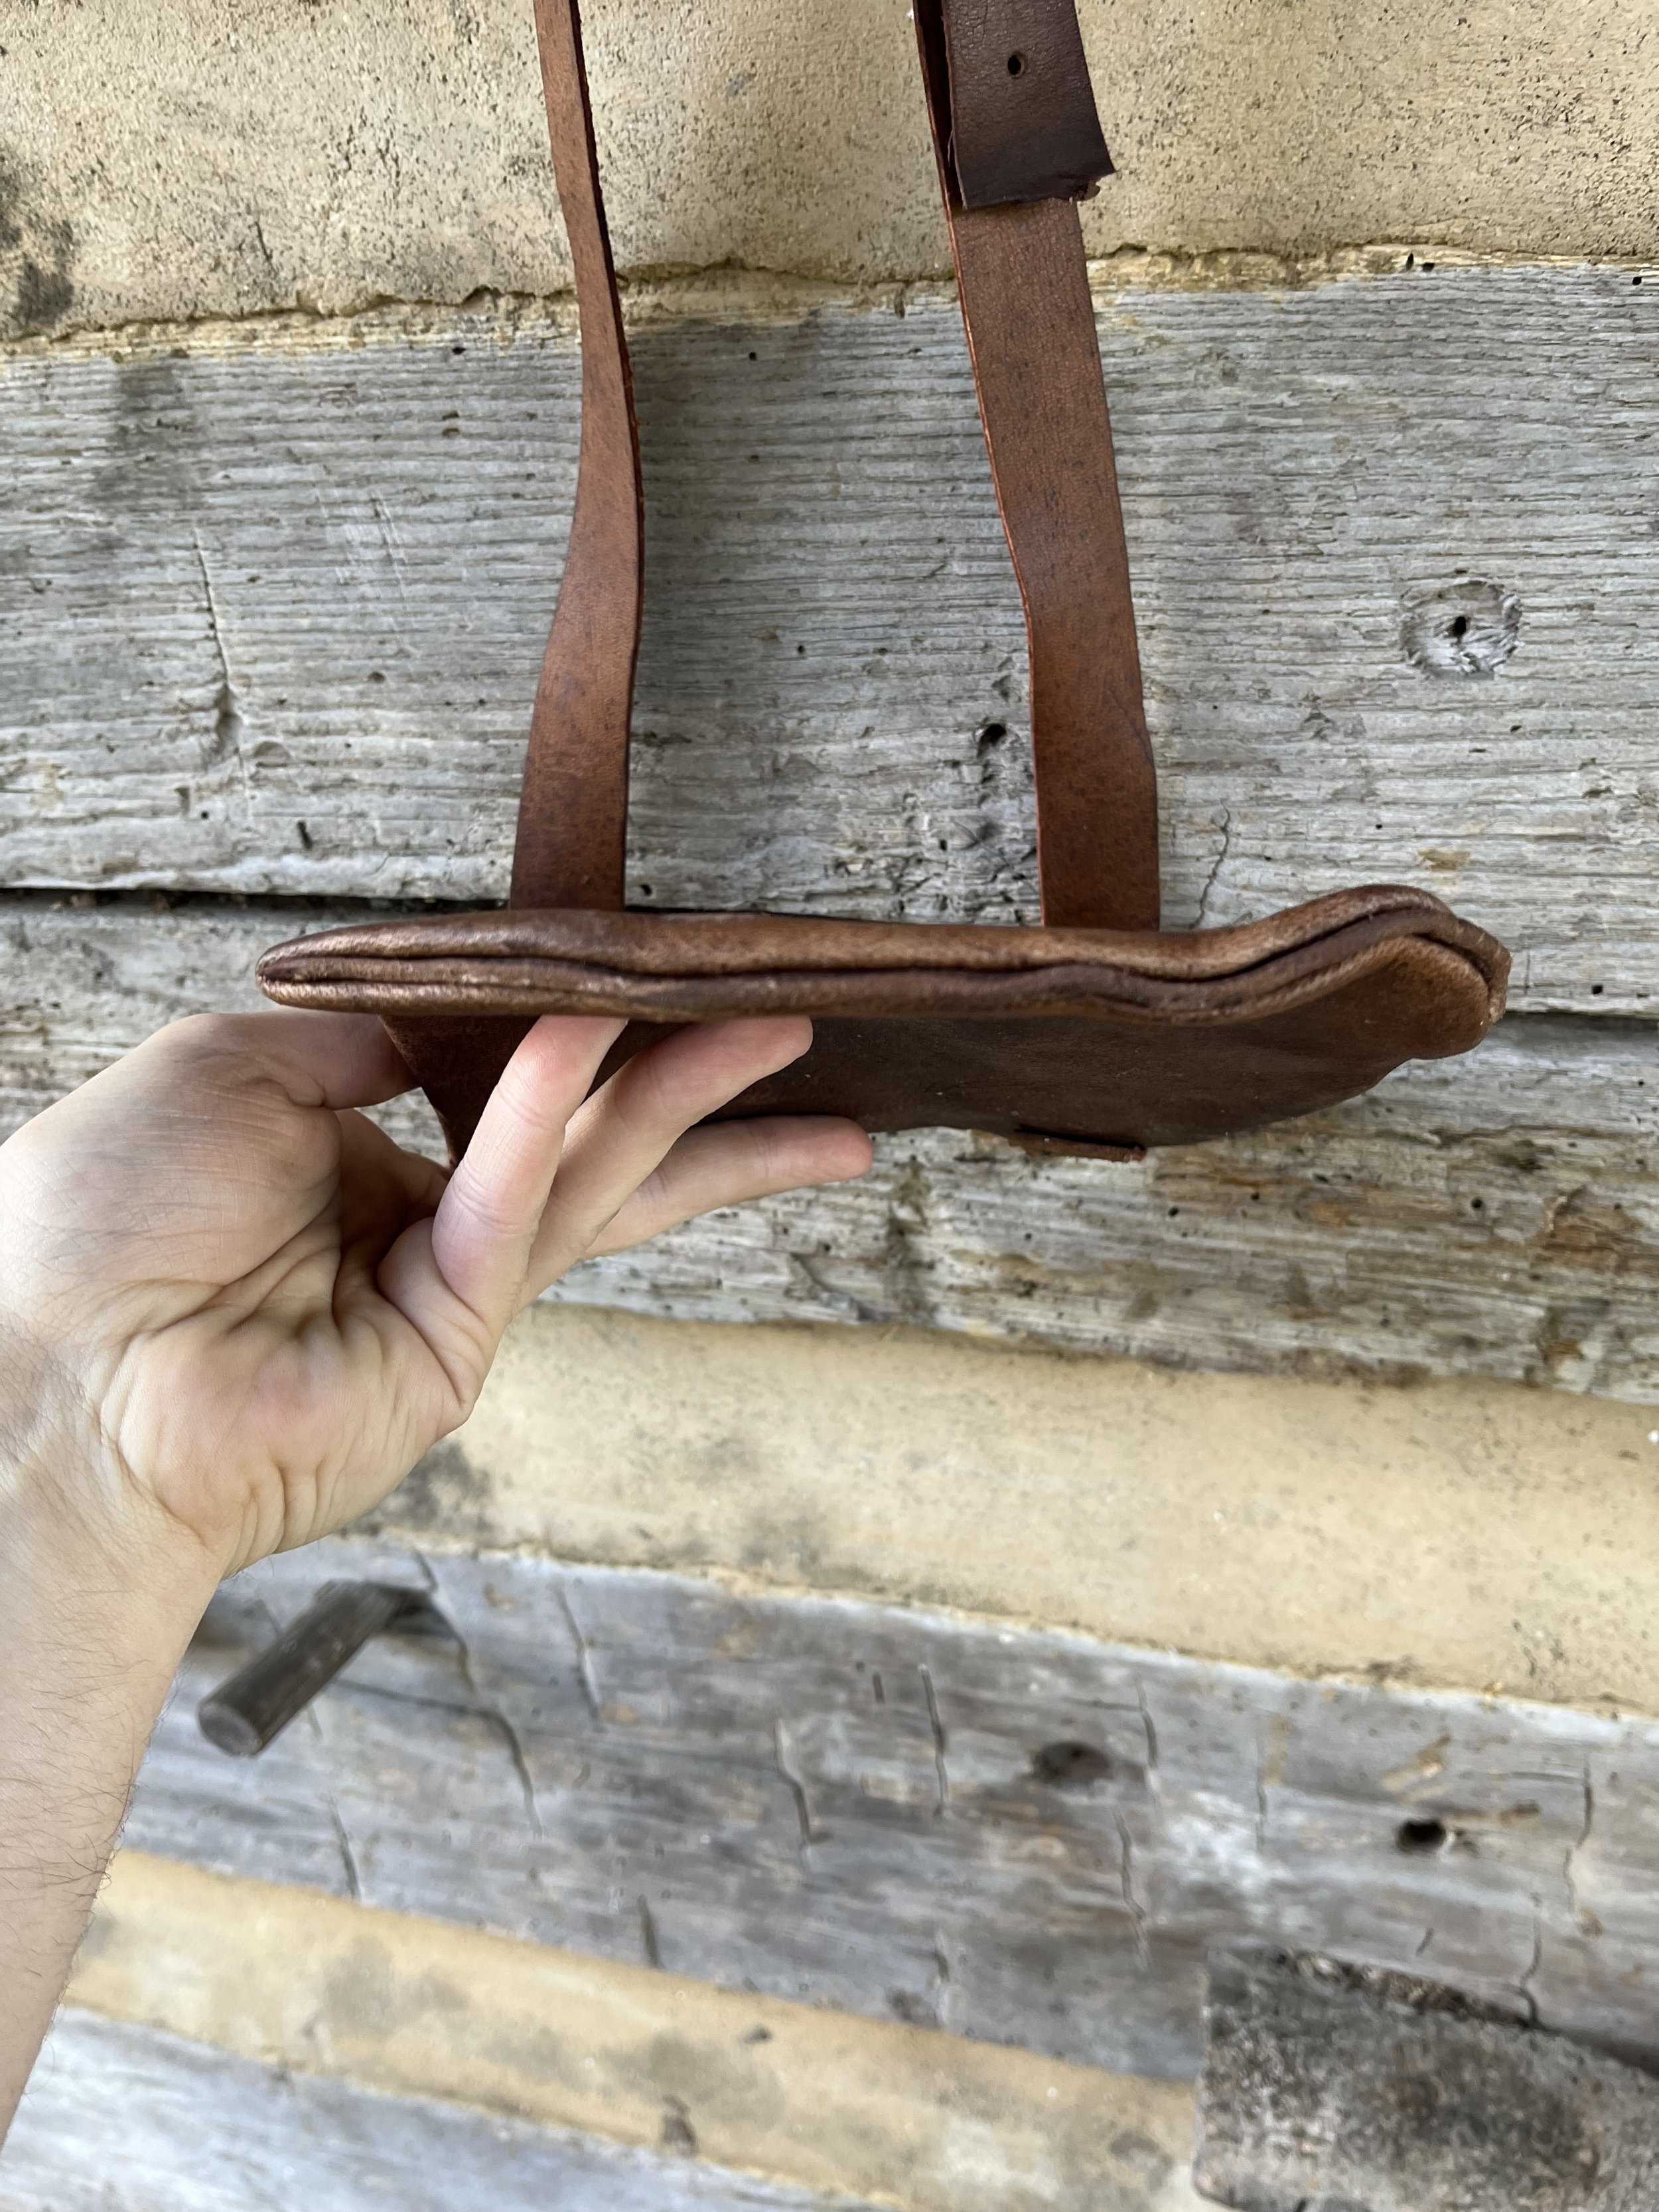
Shot Pouch #8
This was my first barktan bag from hide tanned by Larry Calahan. I based it loosely on an existing 18th-century example in Madison Grant’s book. It is a one-piece bag with a raw-edge flap. There are a few small patches of deer hair left on the surface of the leather.

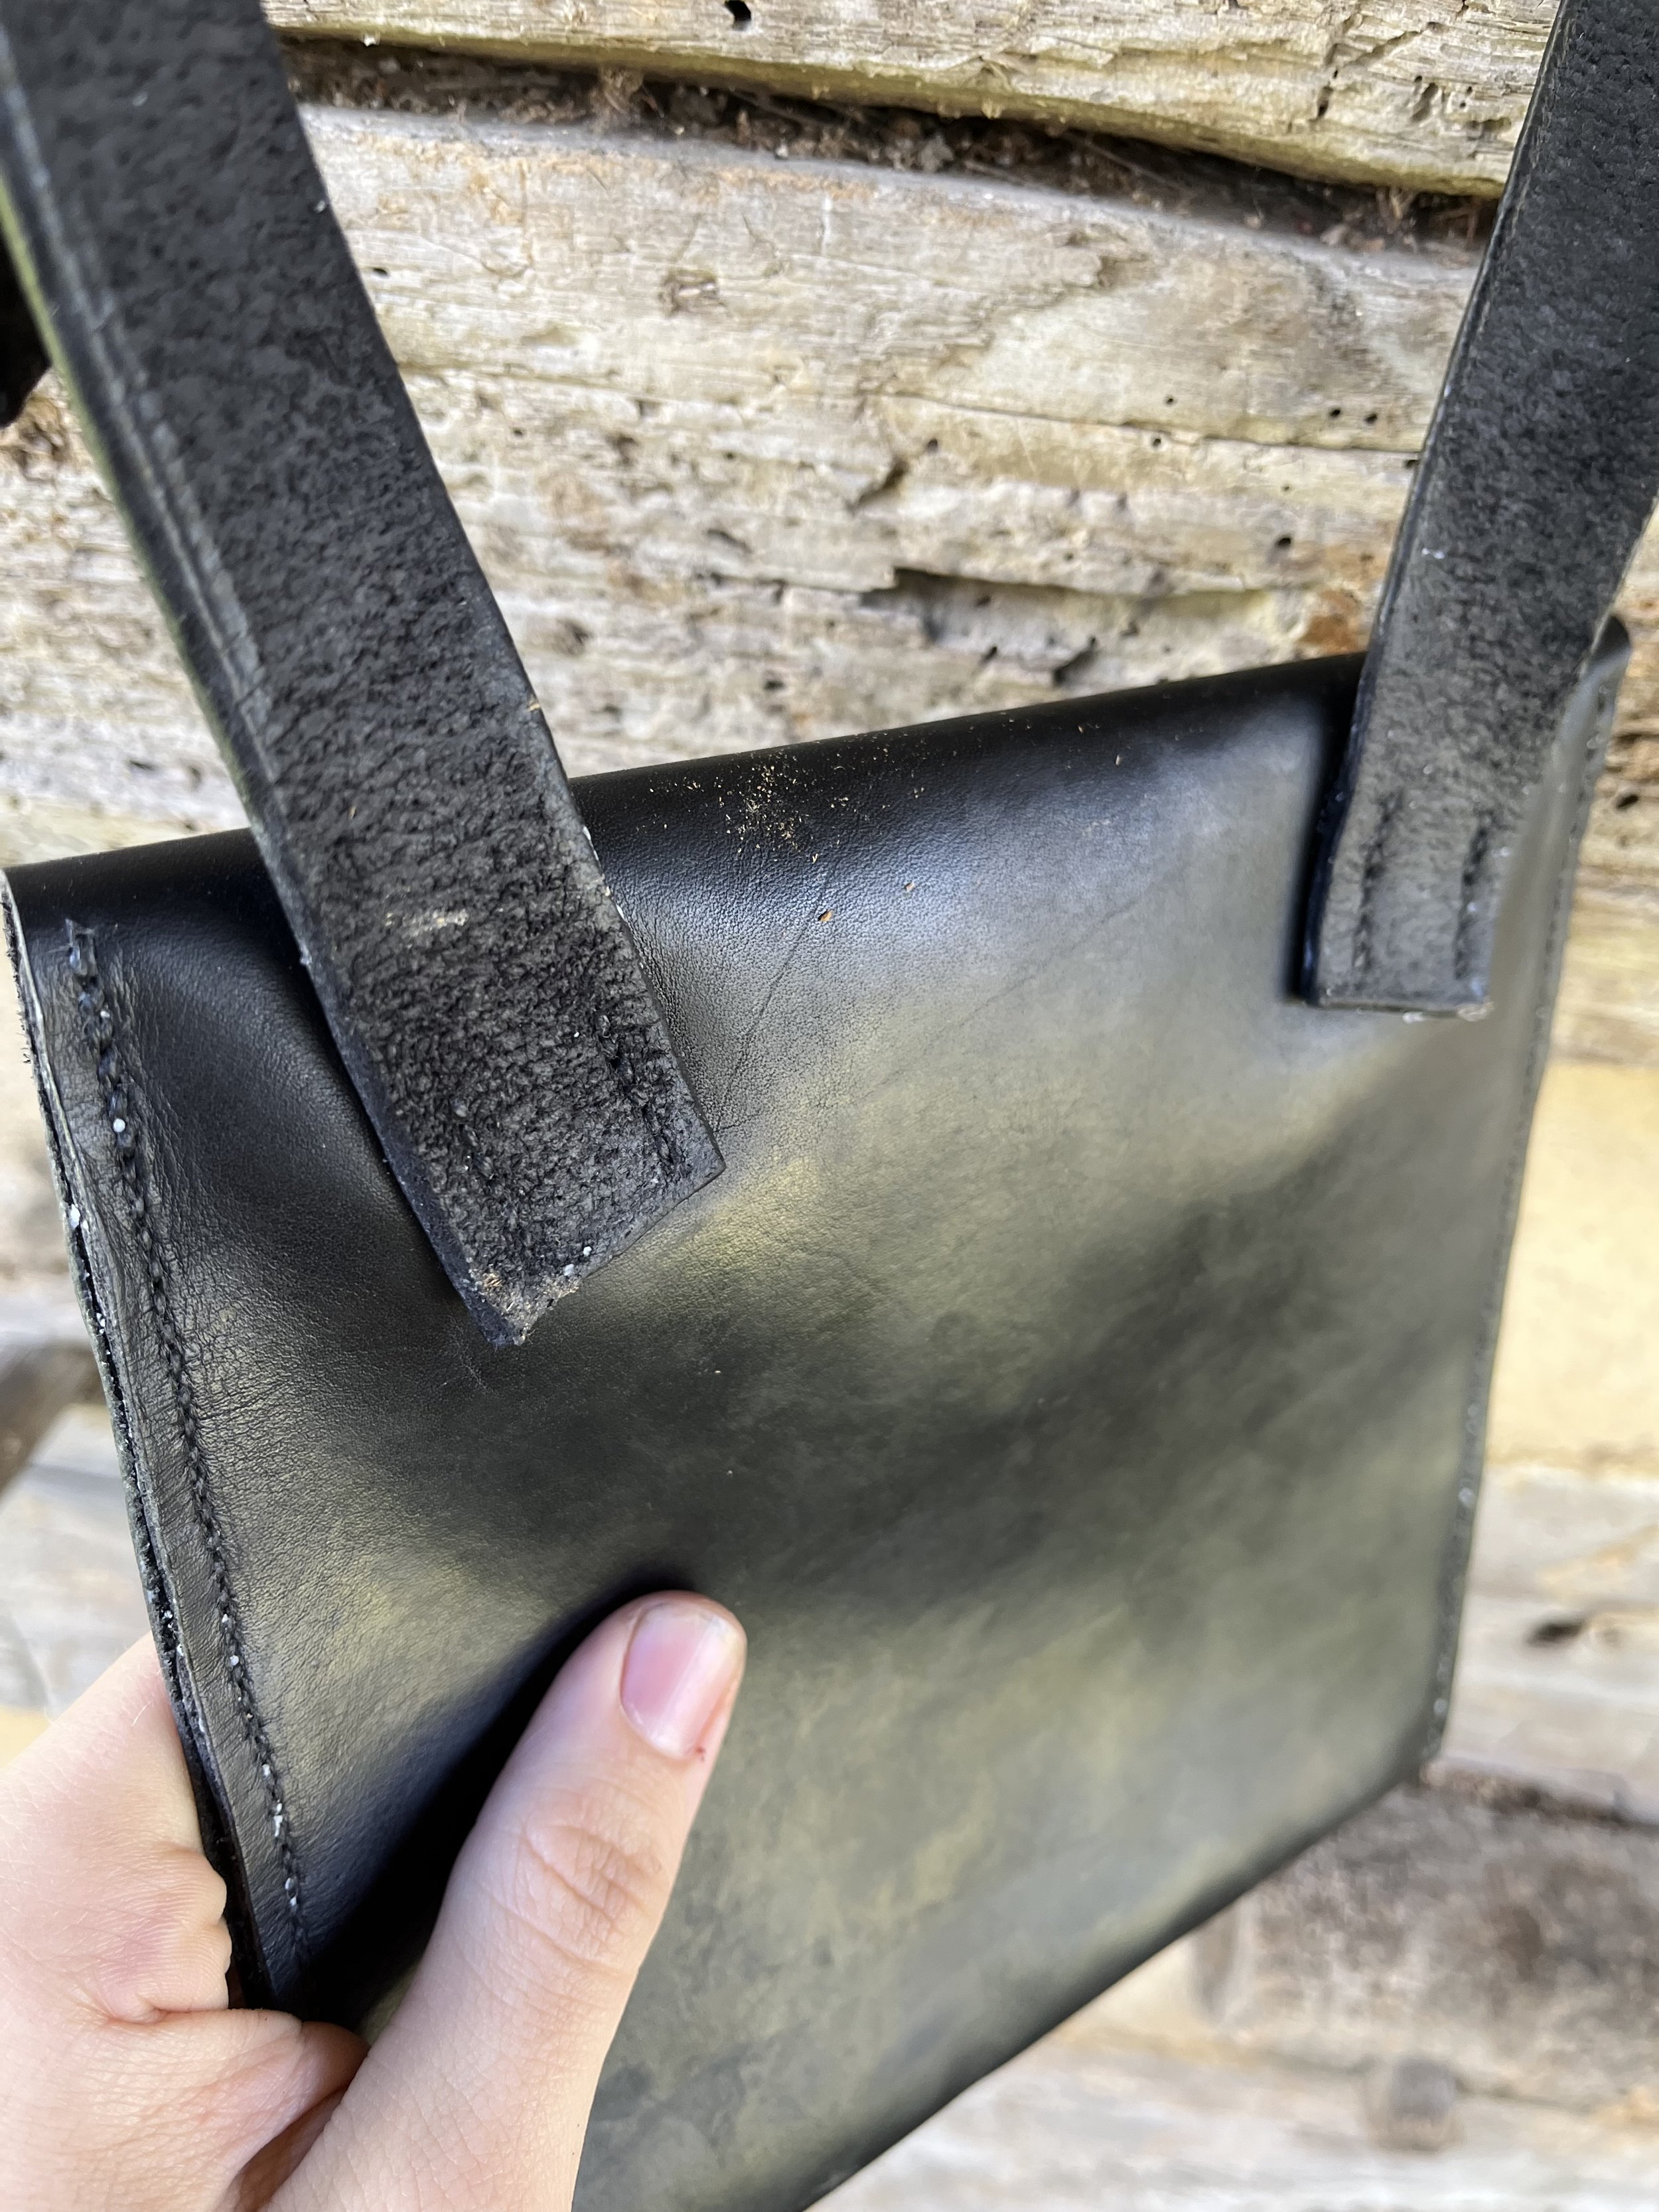
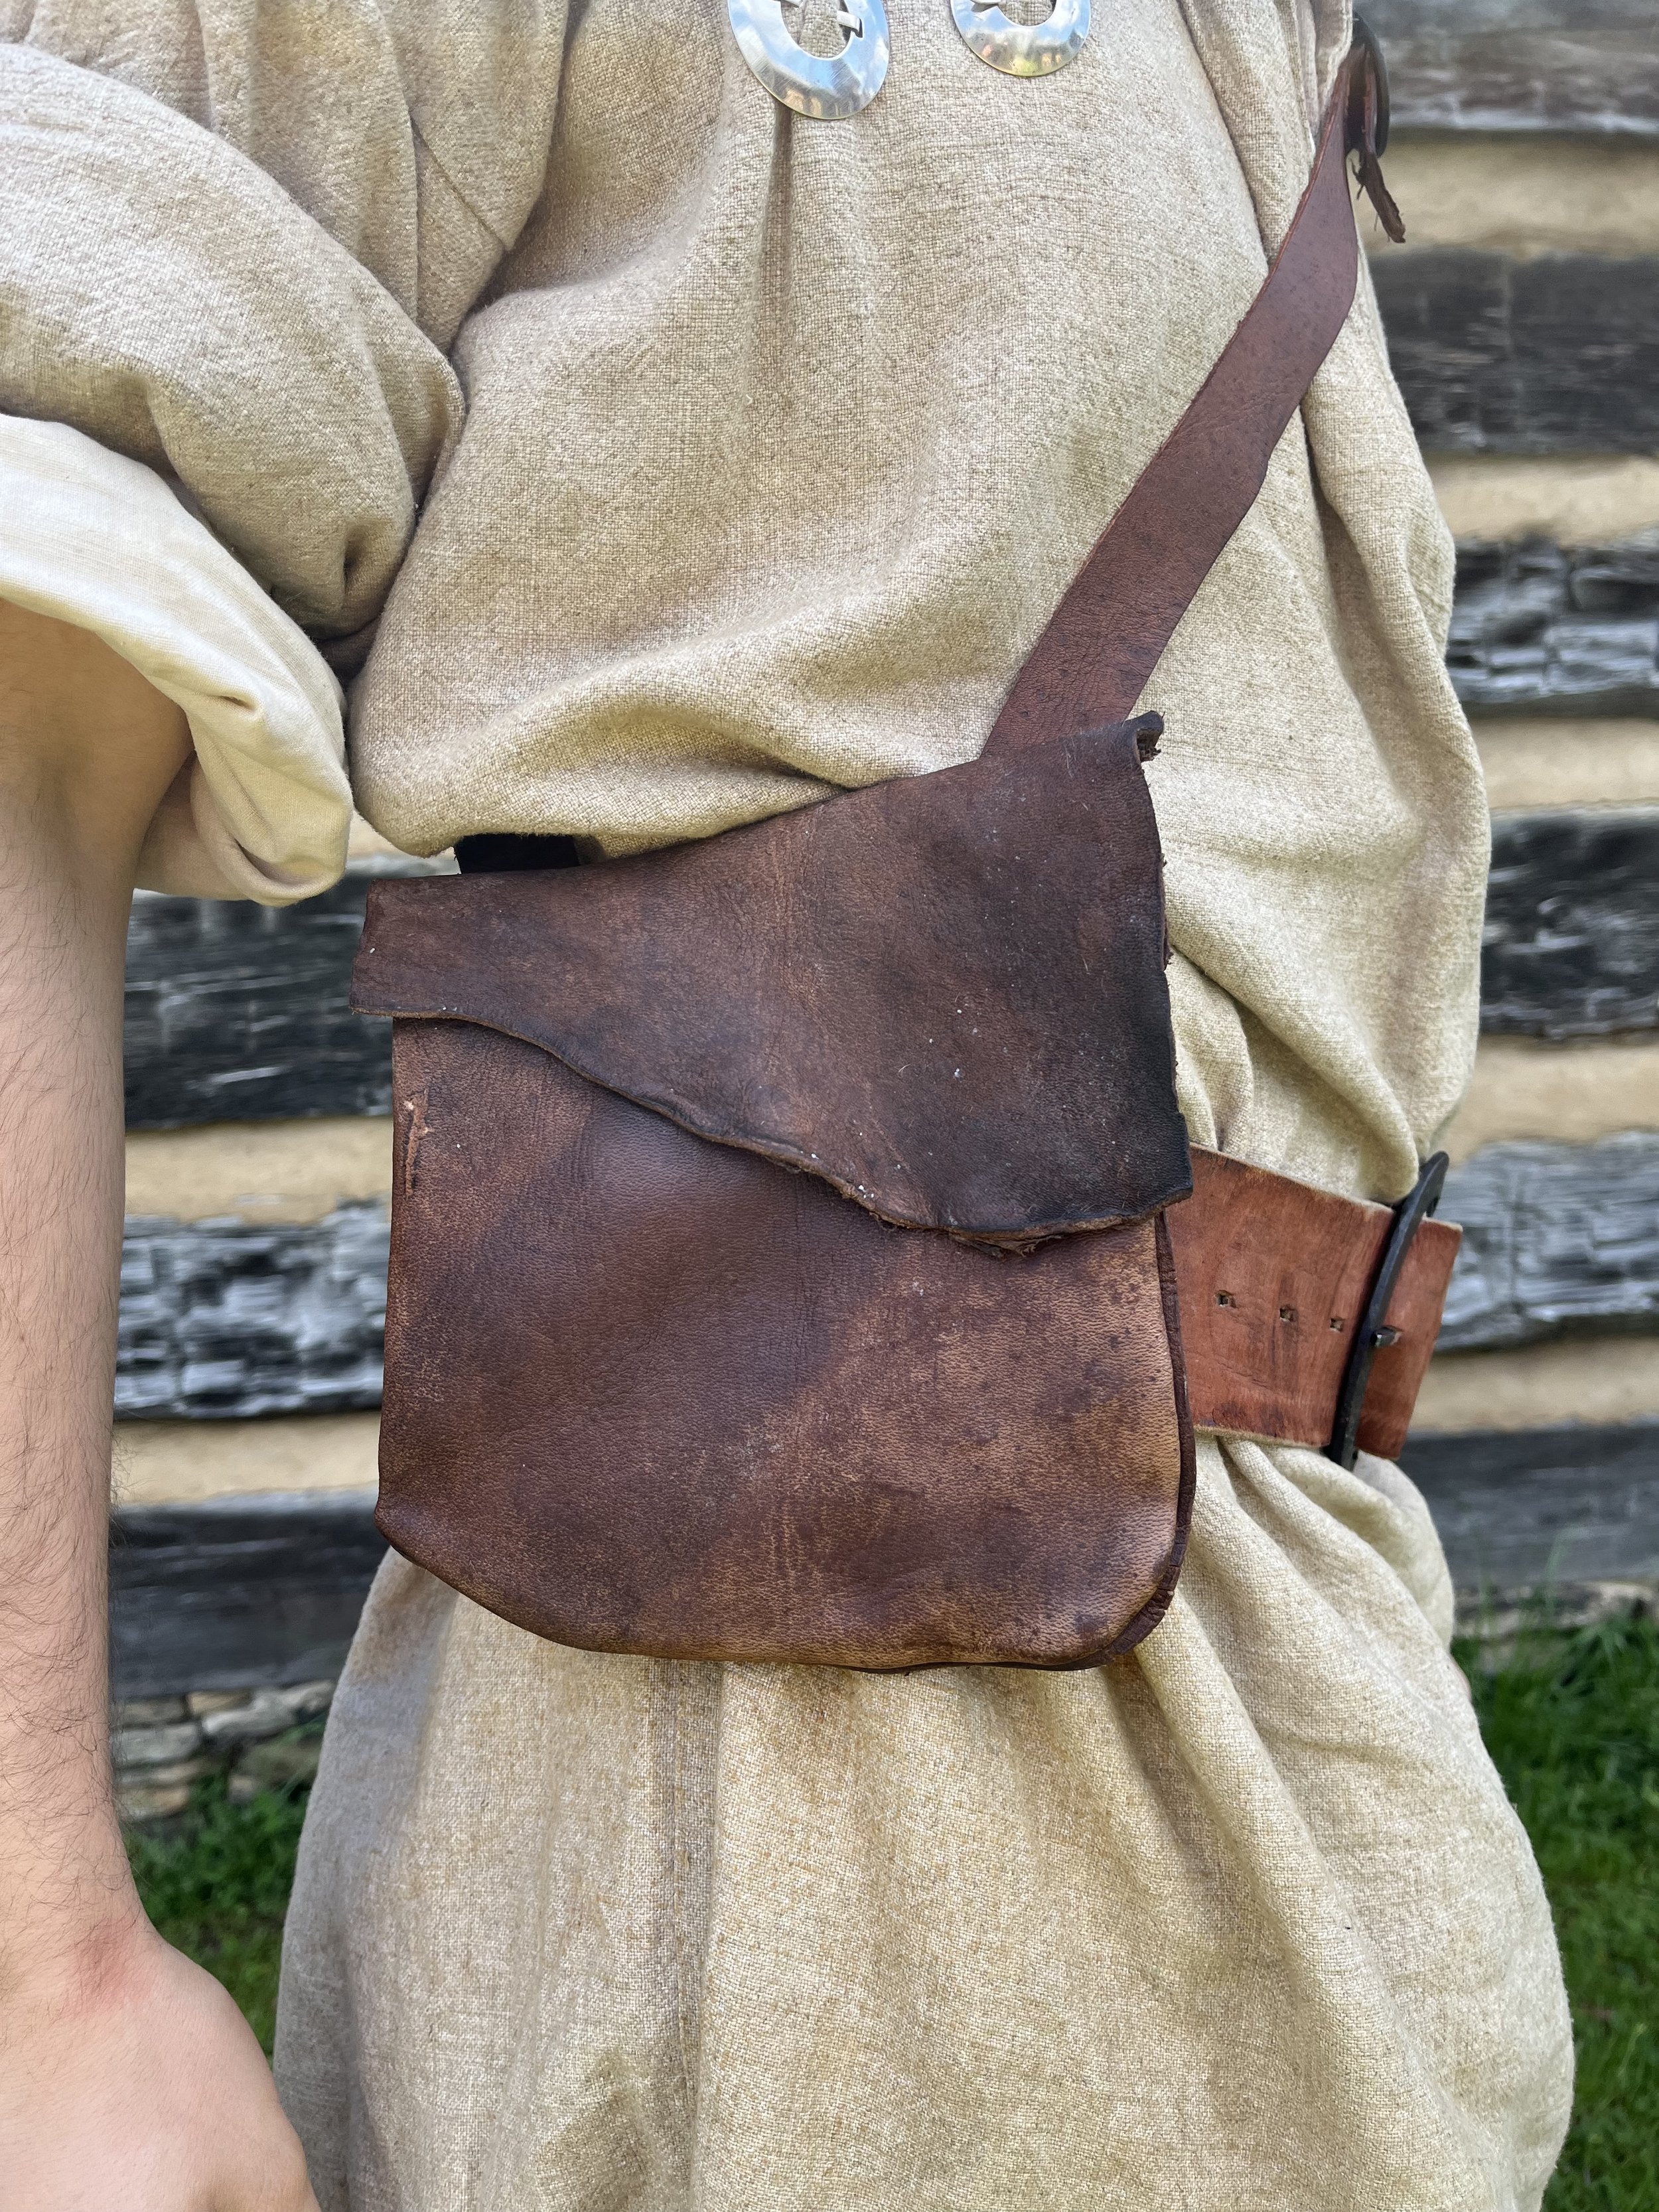
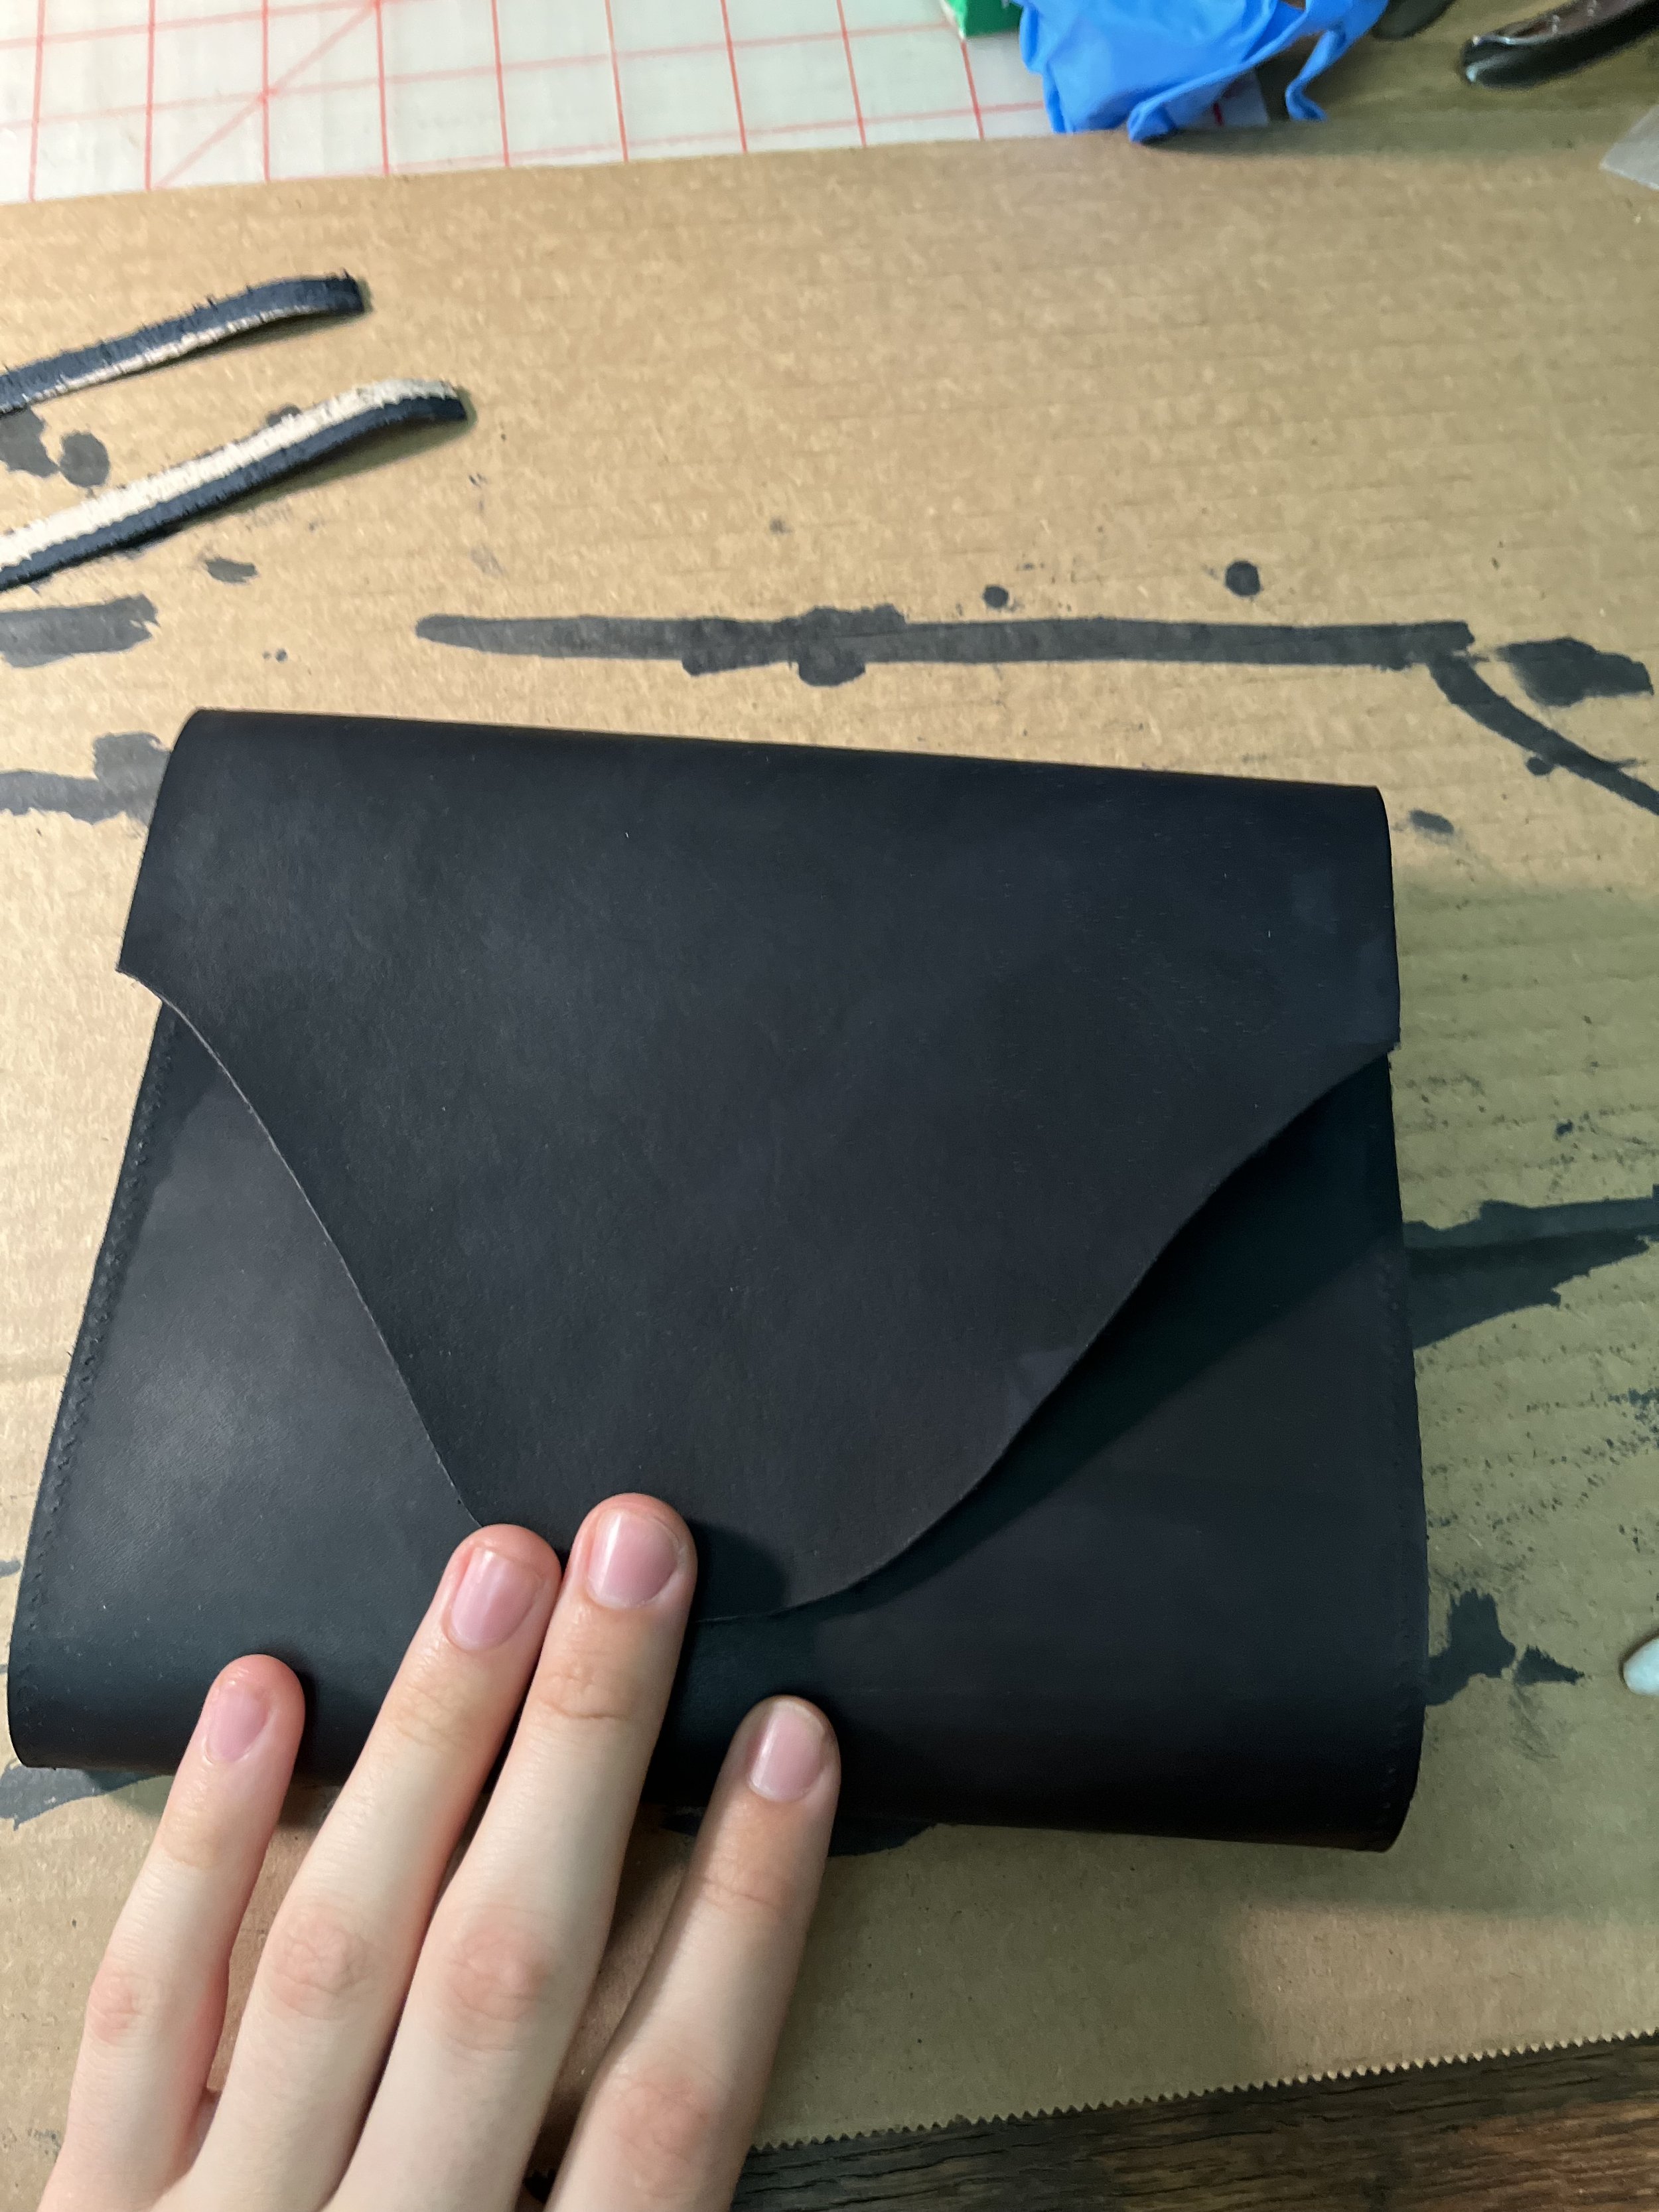
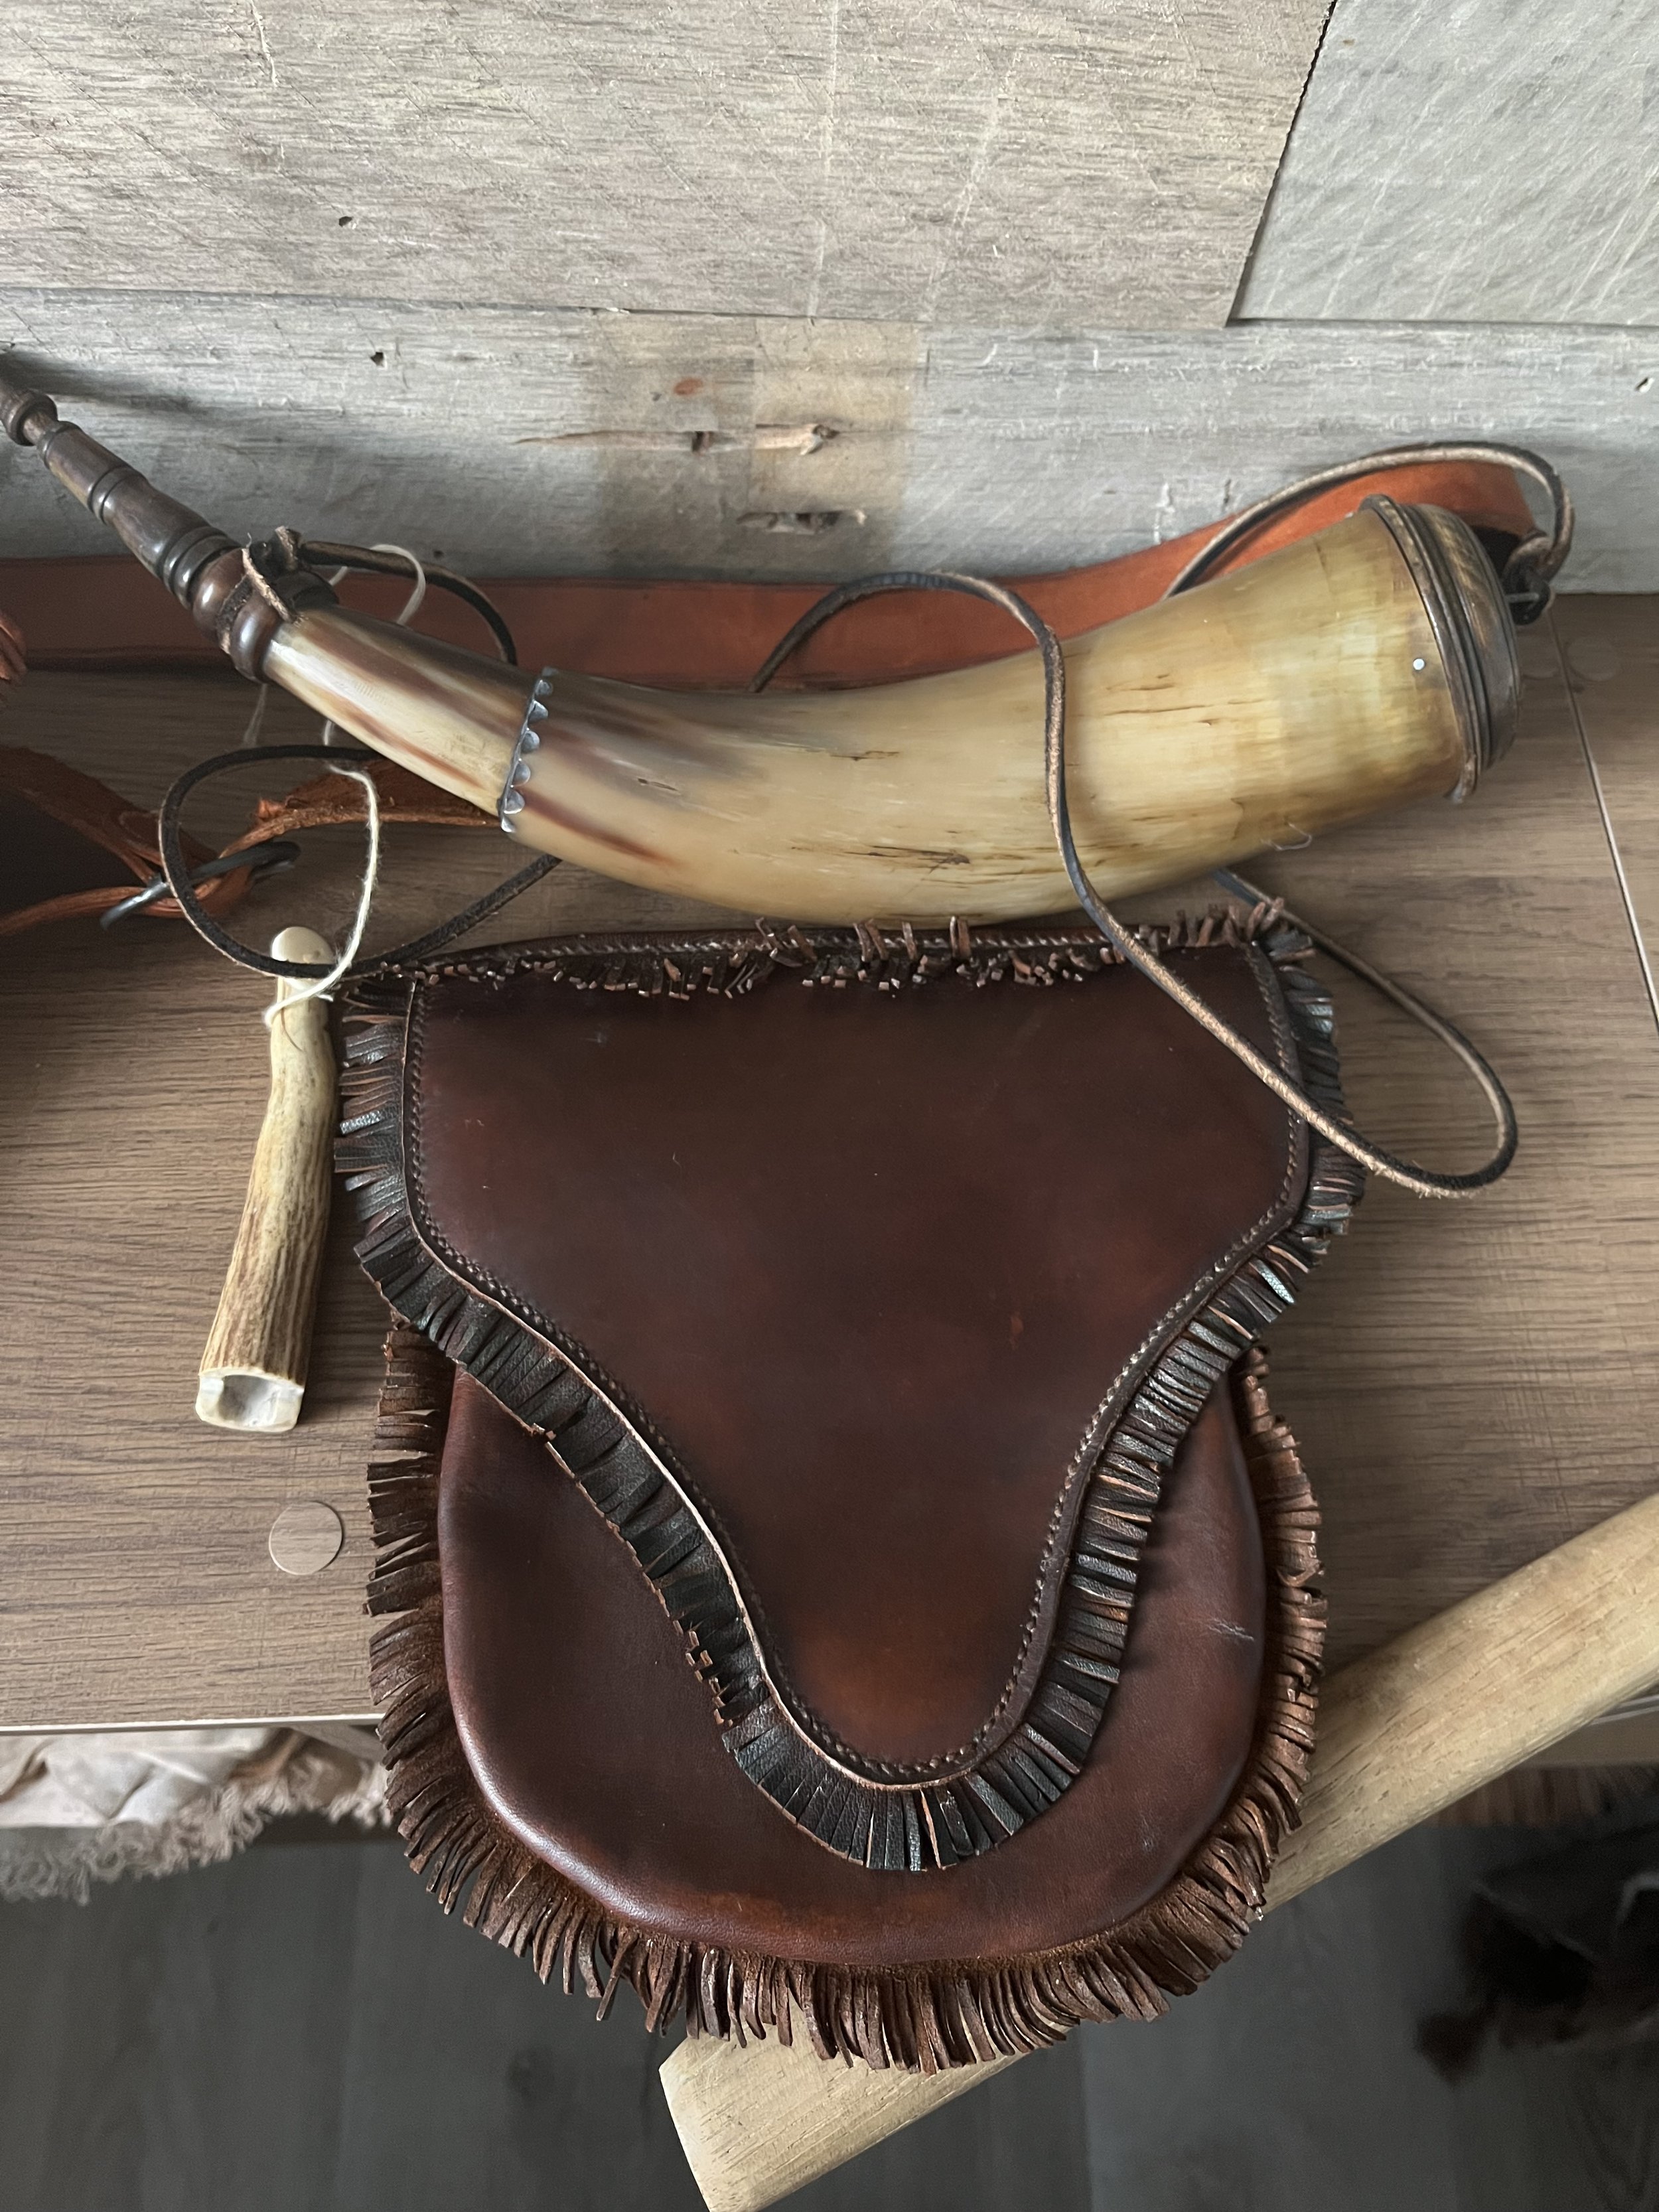
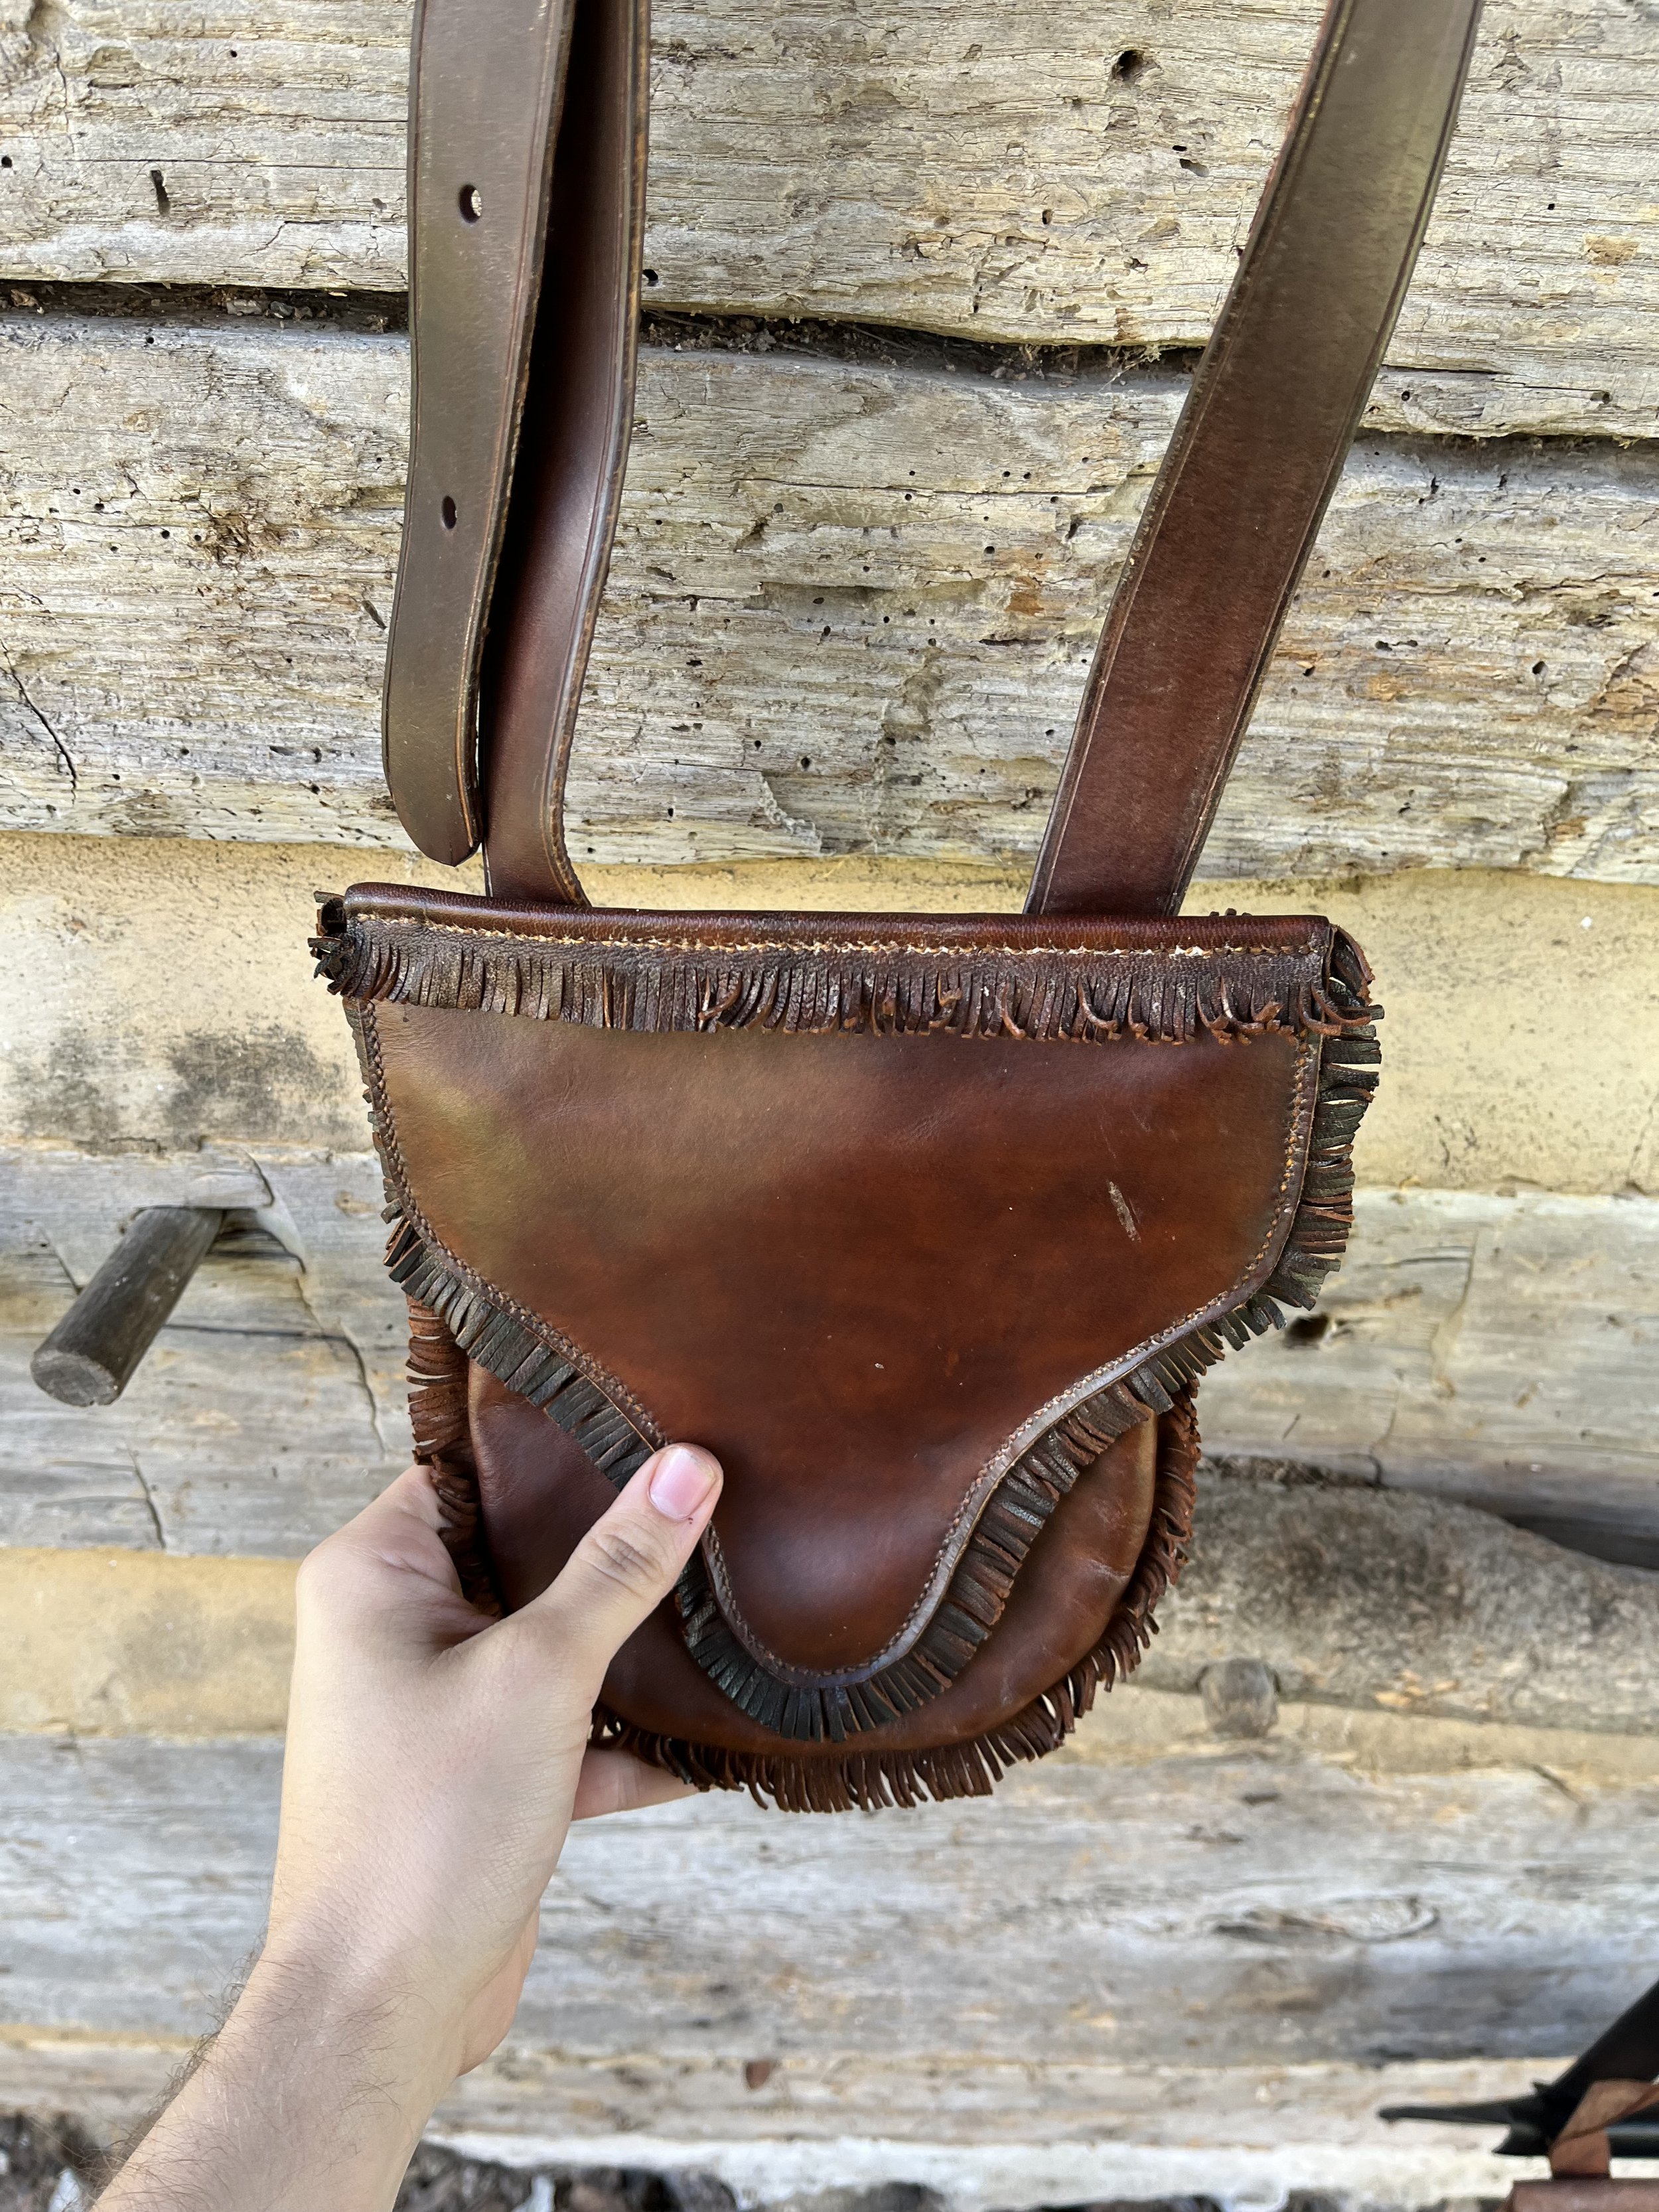
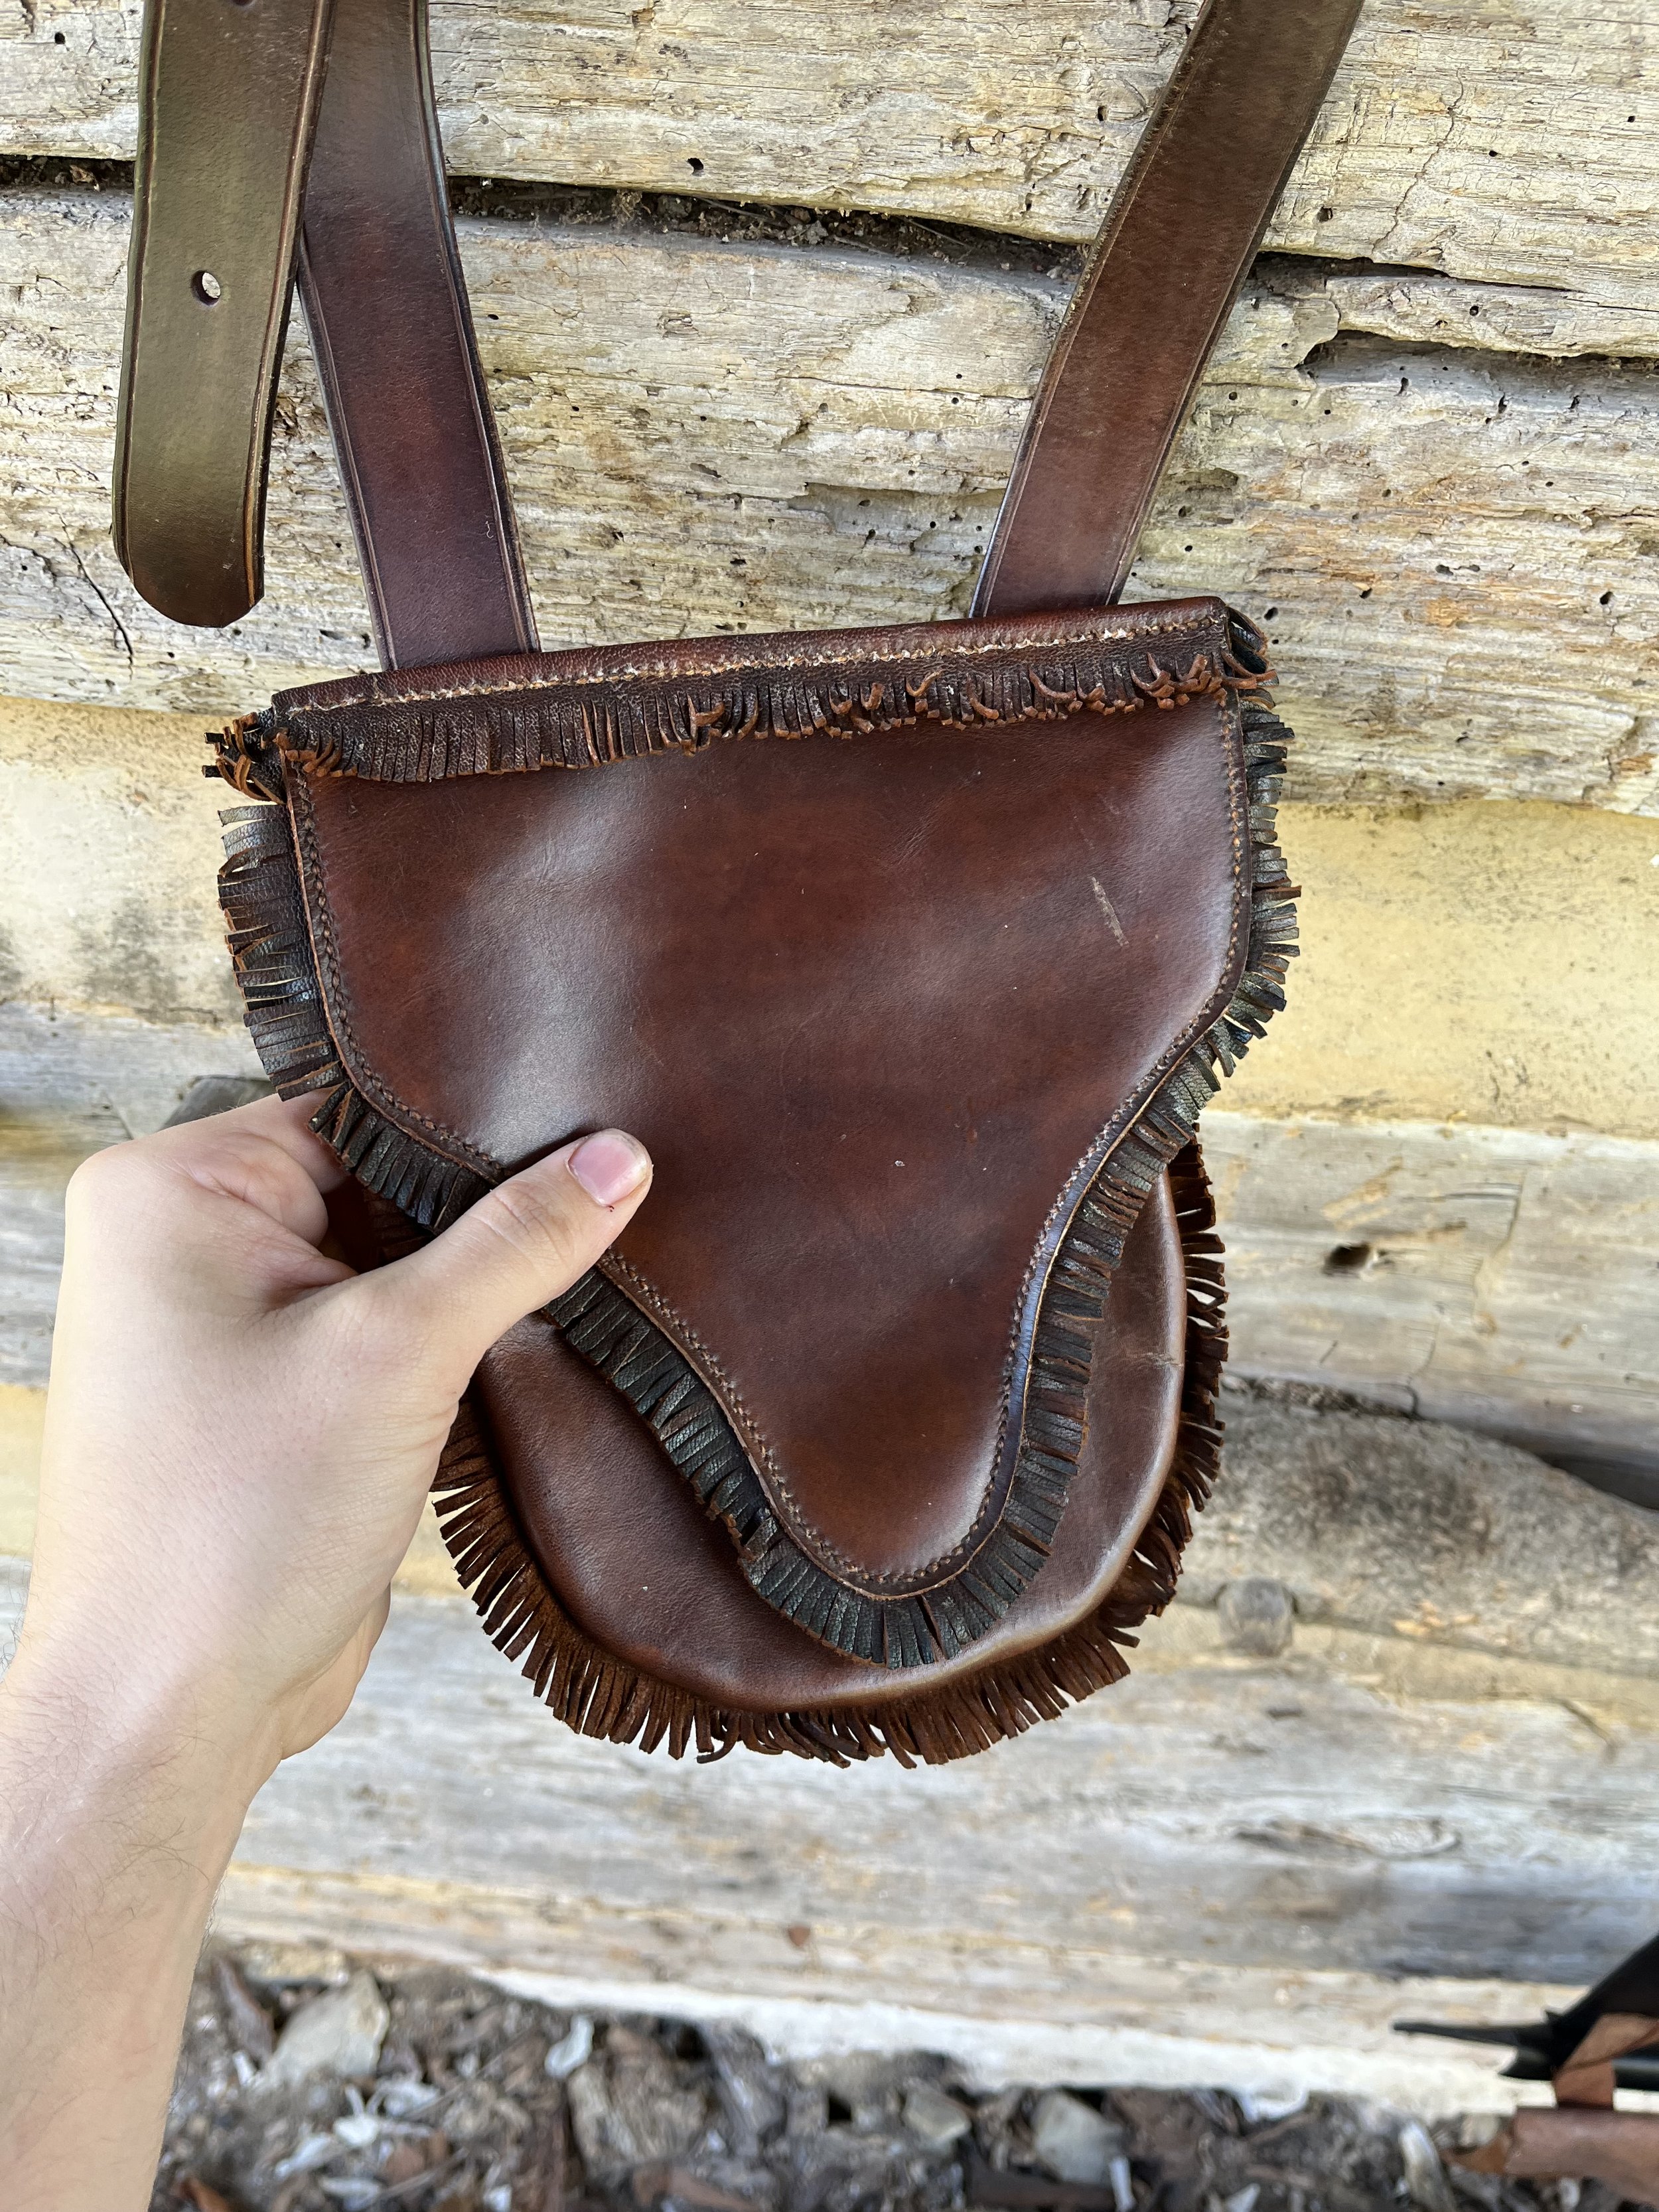
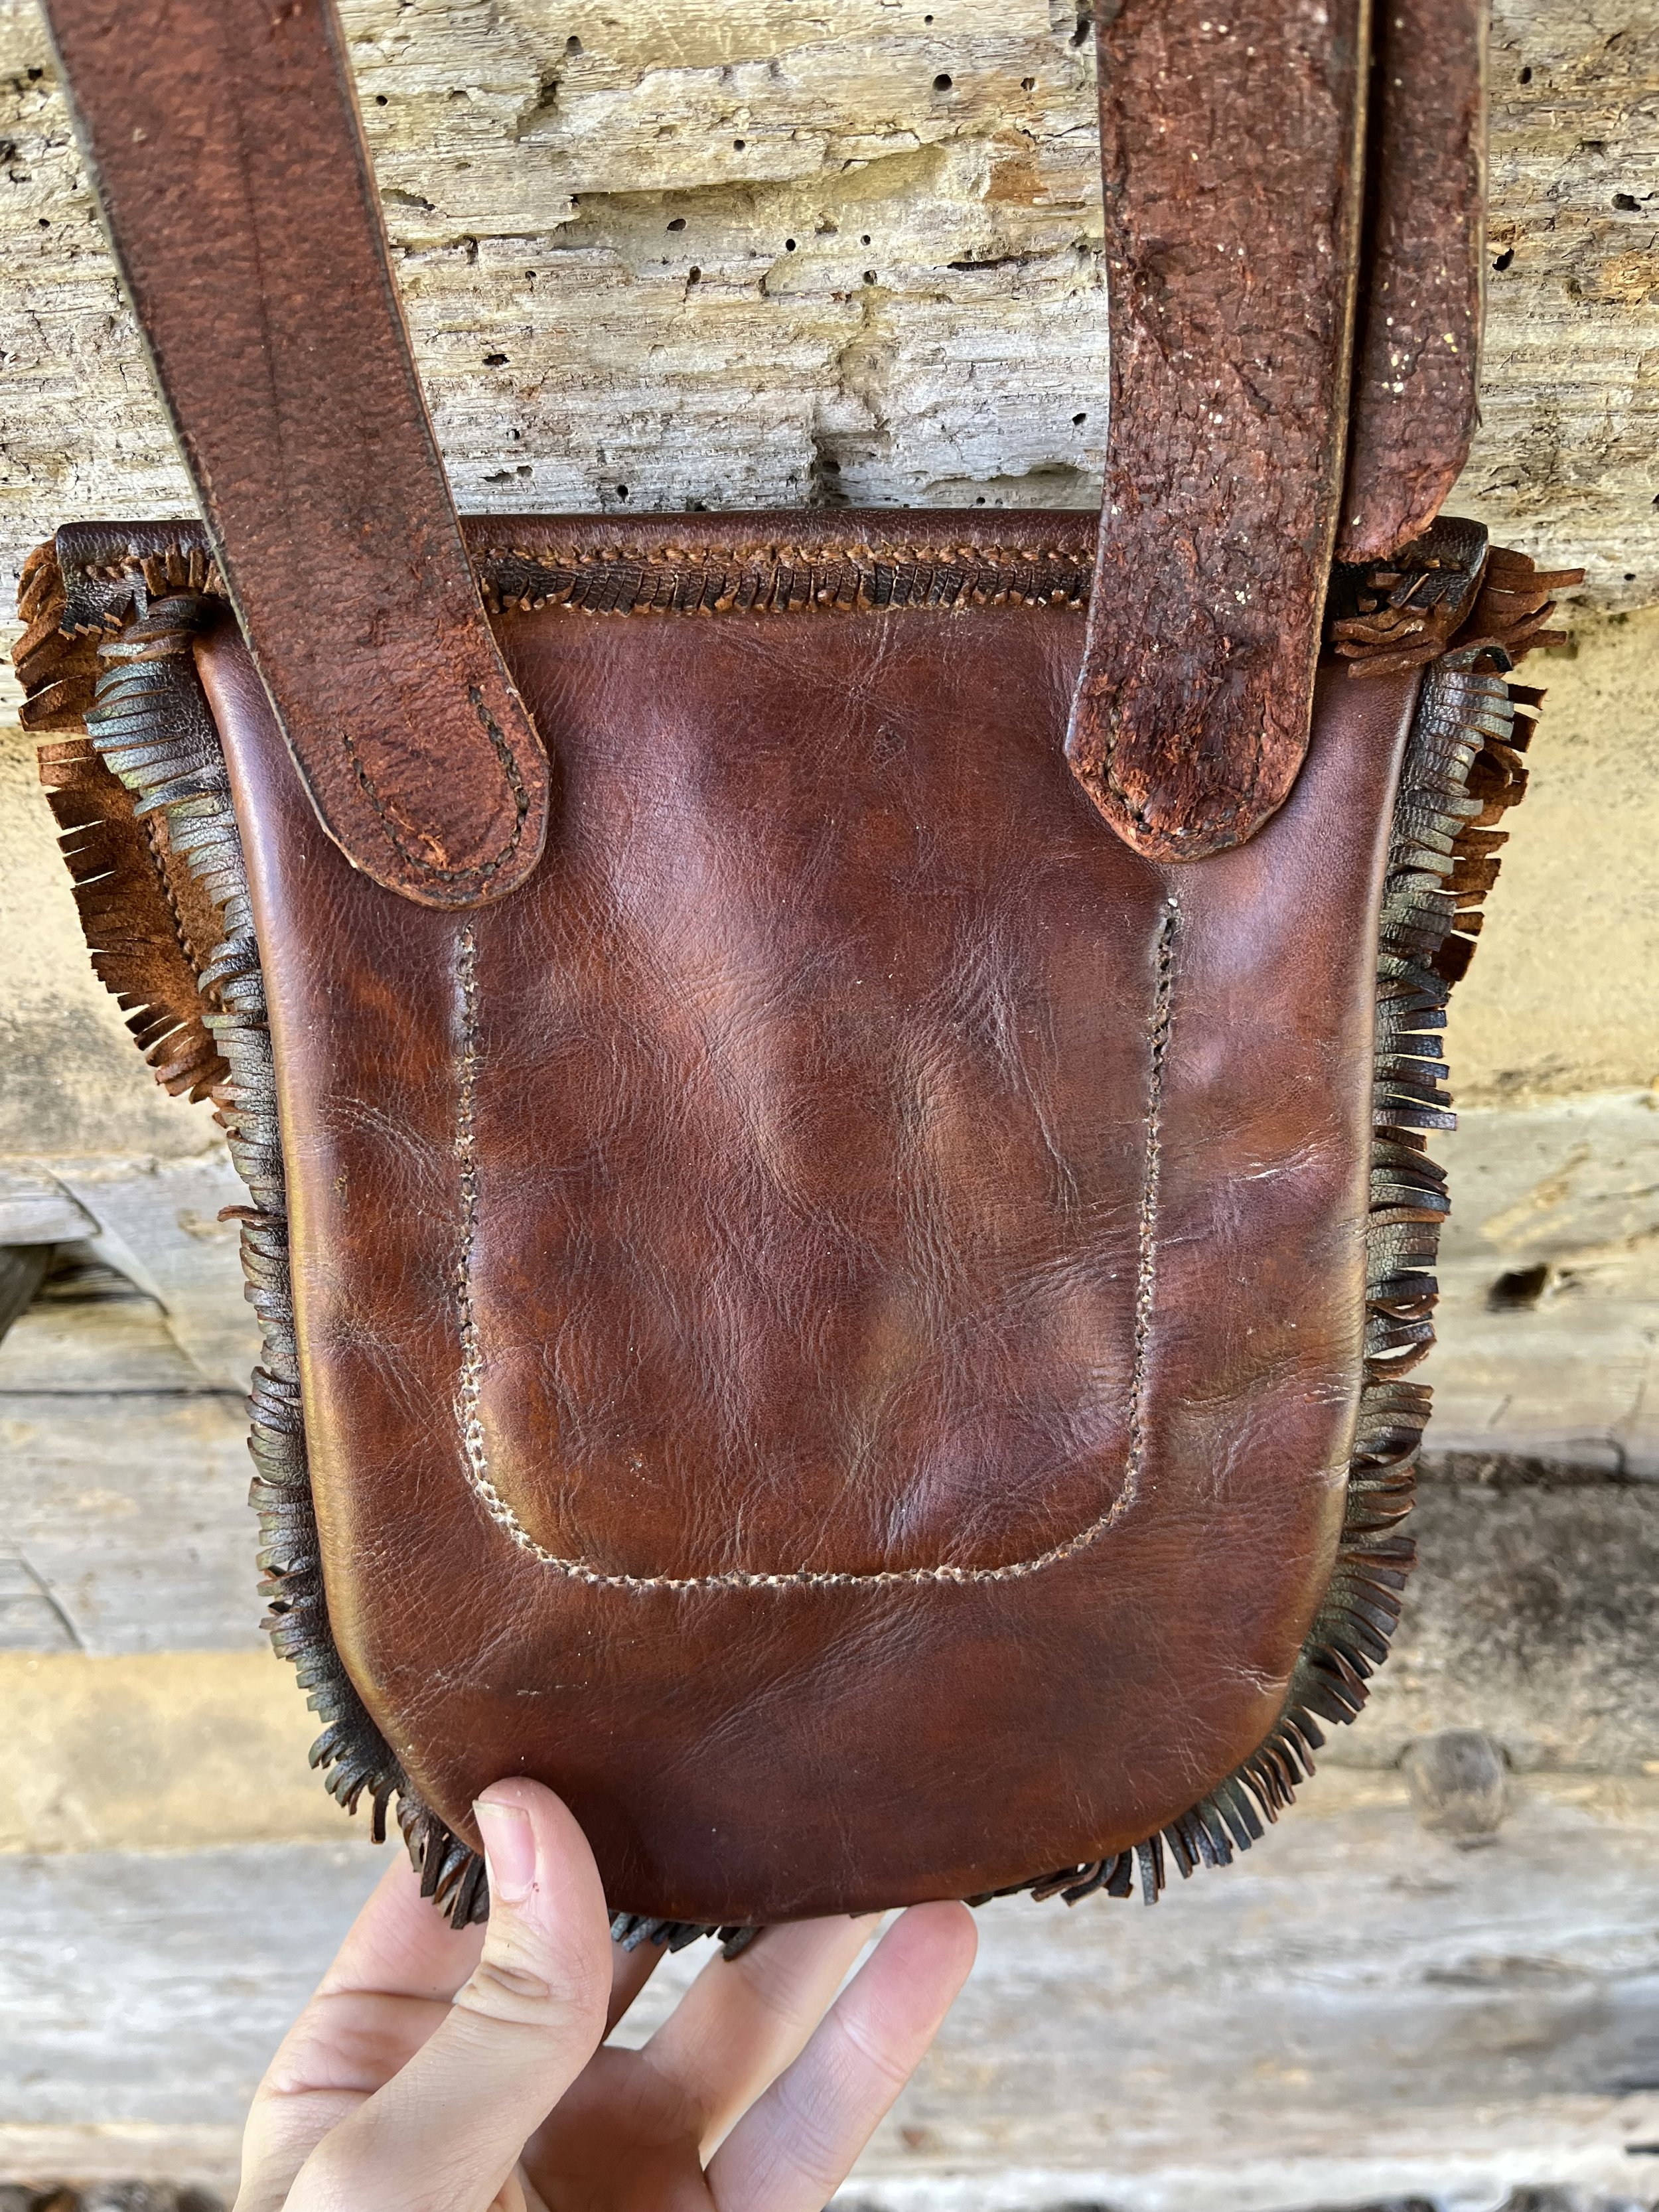
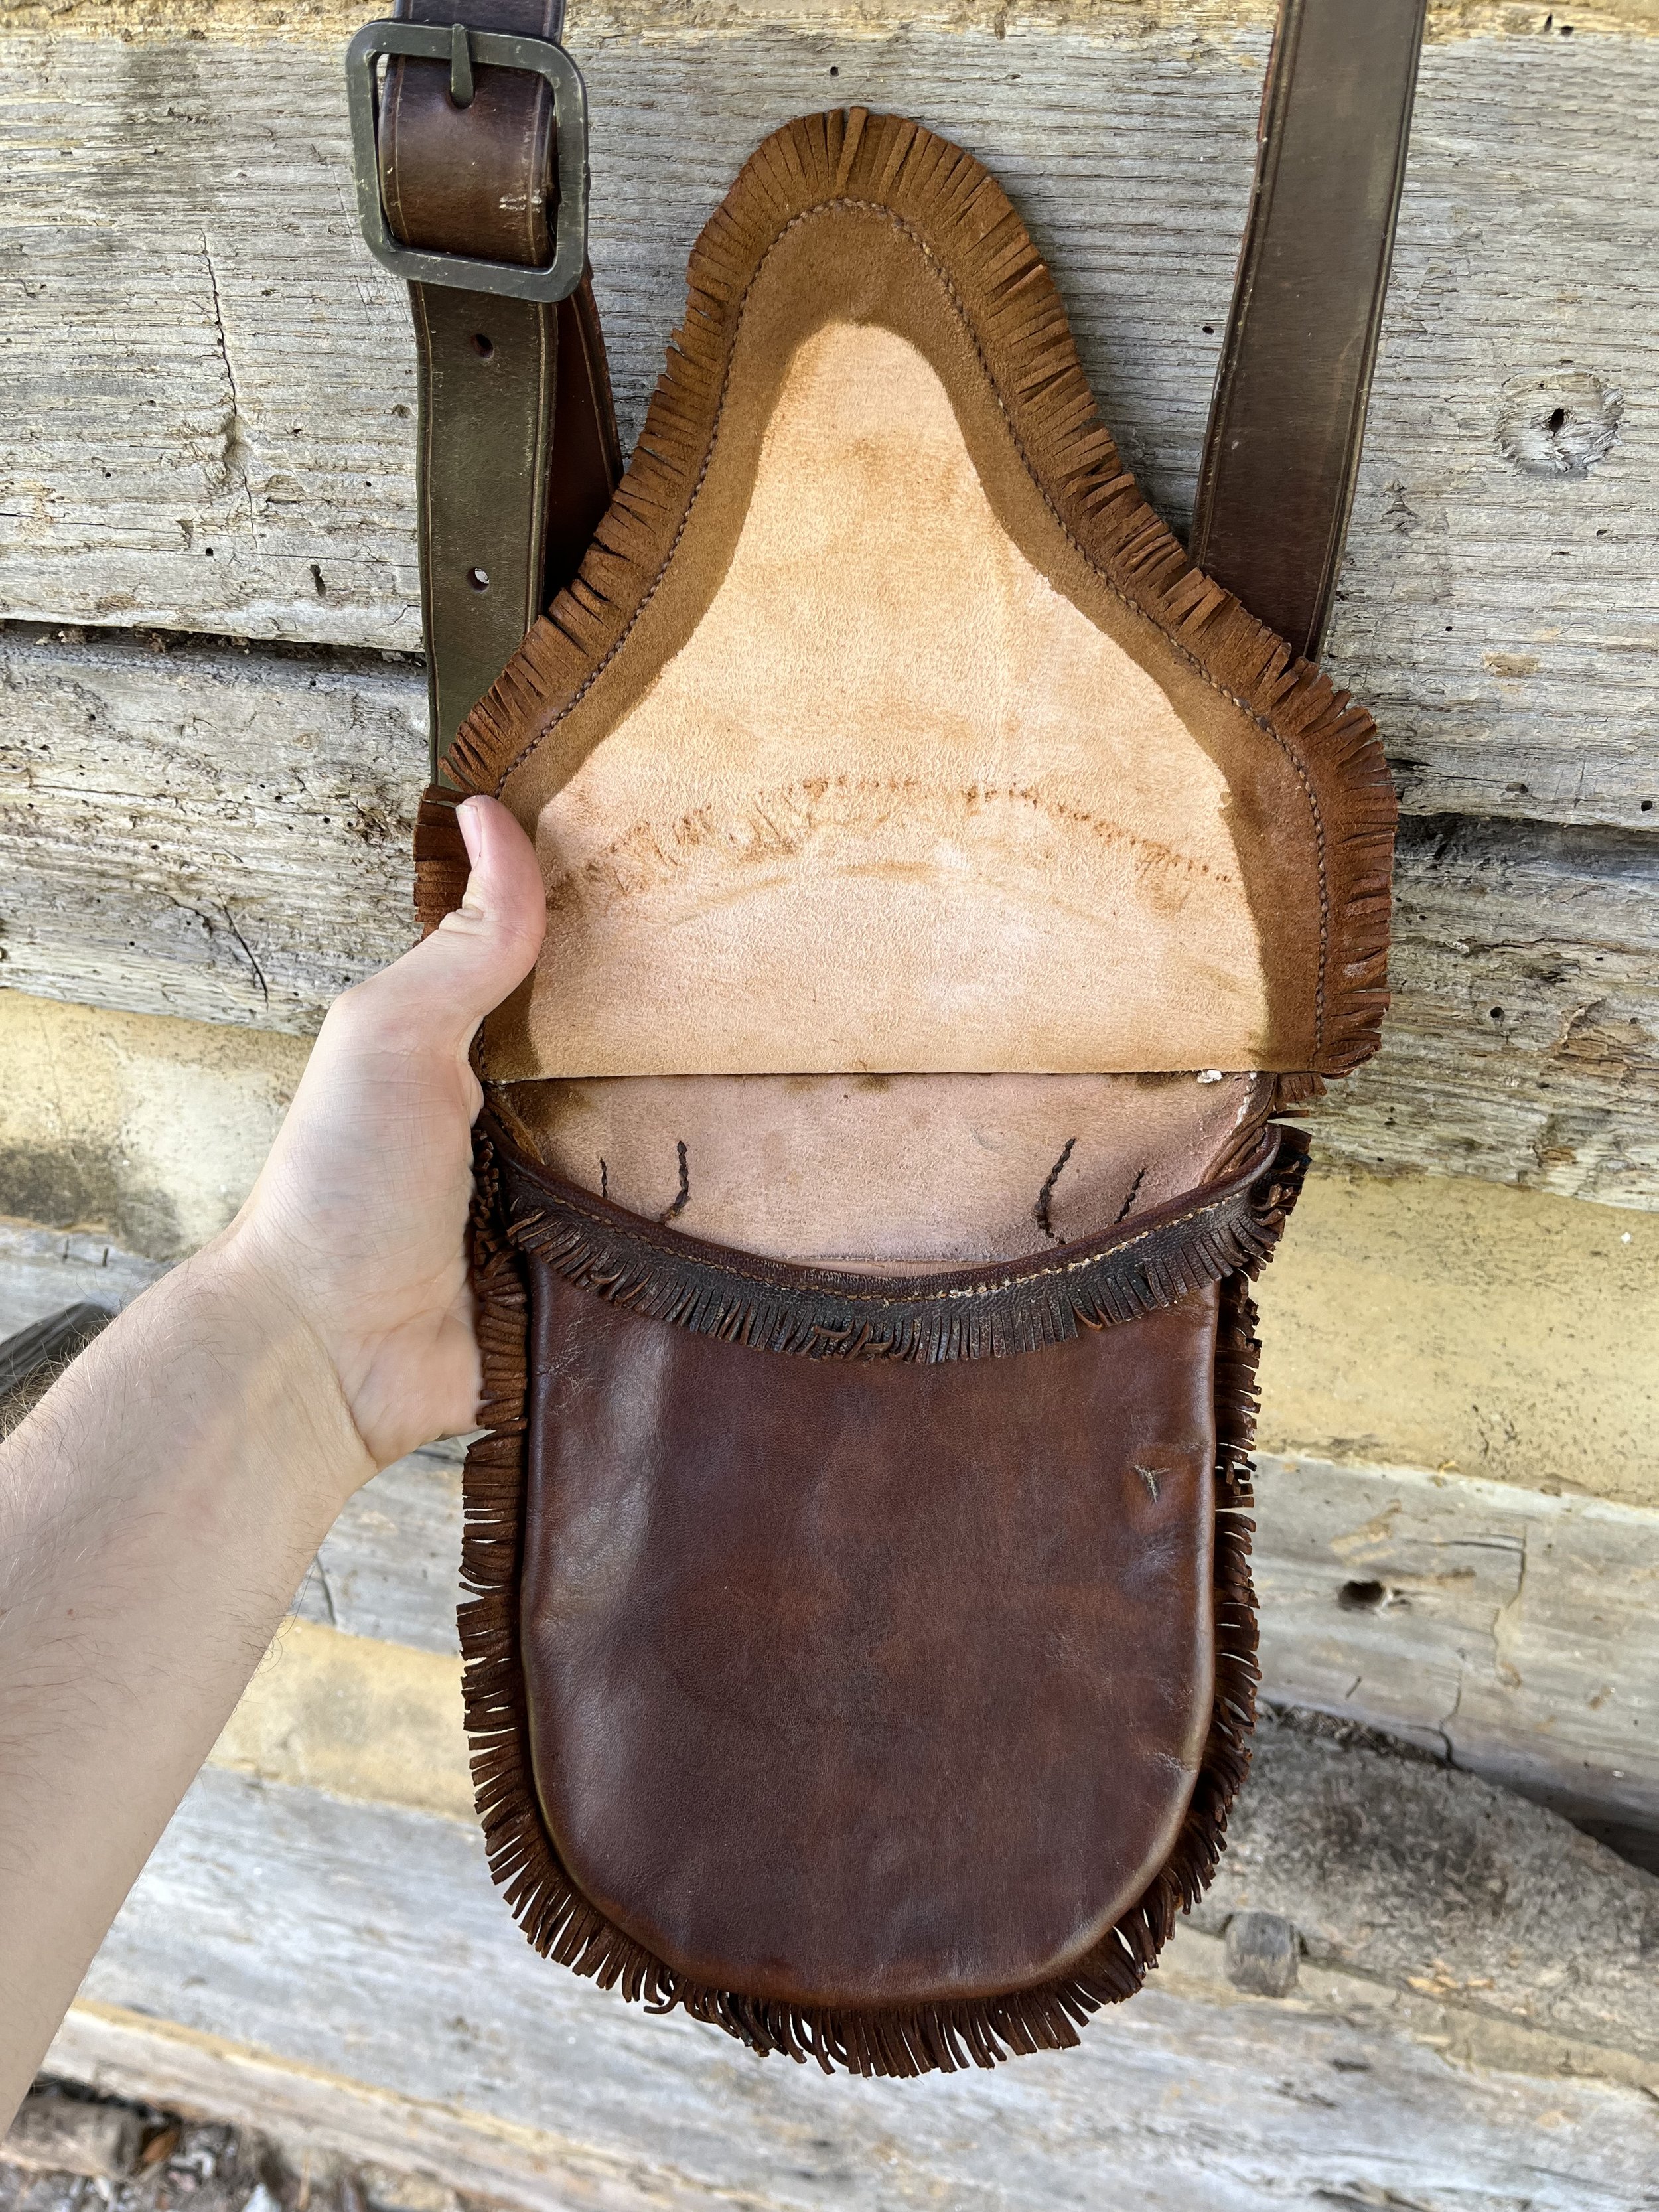
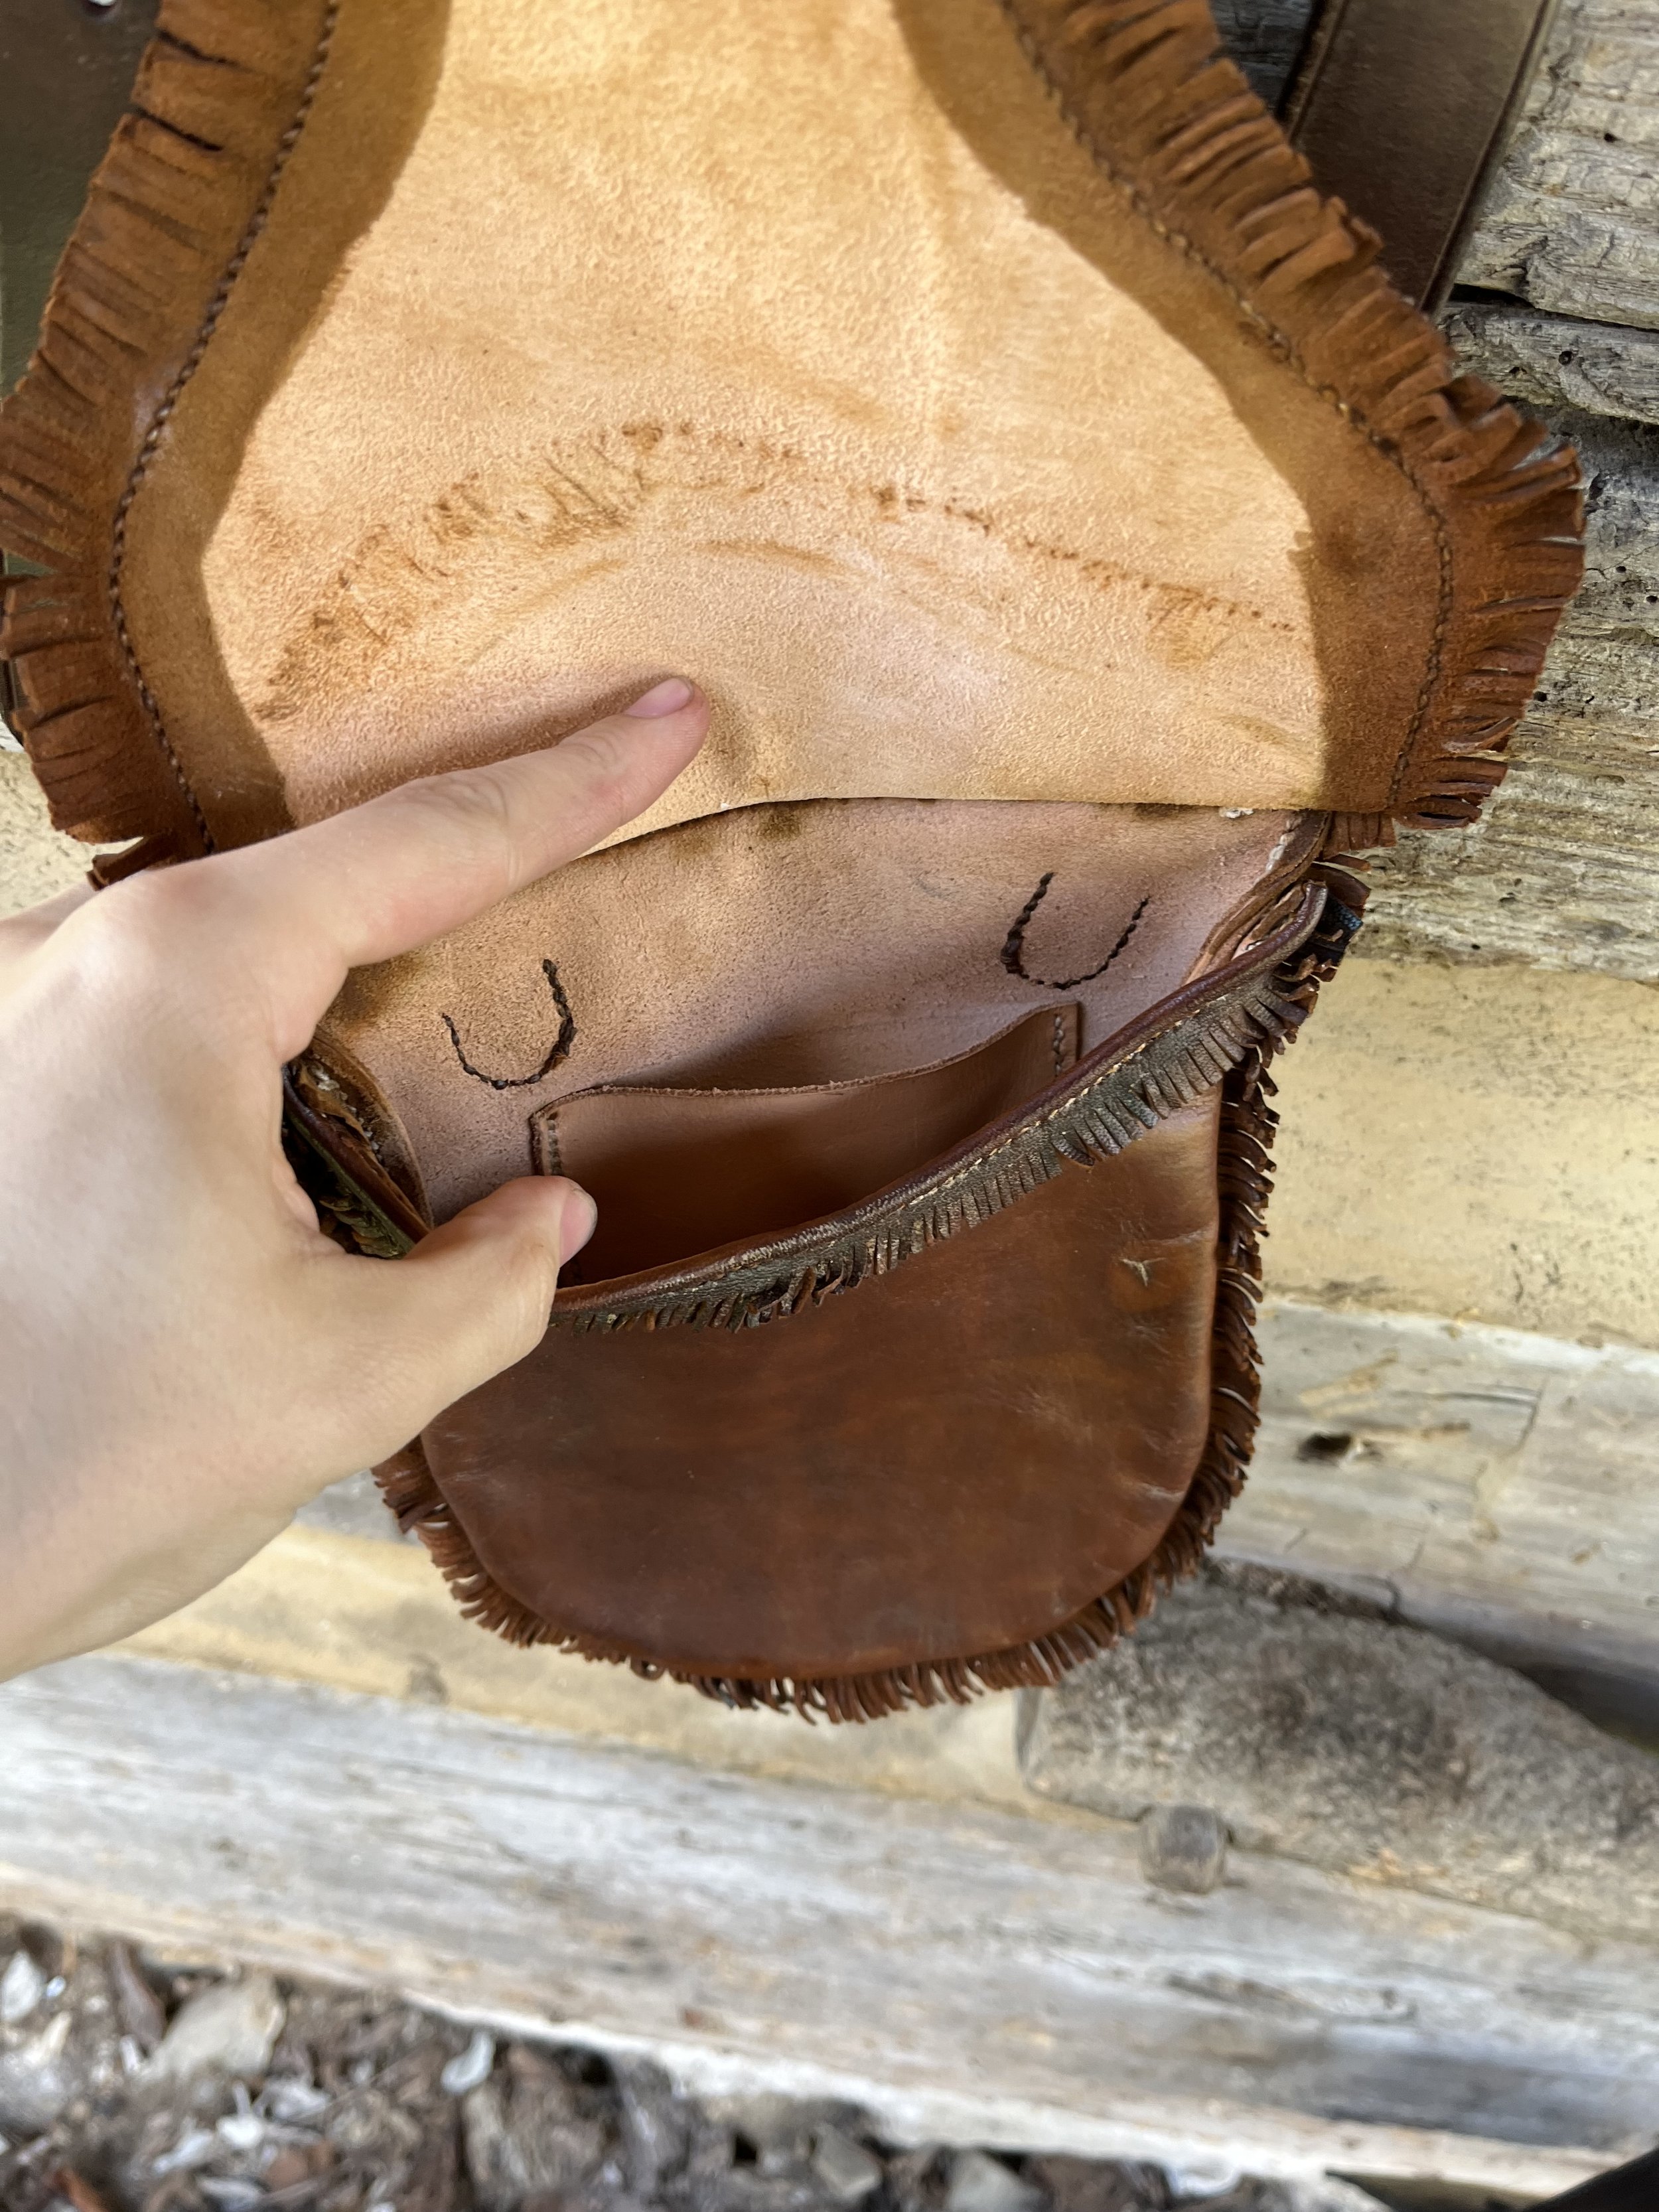
Shot Pouch #7
This is another Gusler virginia bag made from the same pattern as Pouch #7. I dyed the suede-side of the strap this time.


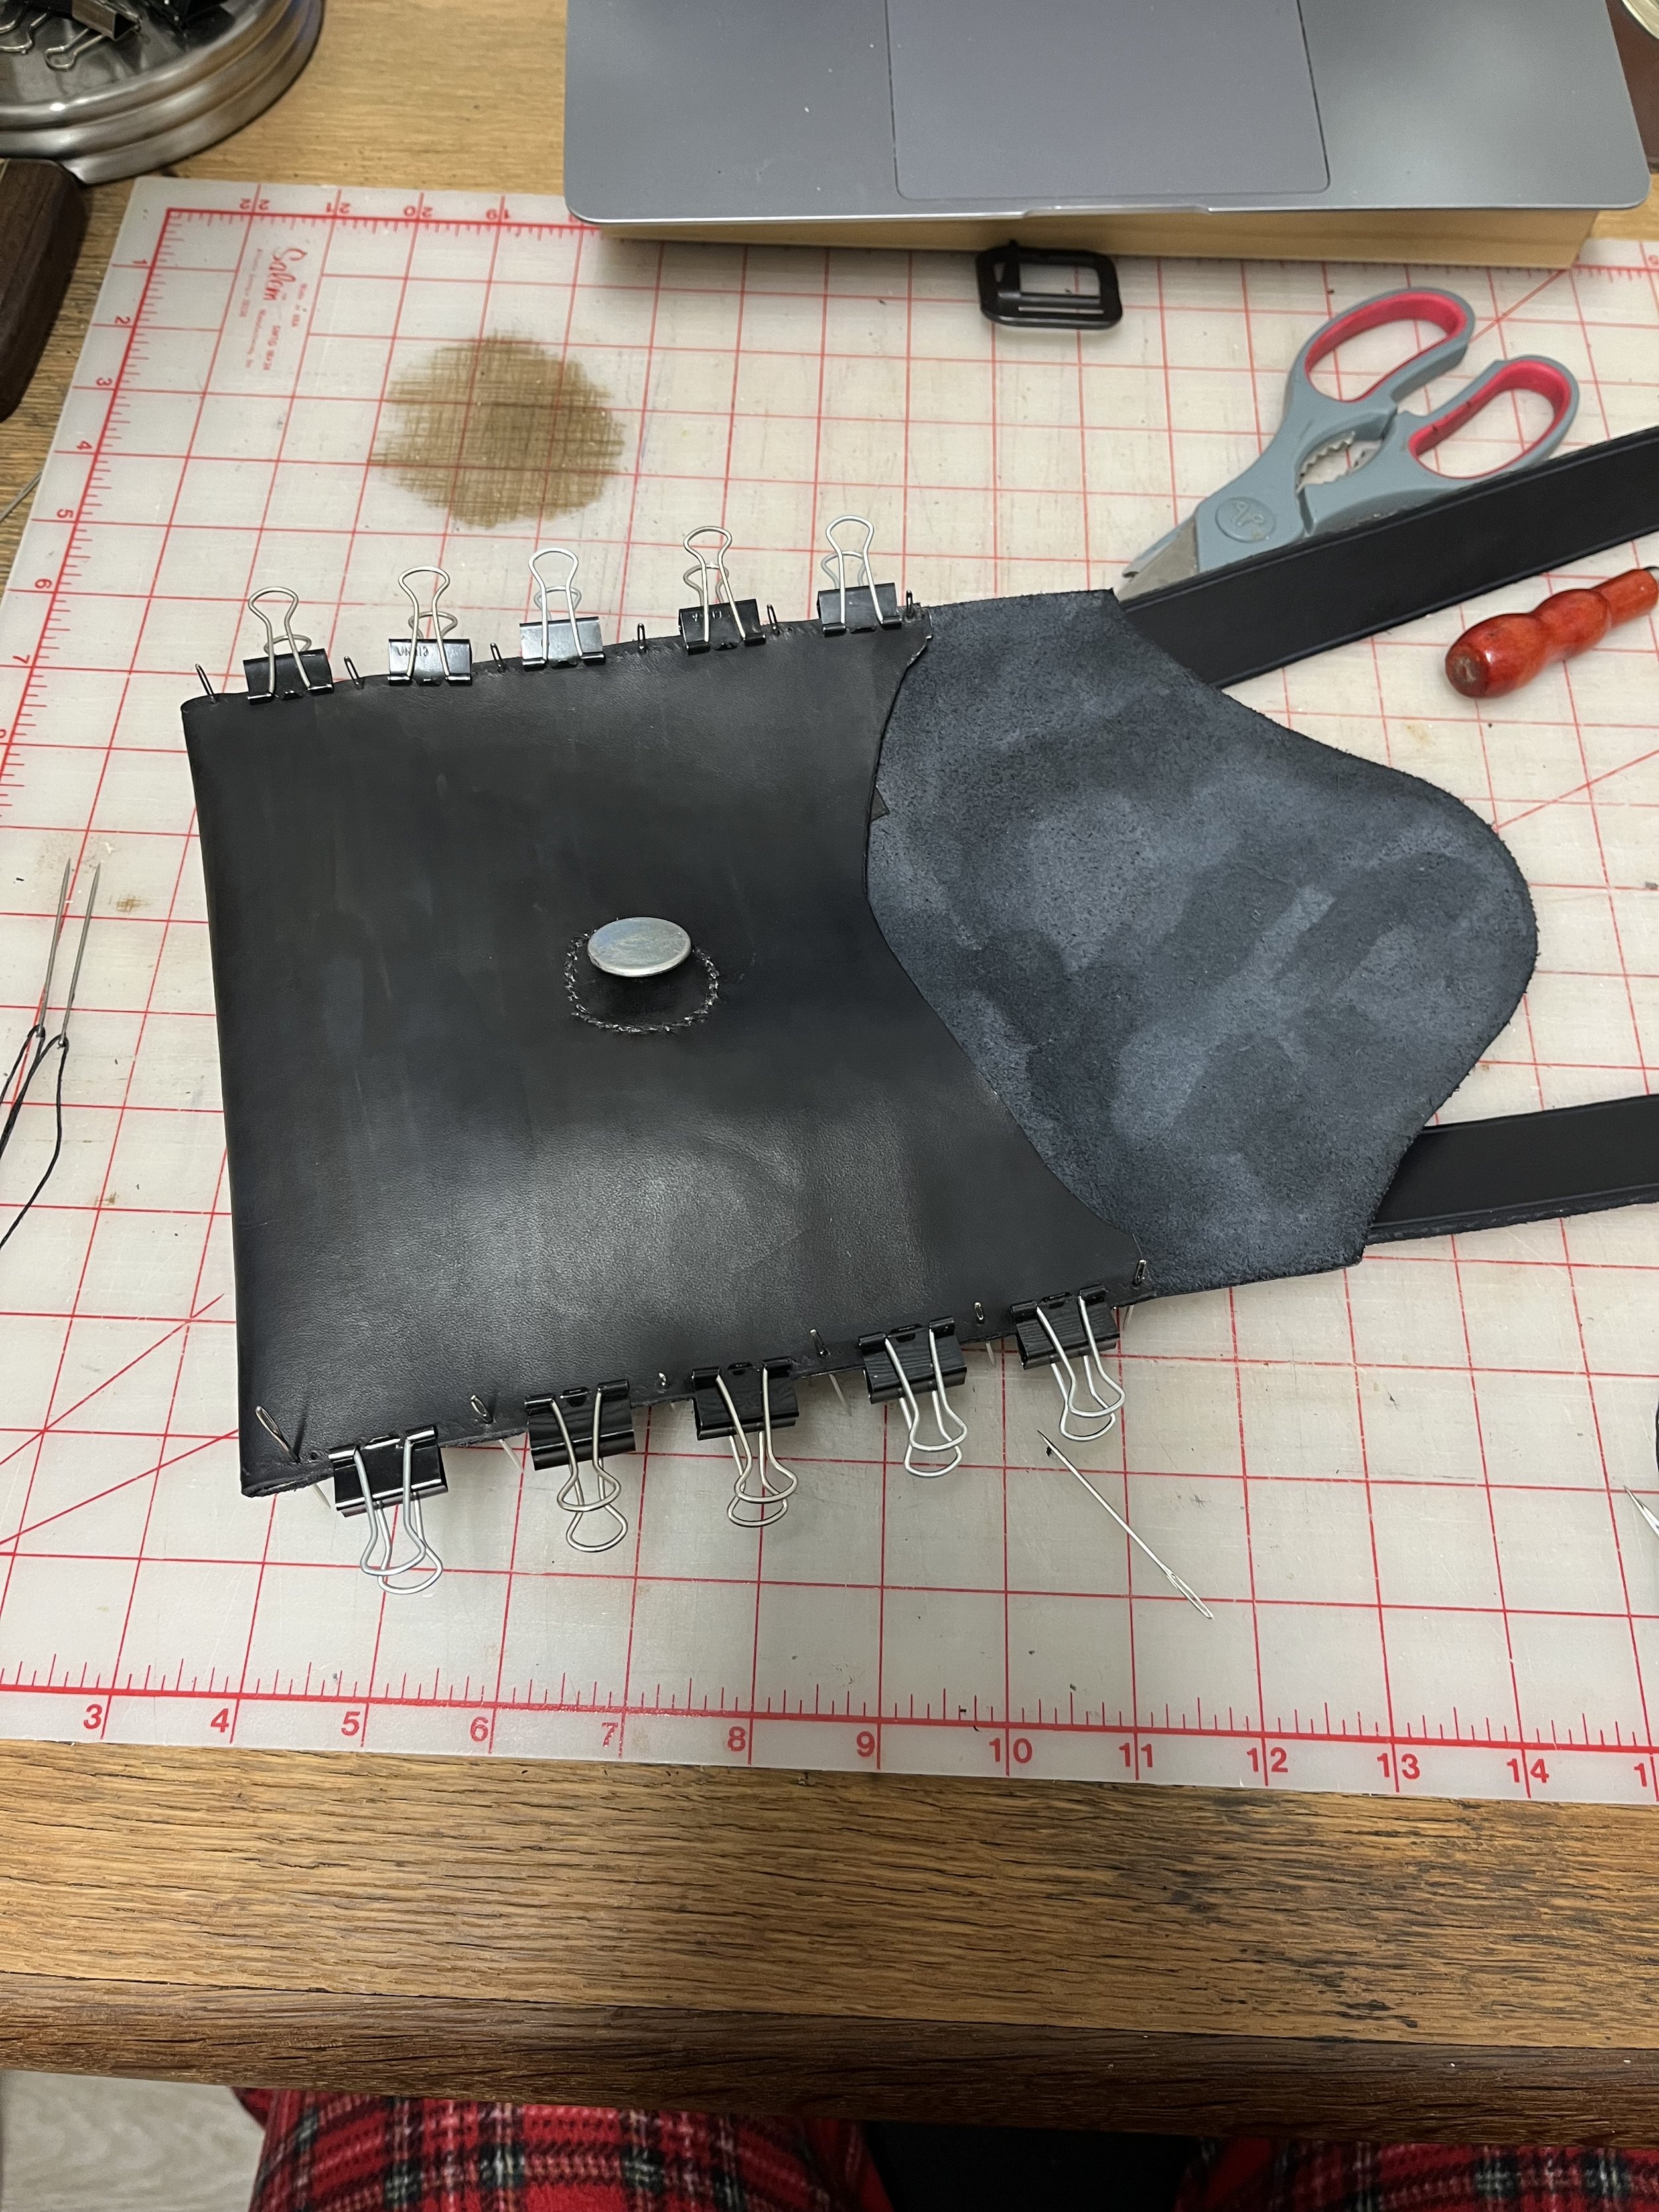

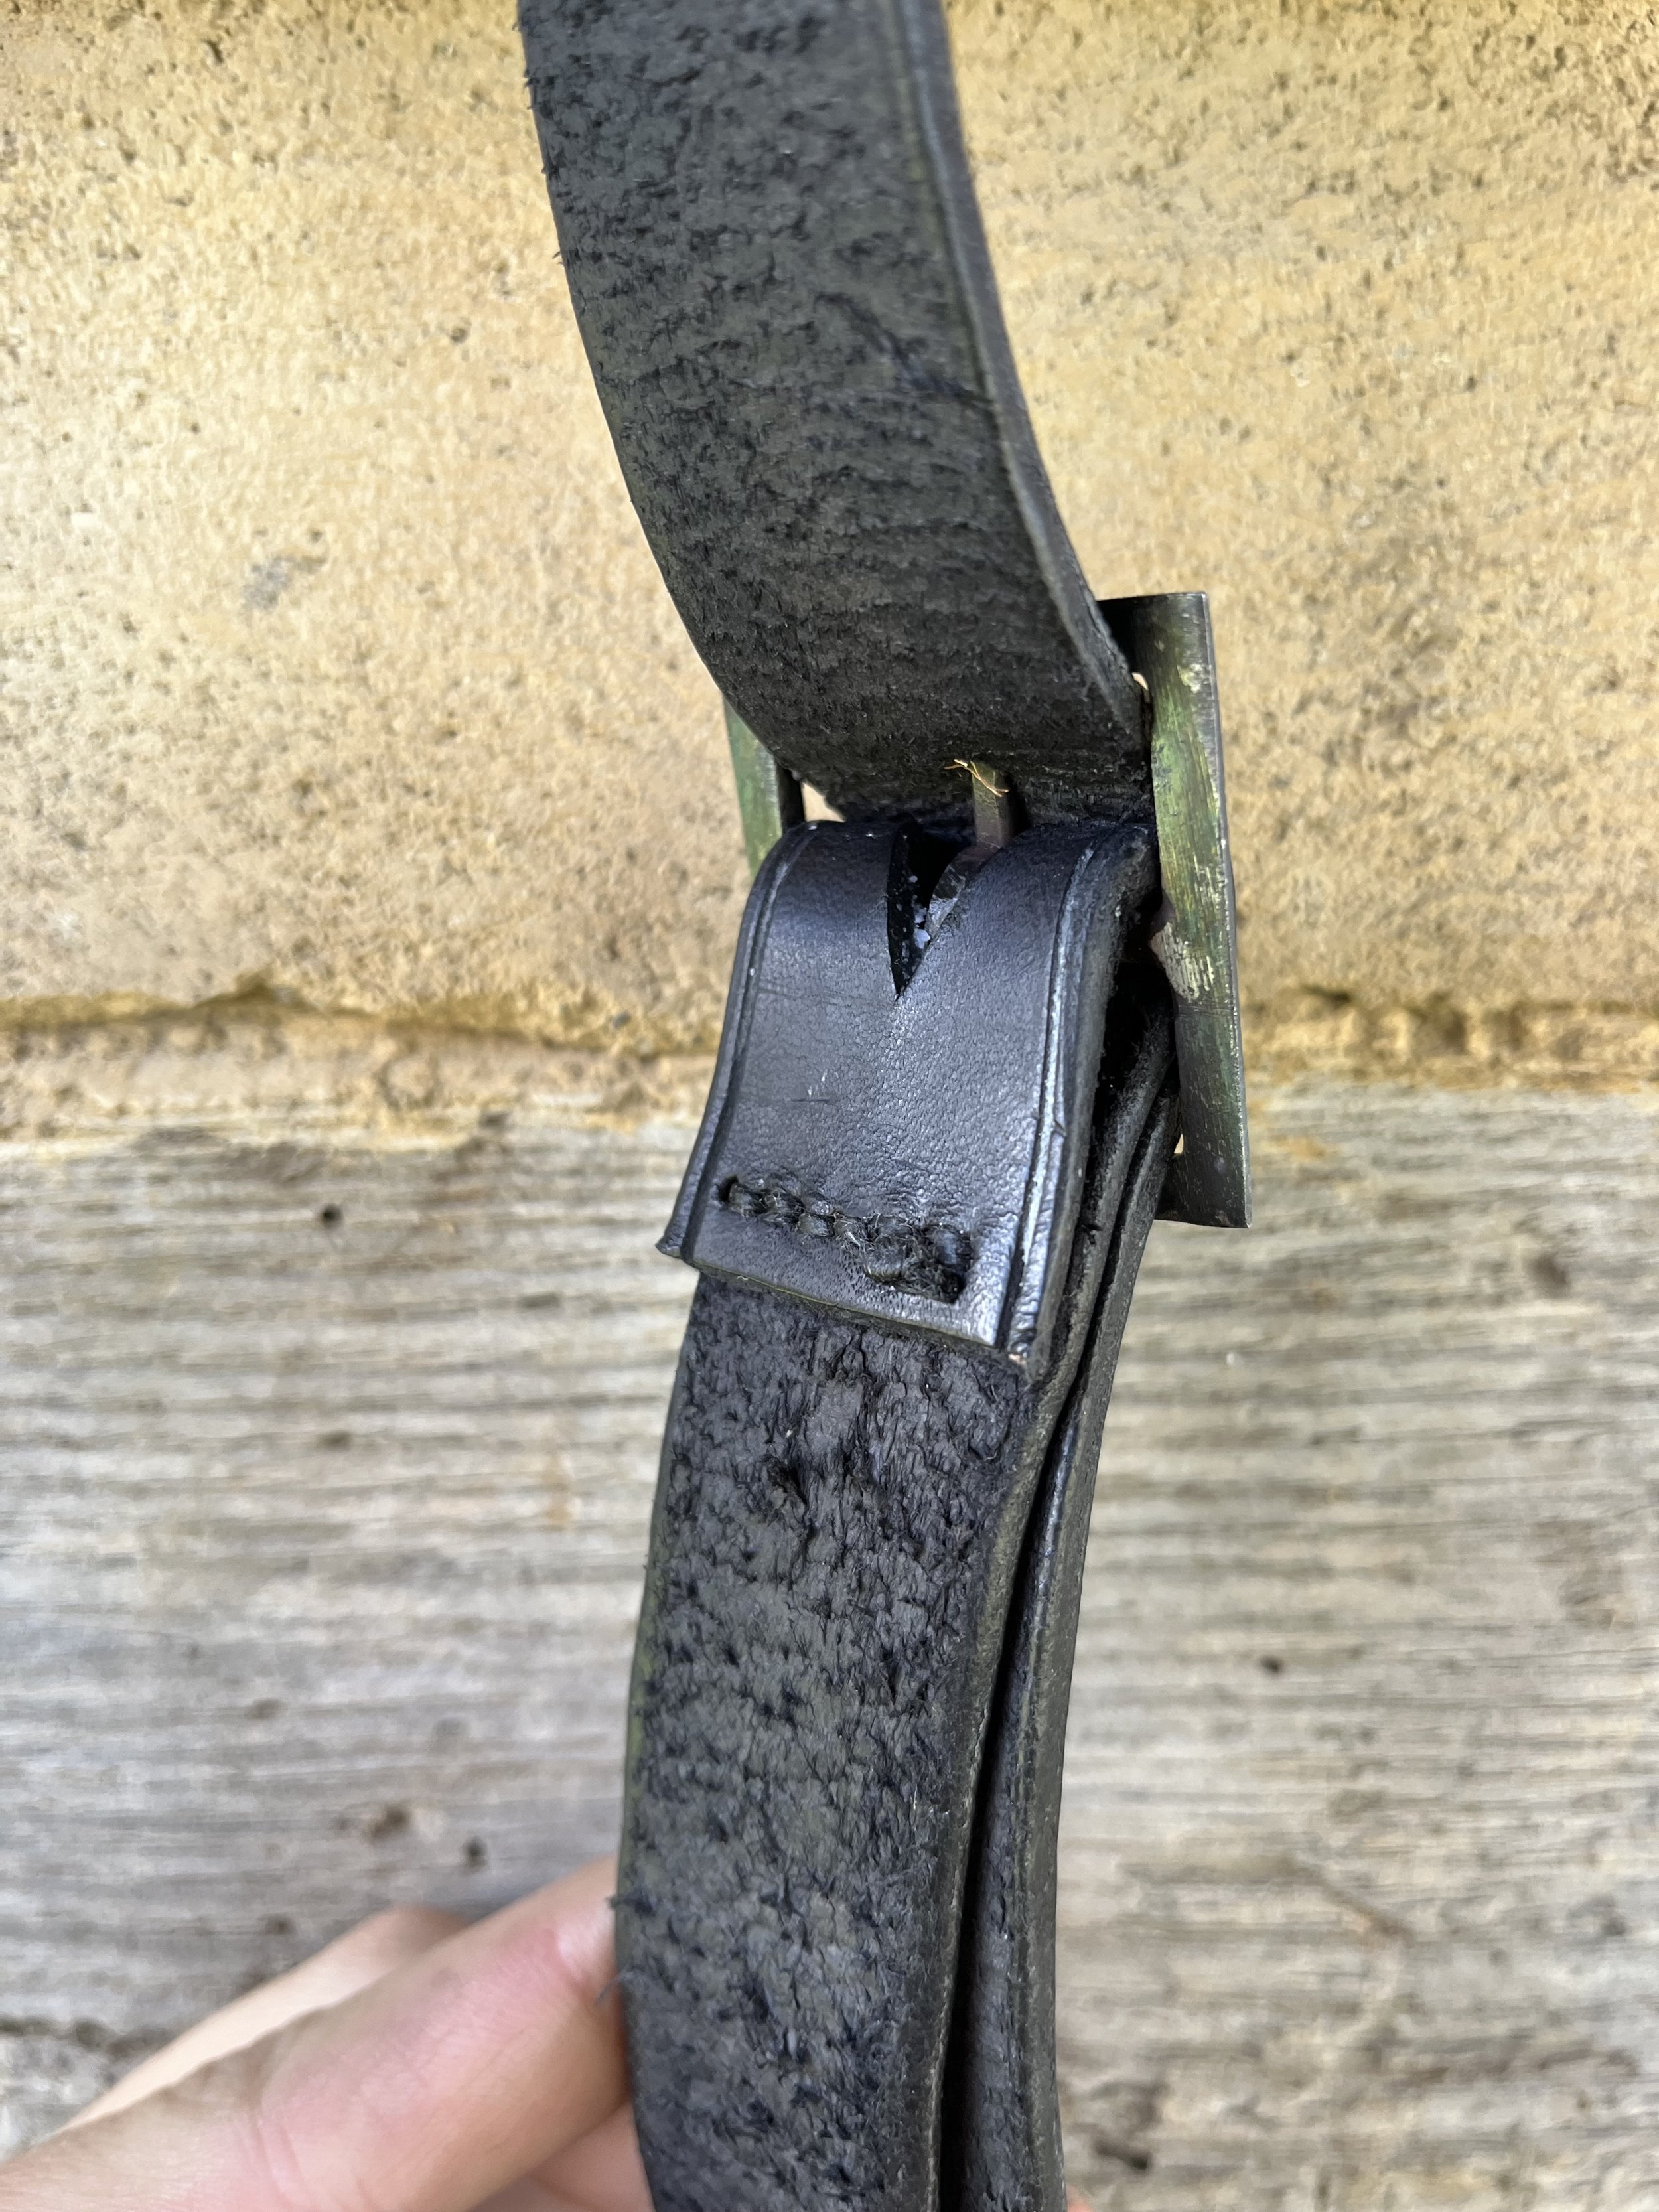
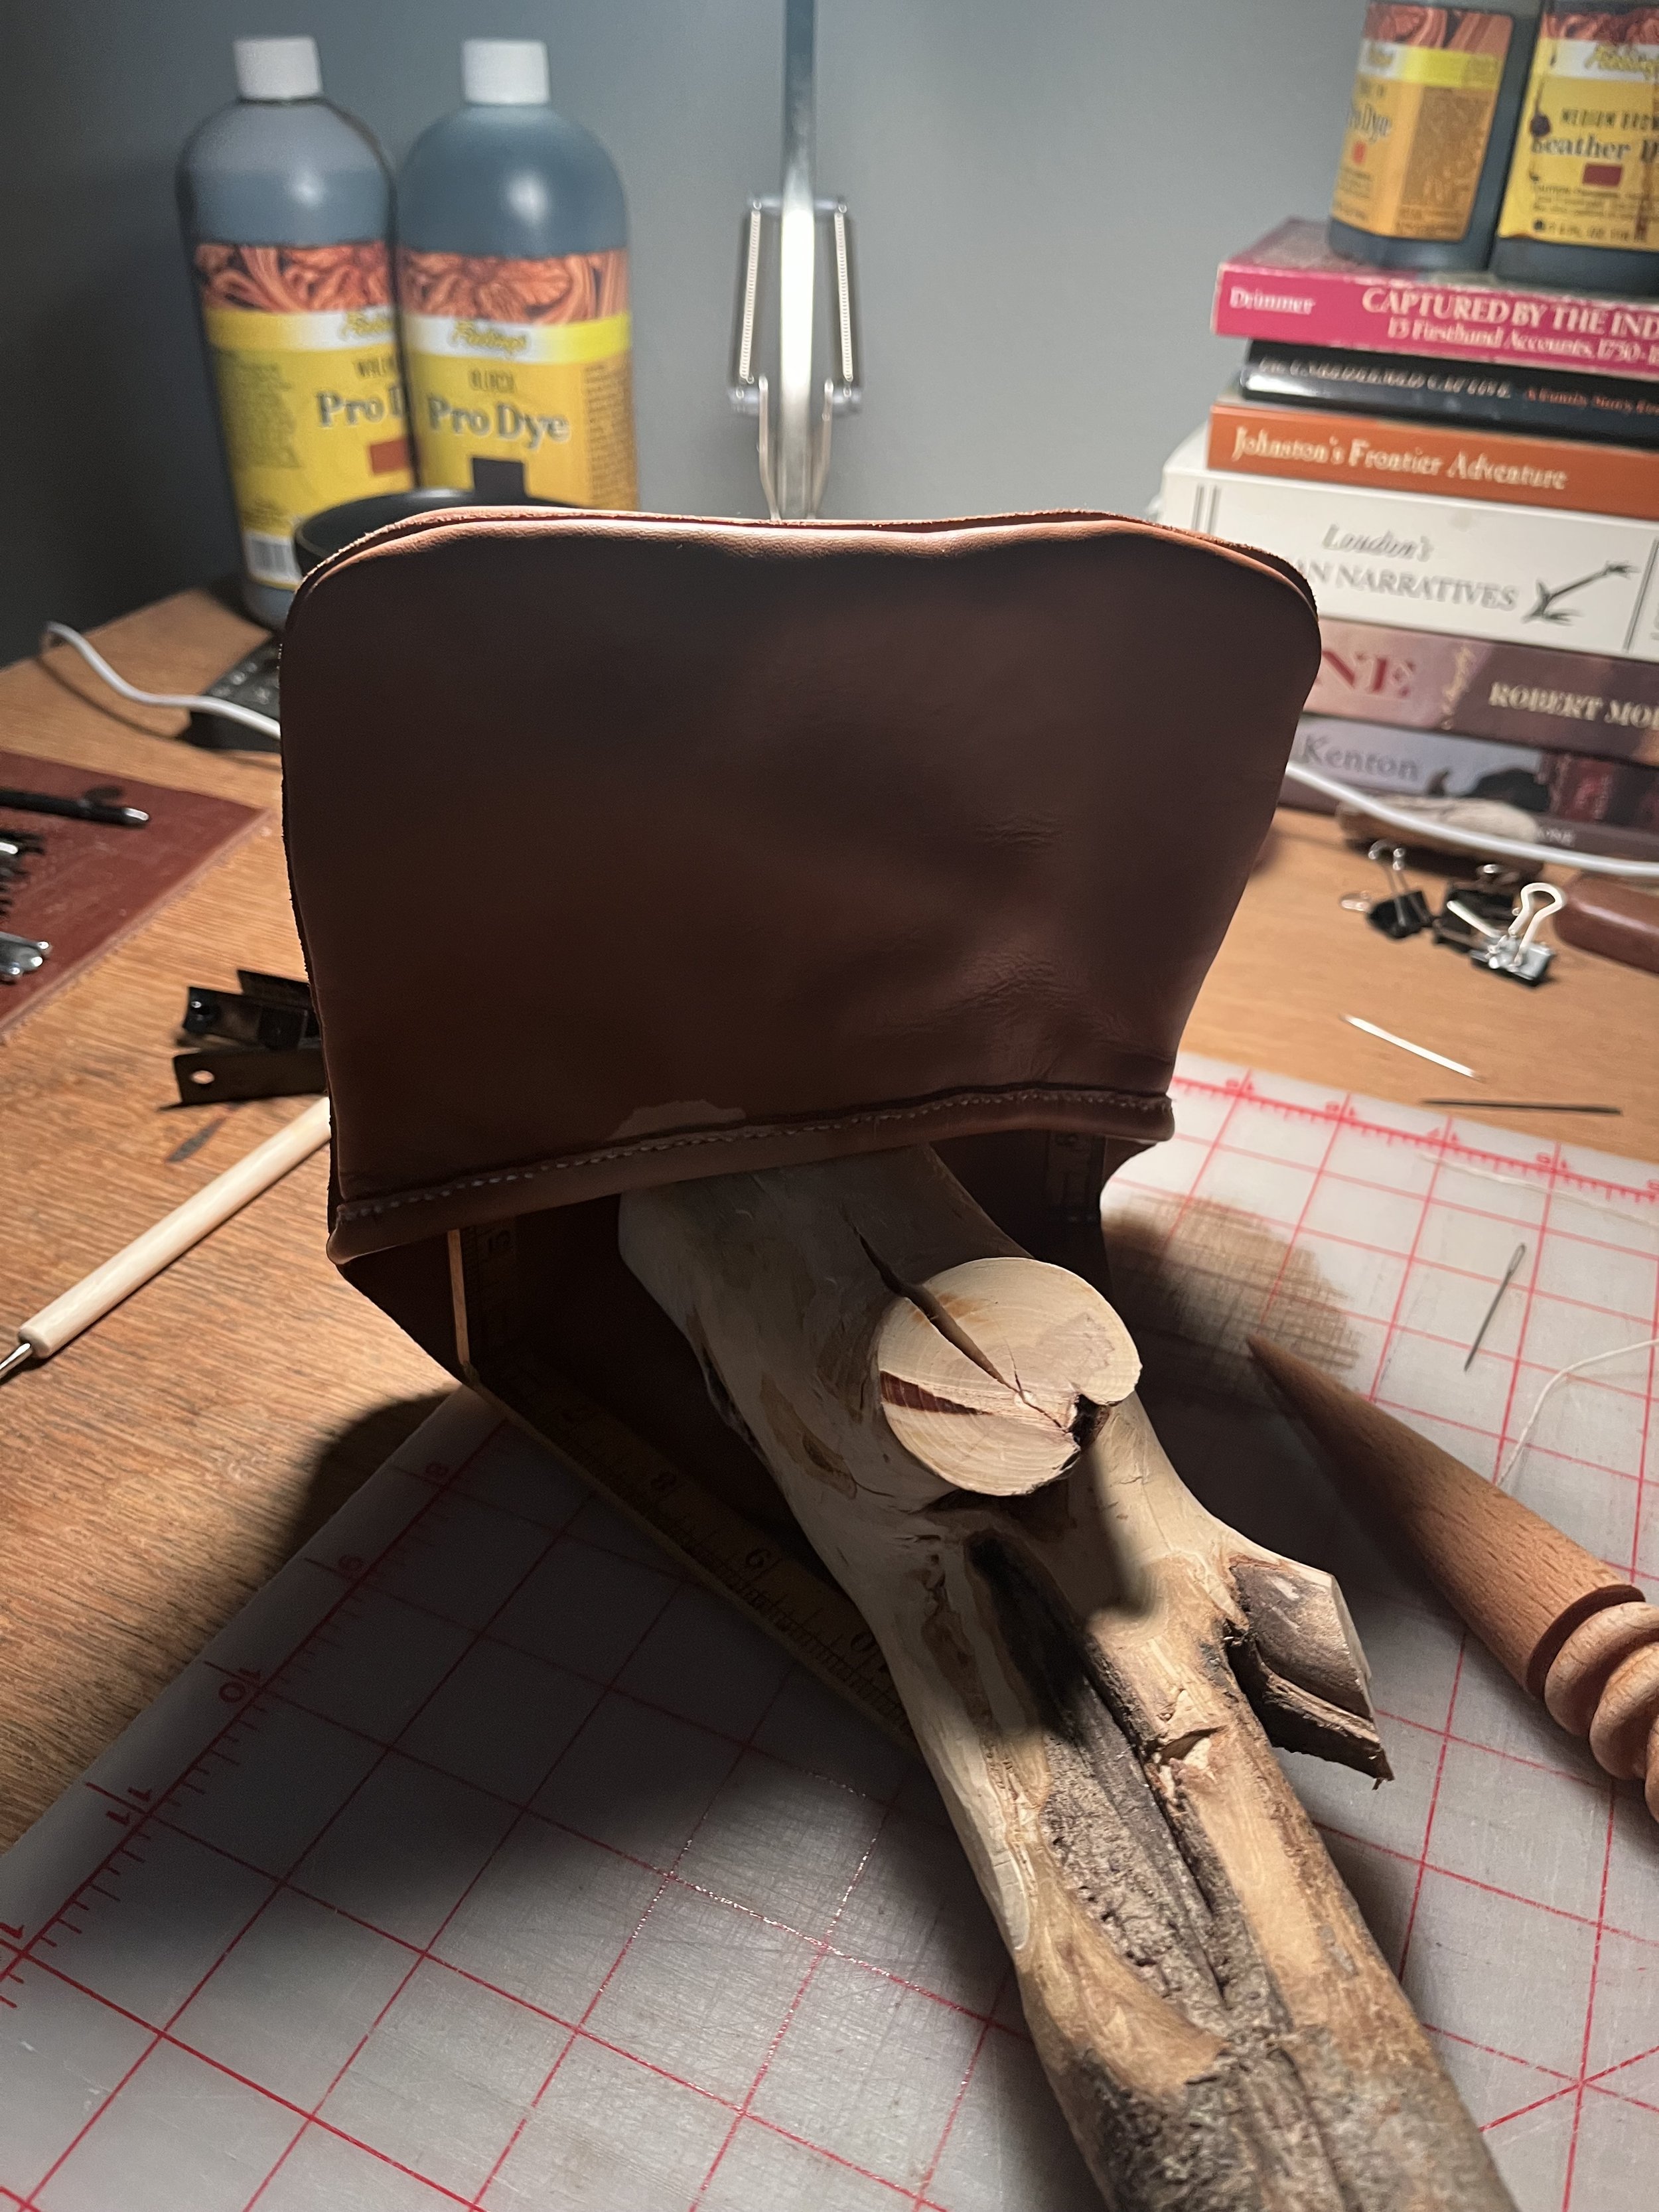
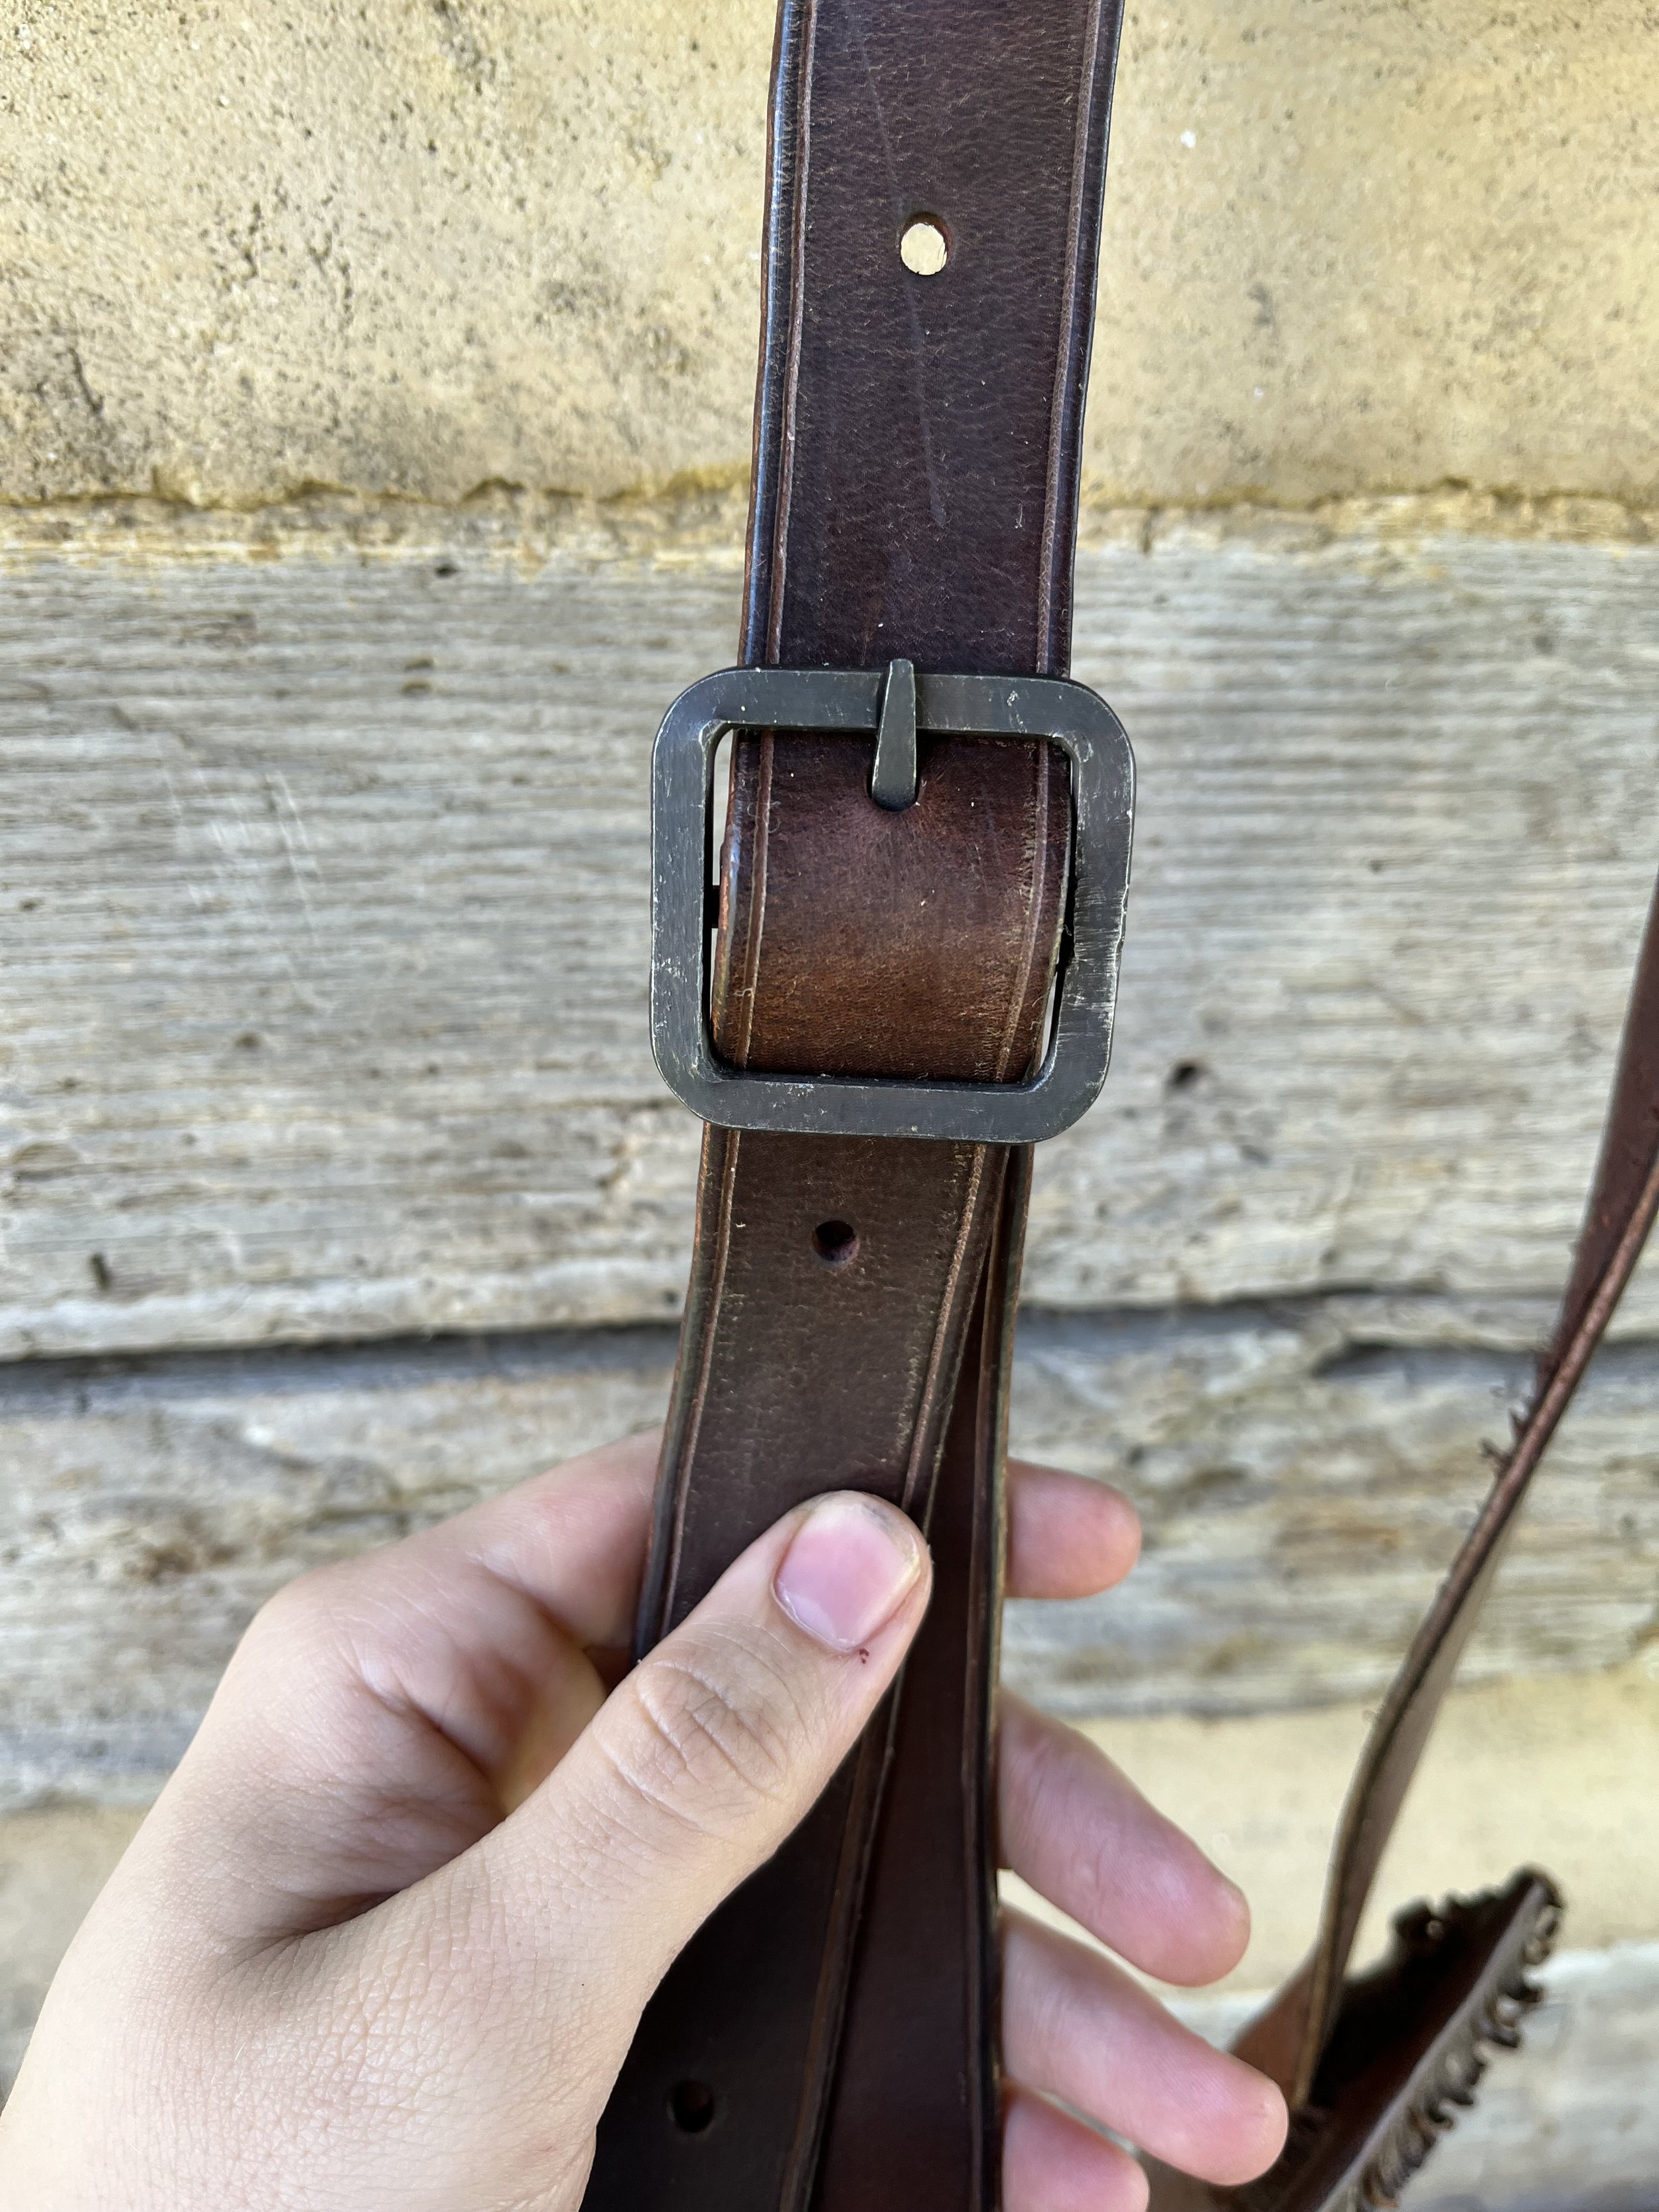
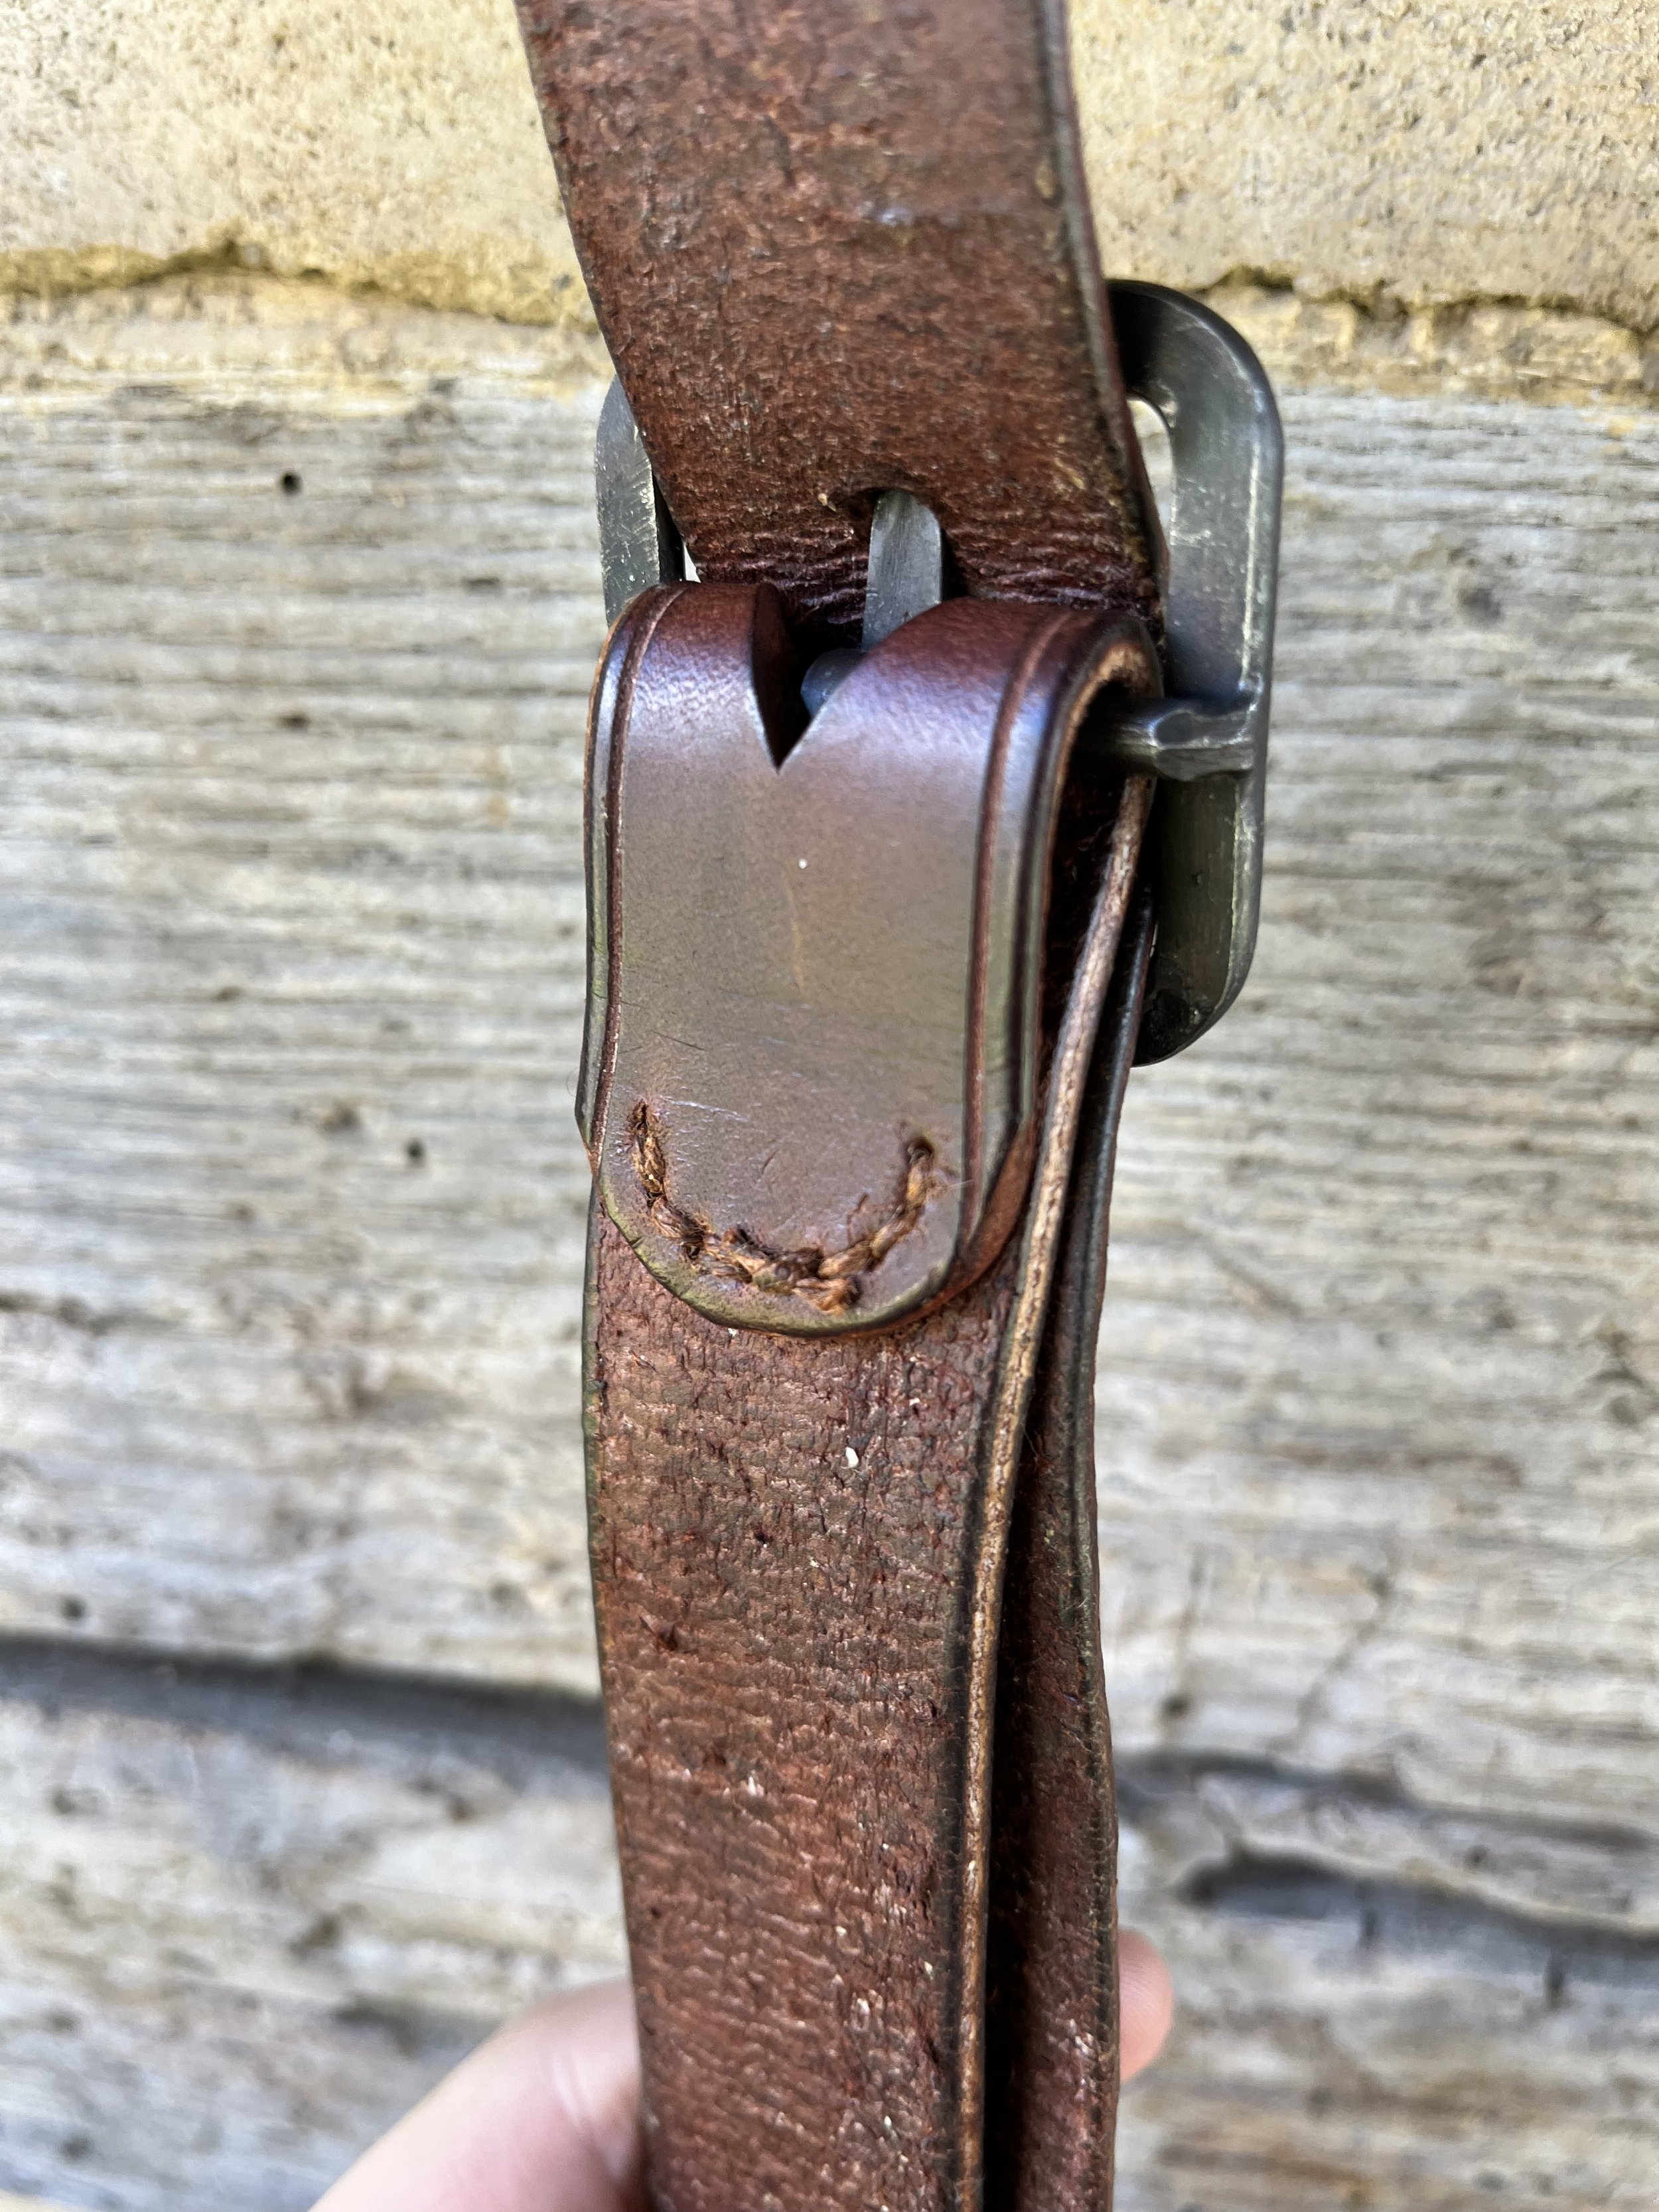
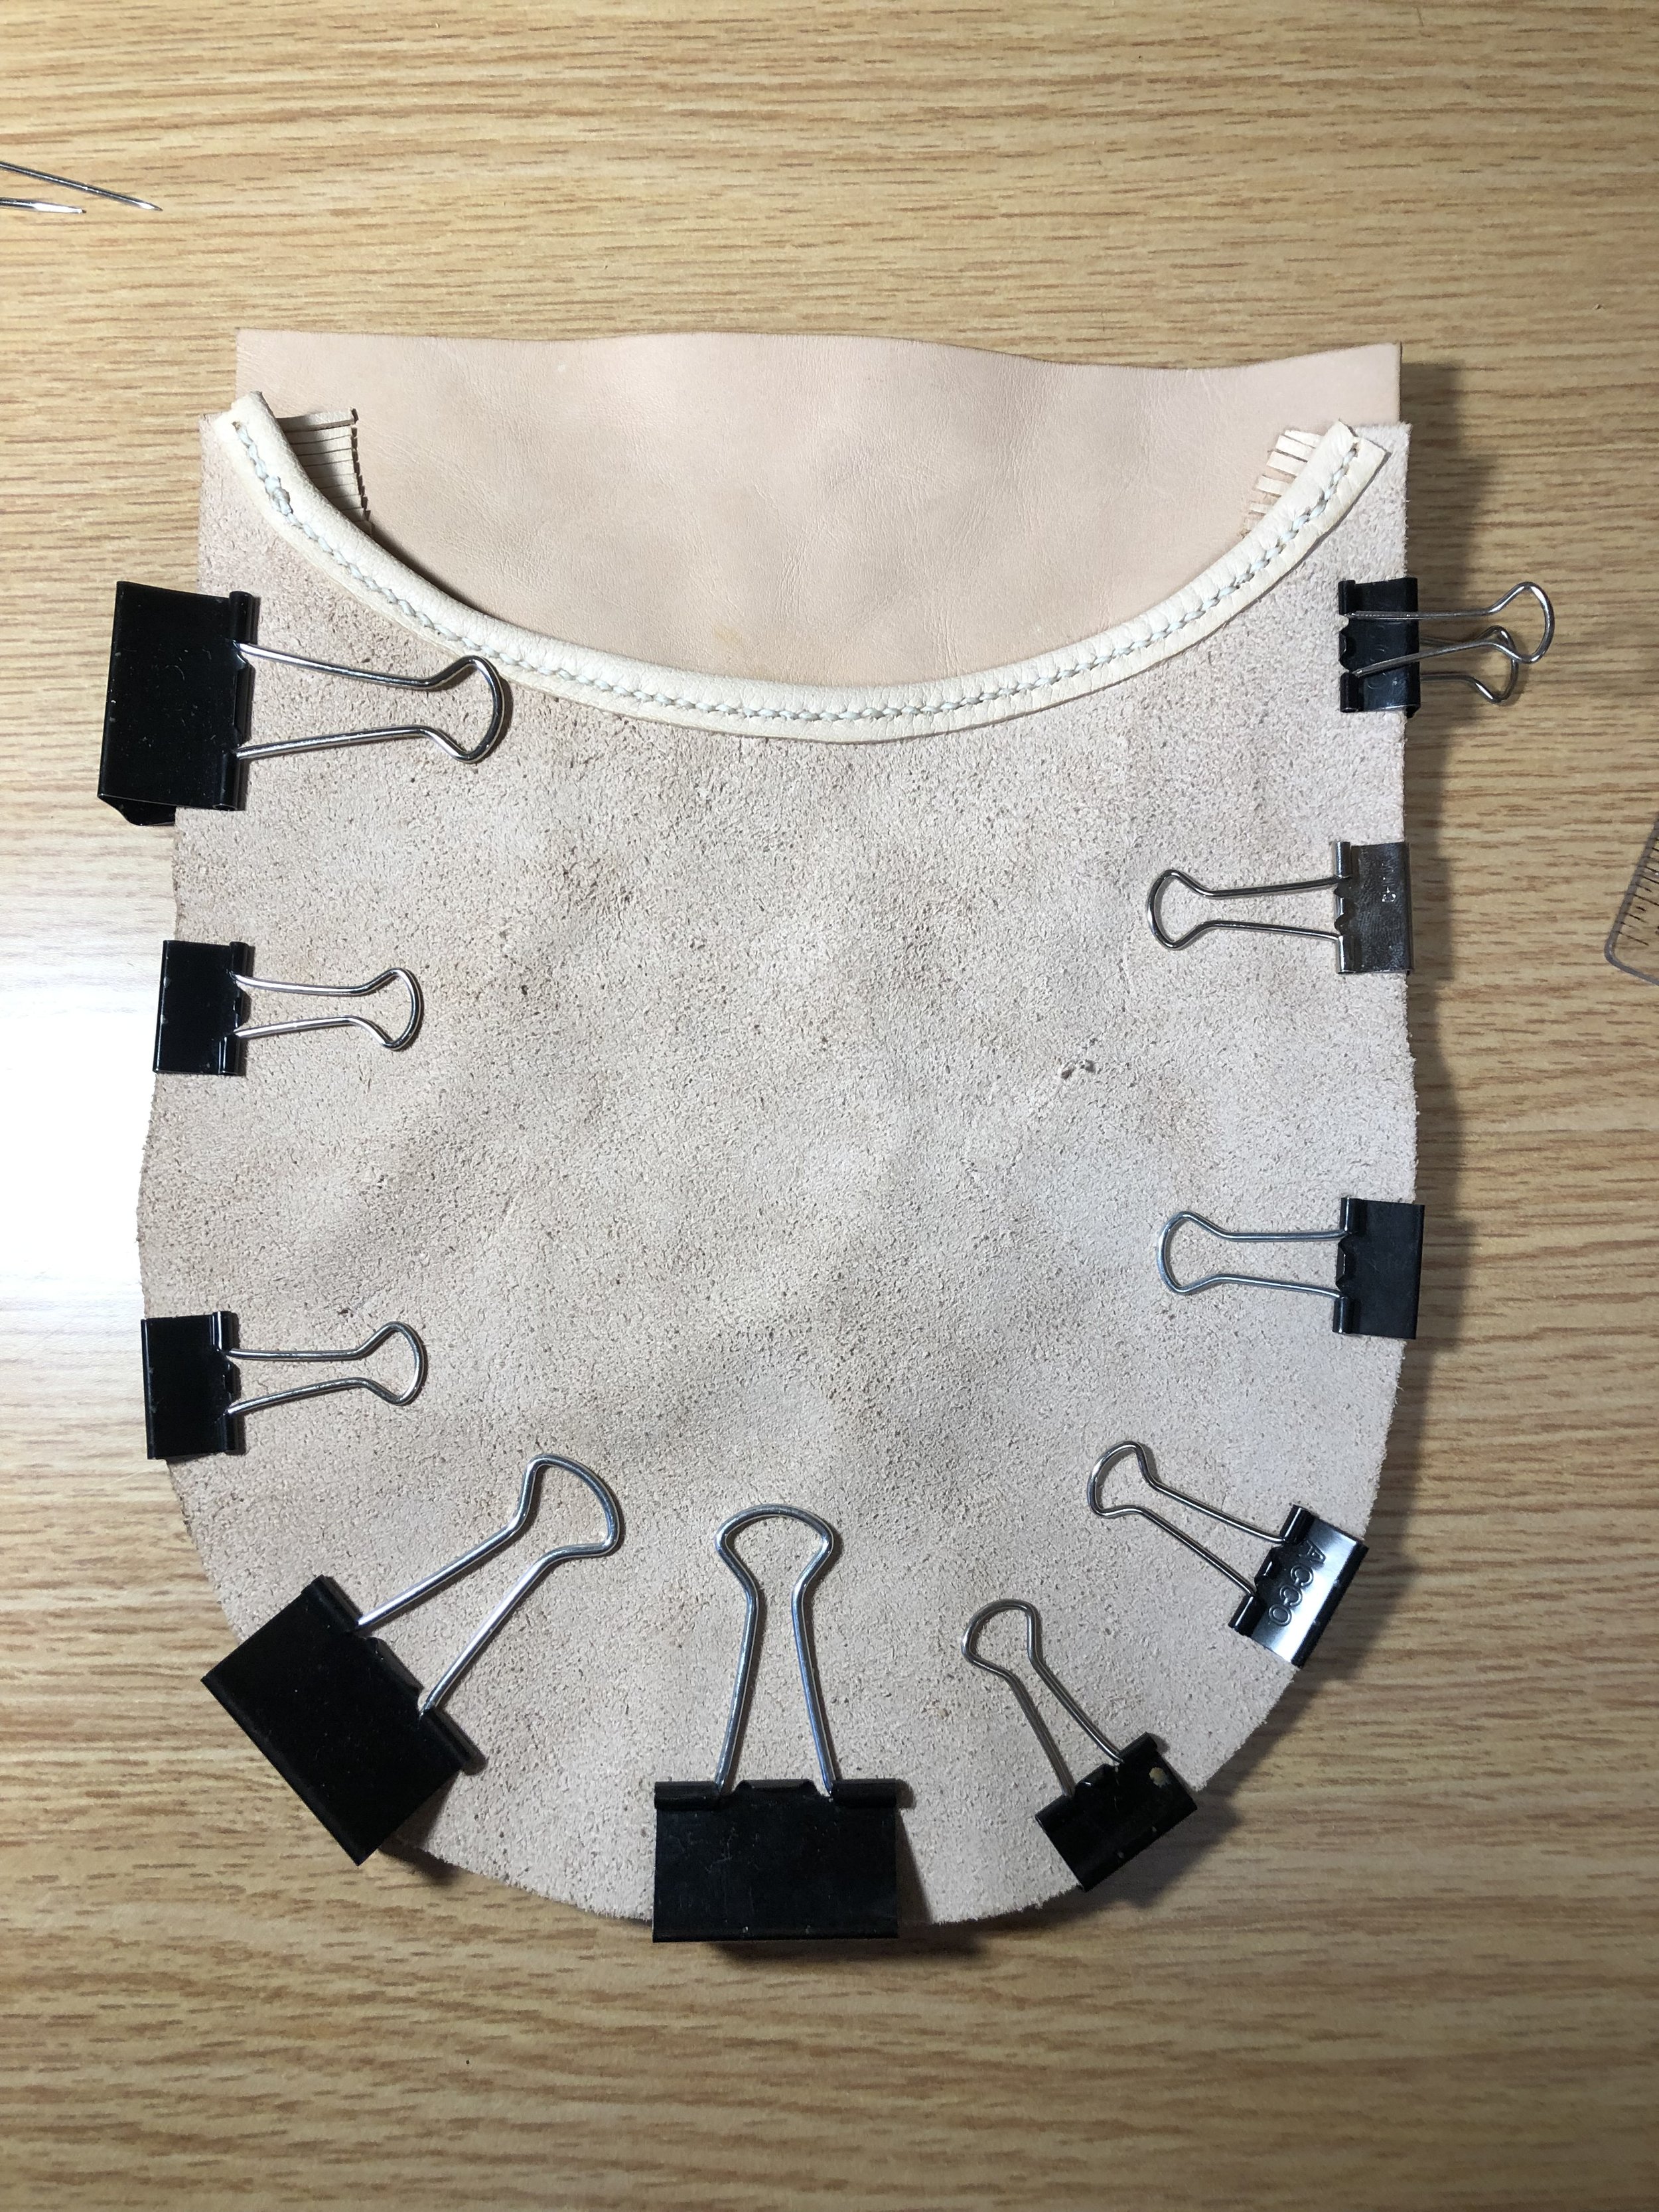
Shot Pouch #6
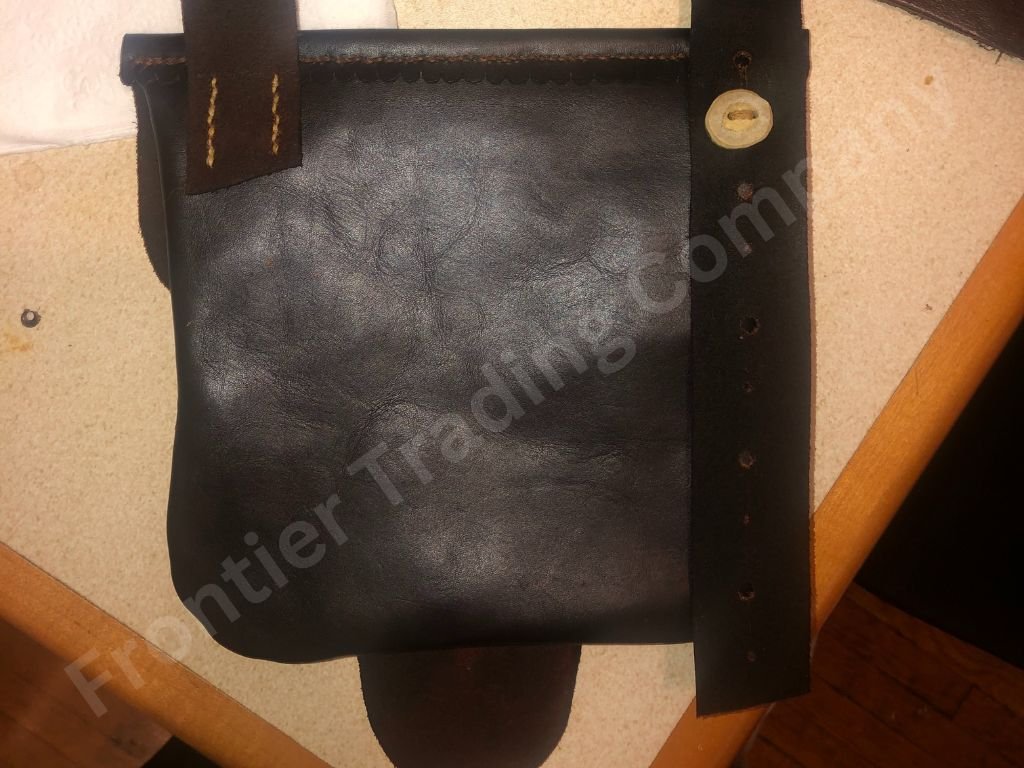
I patterned this bag after pictures of Wallace Gusler’s original Virginia pouch that I took at an NMLRA Gunsmithing Seminar. It is a simple one-piece bag with welts and a buckle strap, which differs from the original. The original bag has a cuff-link style button to adjust the strap rather than a buckle. The original also had a backing made of antler for the visible pewter button – I selected bone instead, since the pithy interior of antler is prone to crumbling under stress.
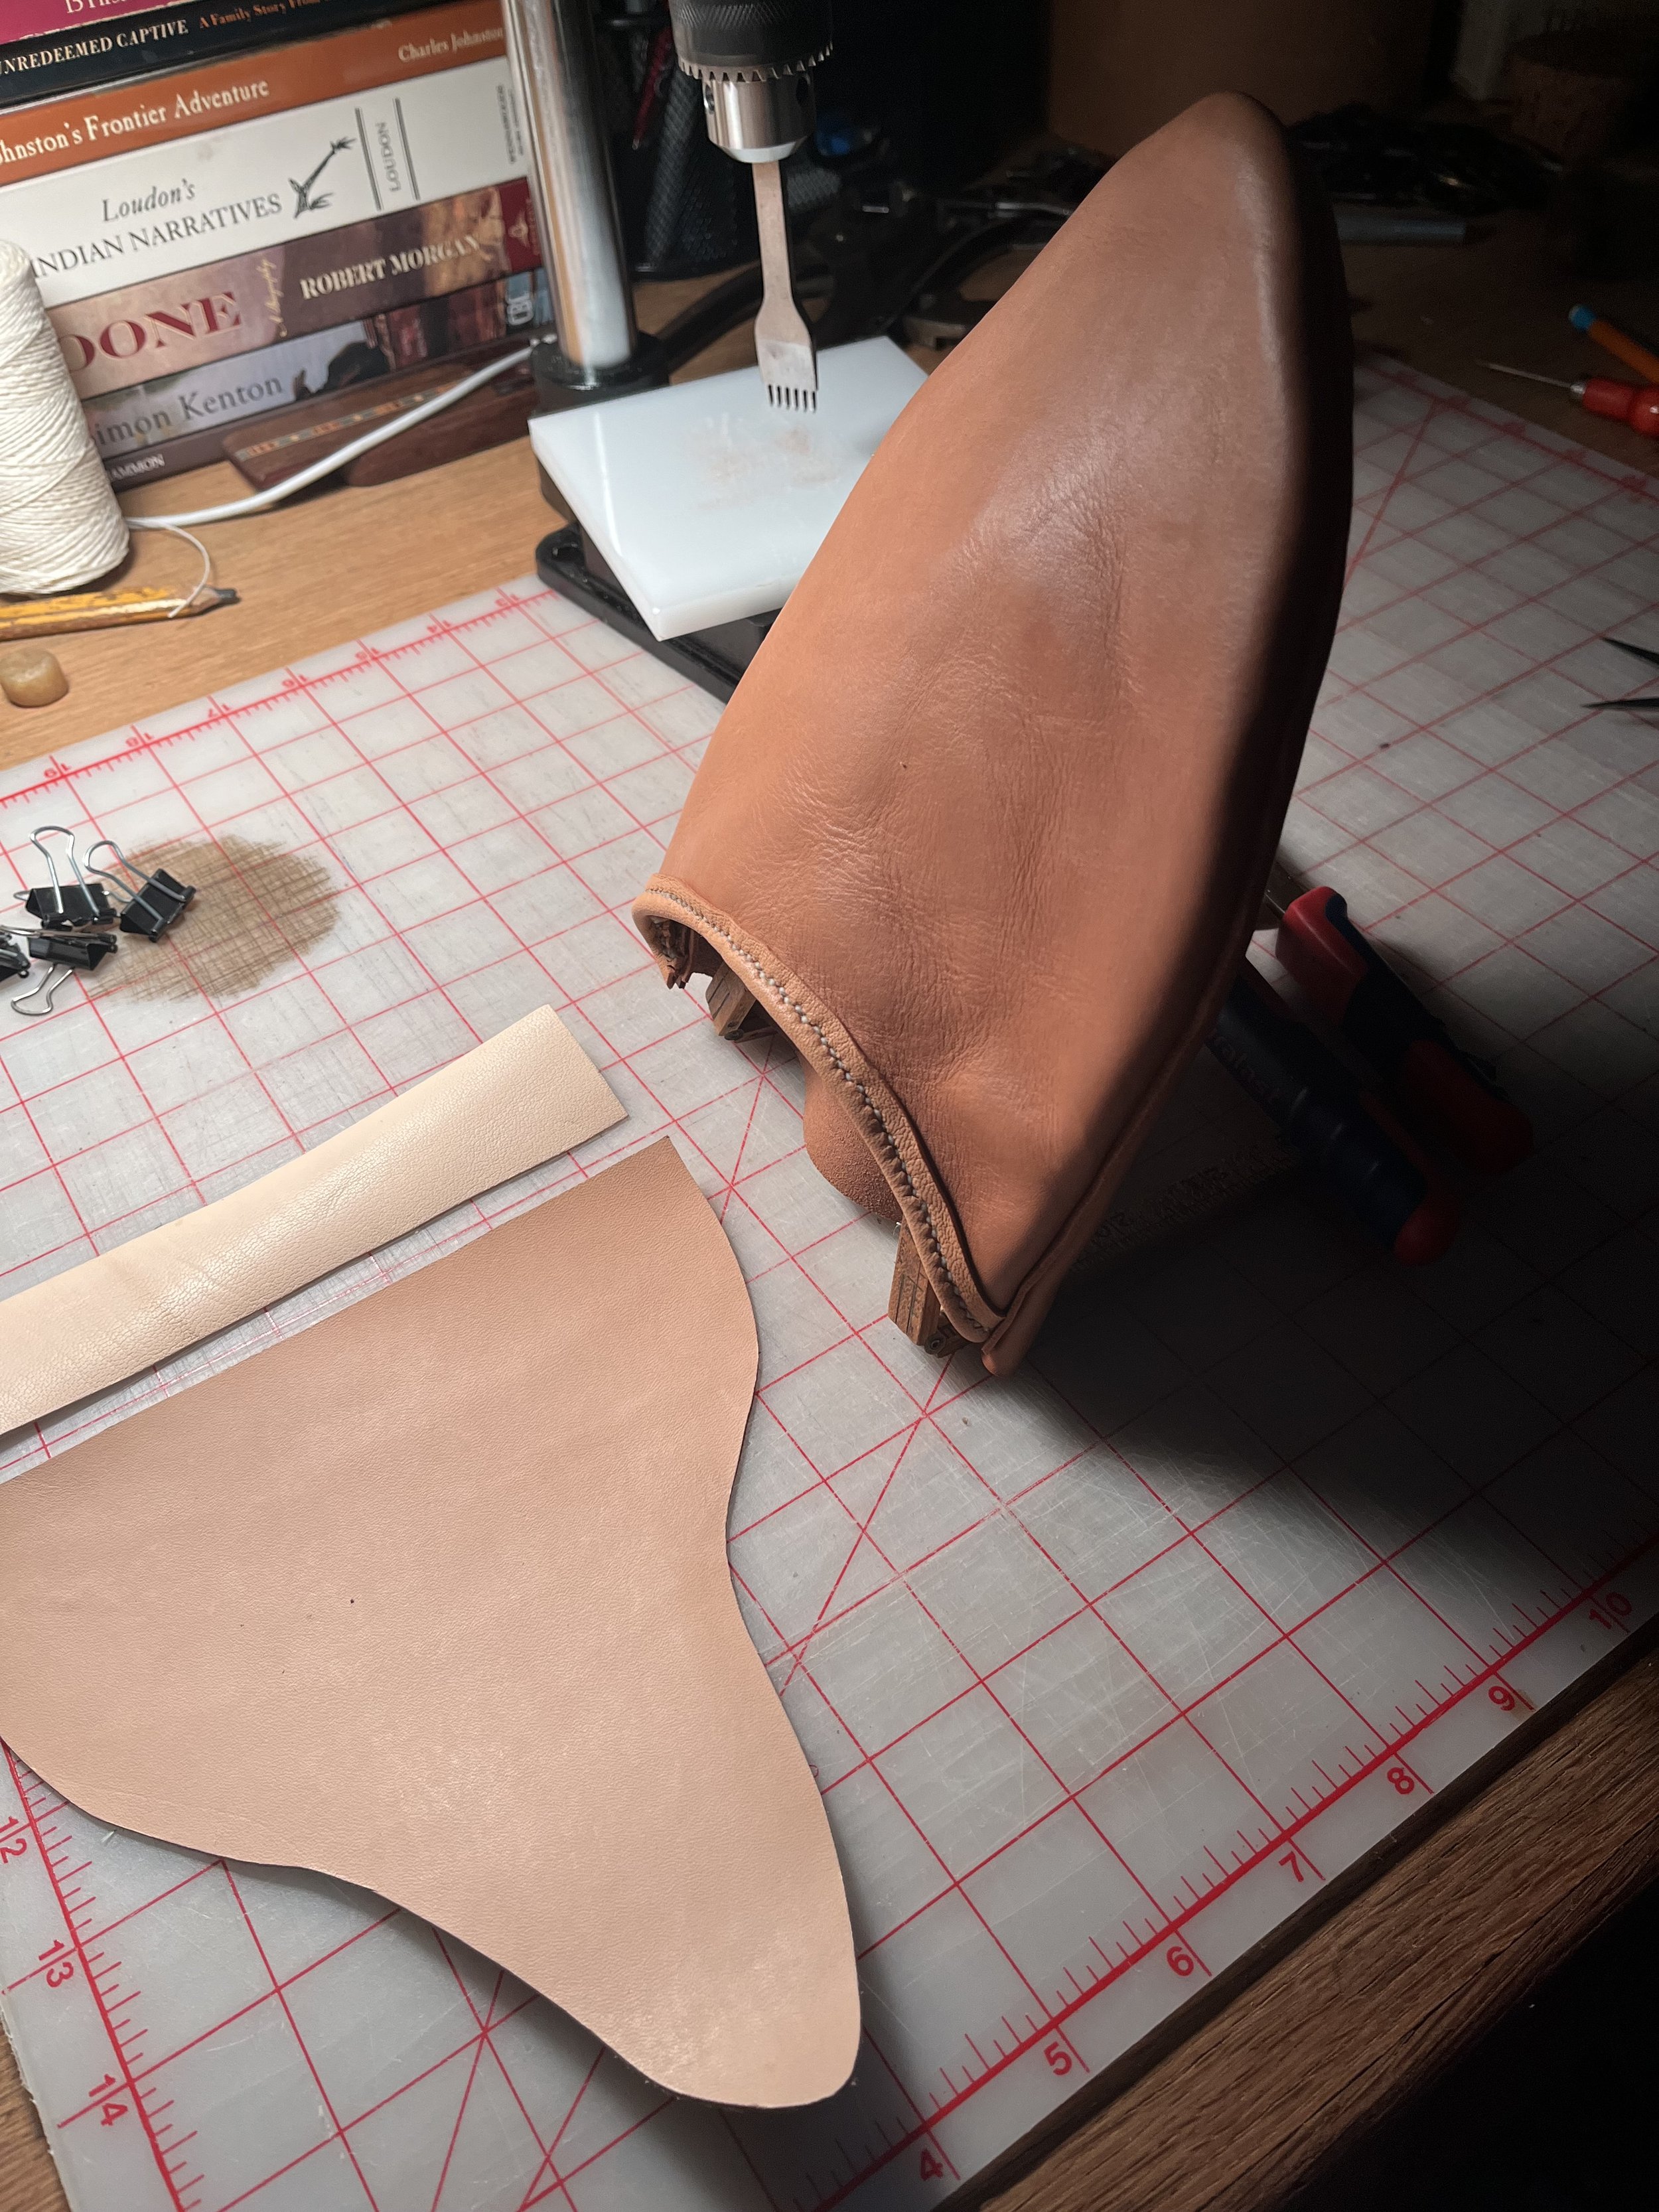
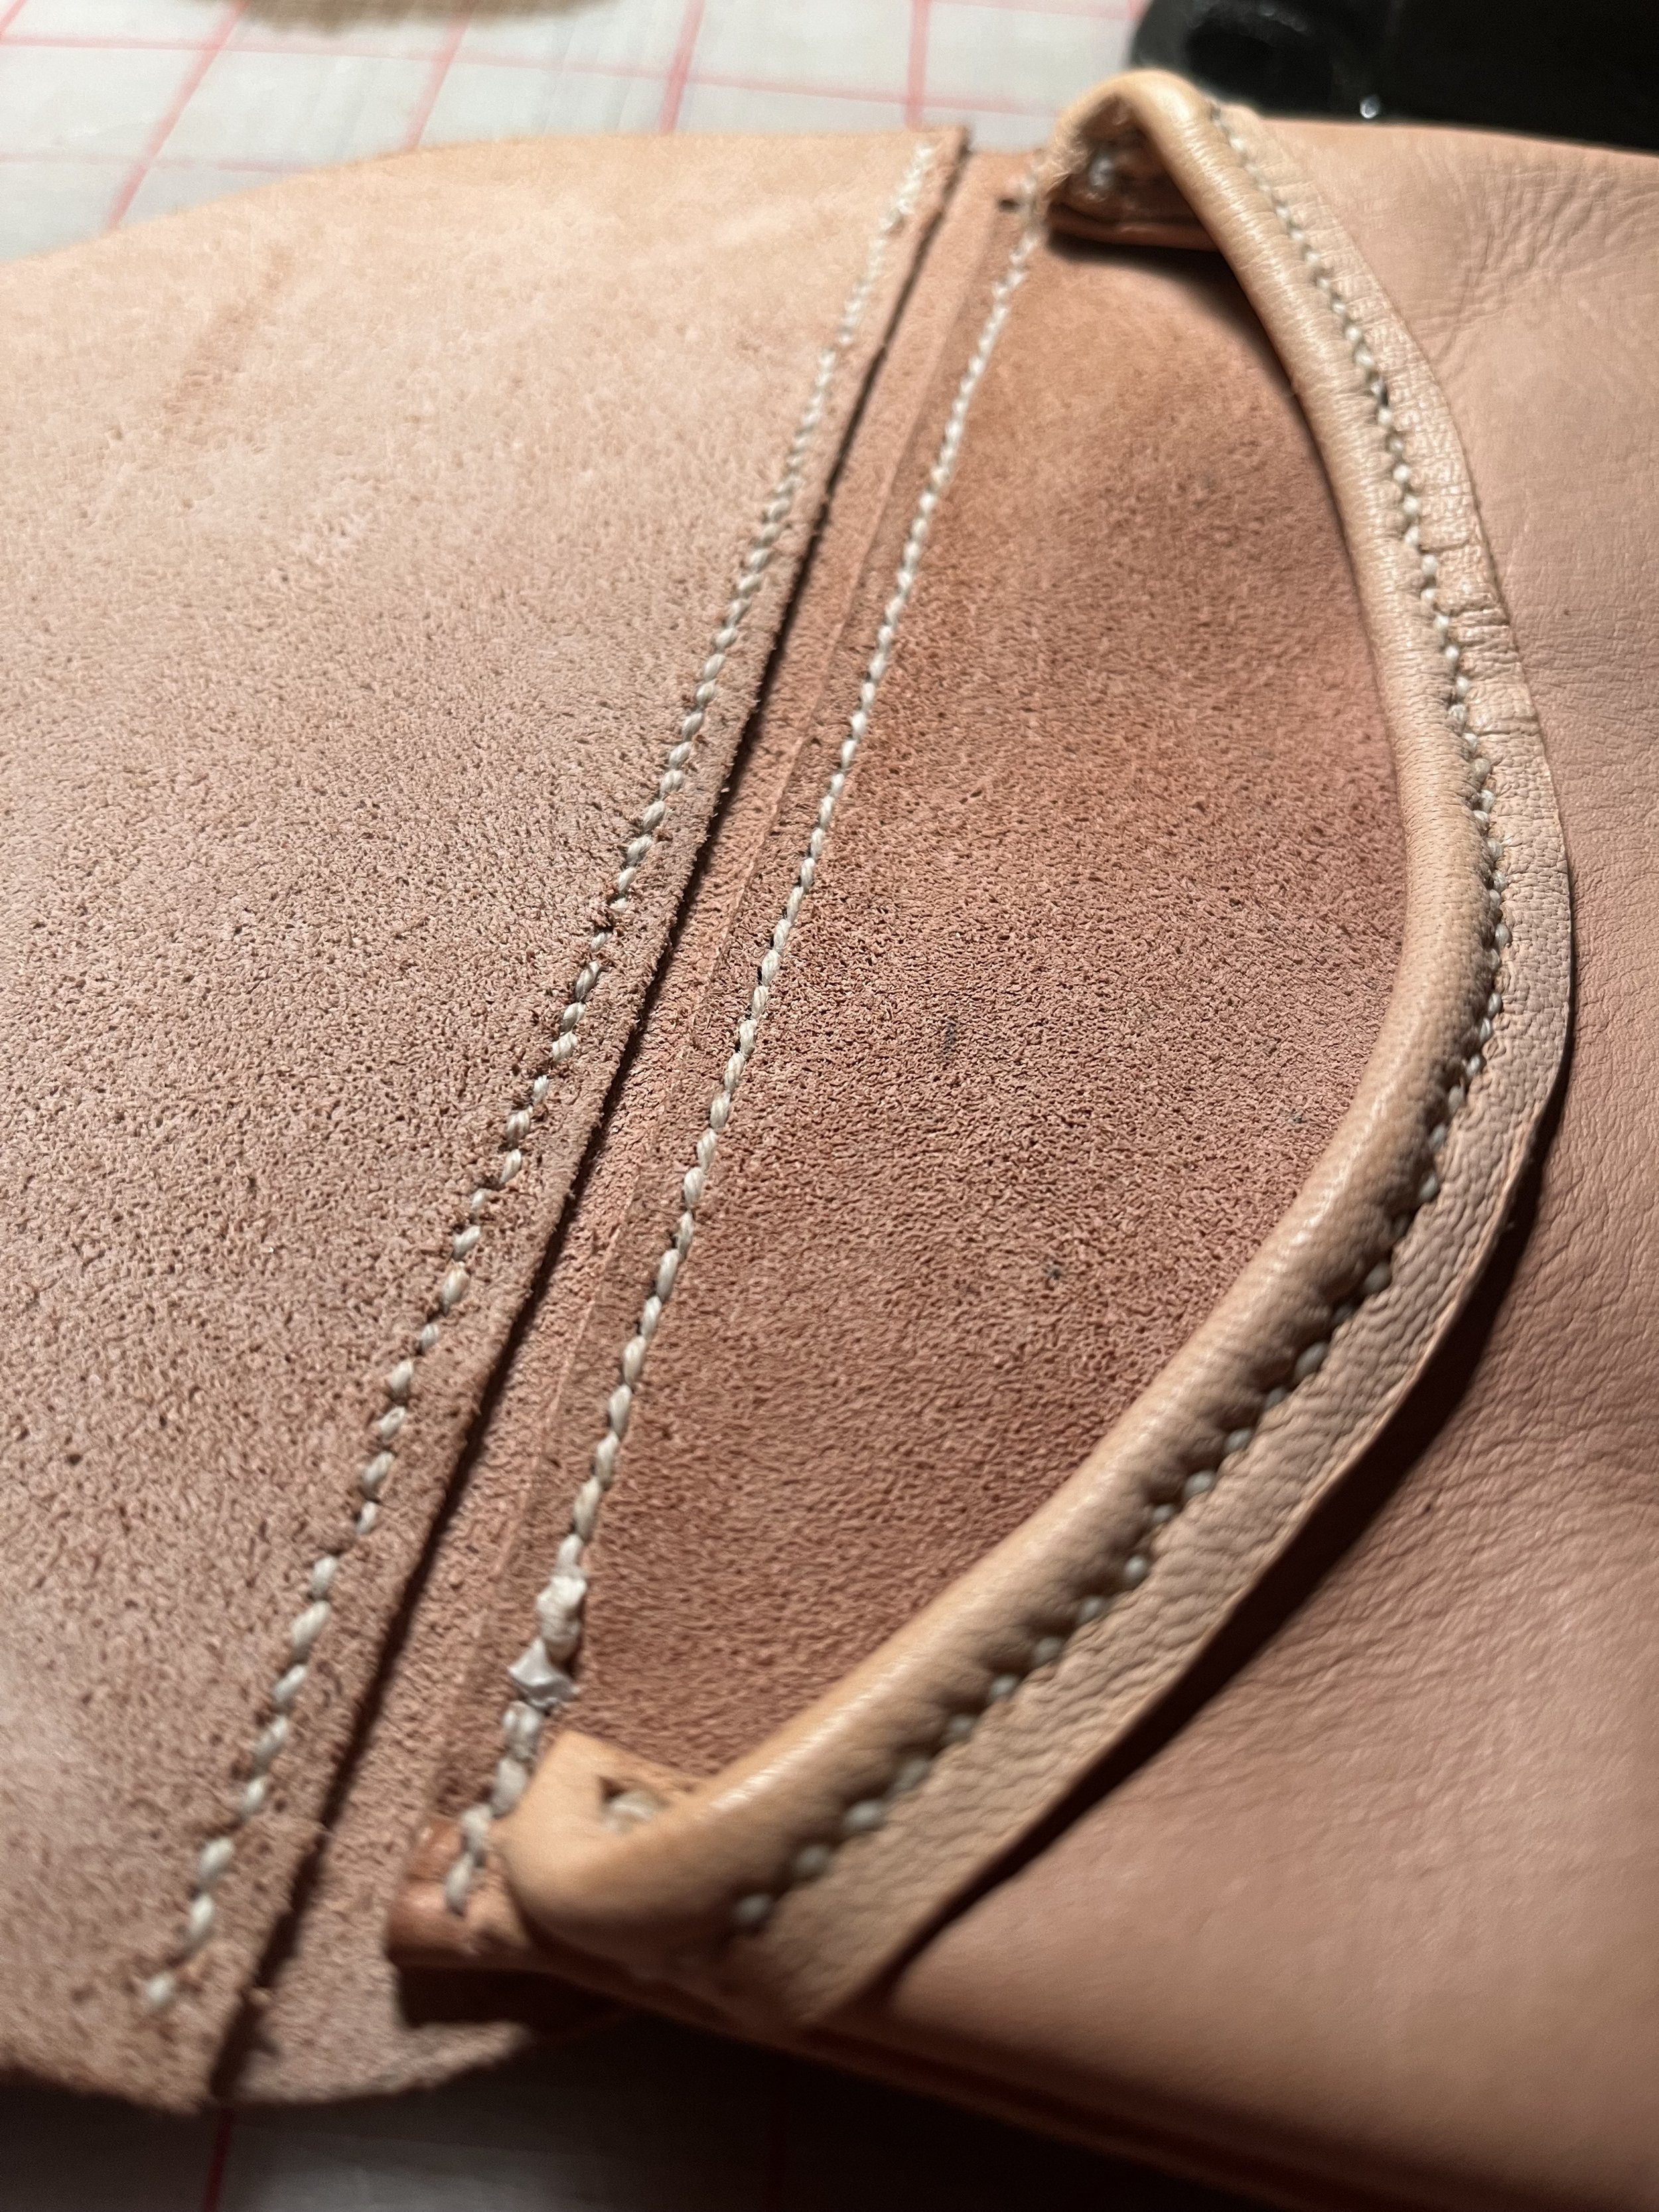
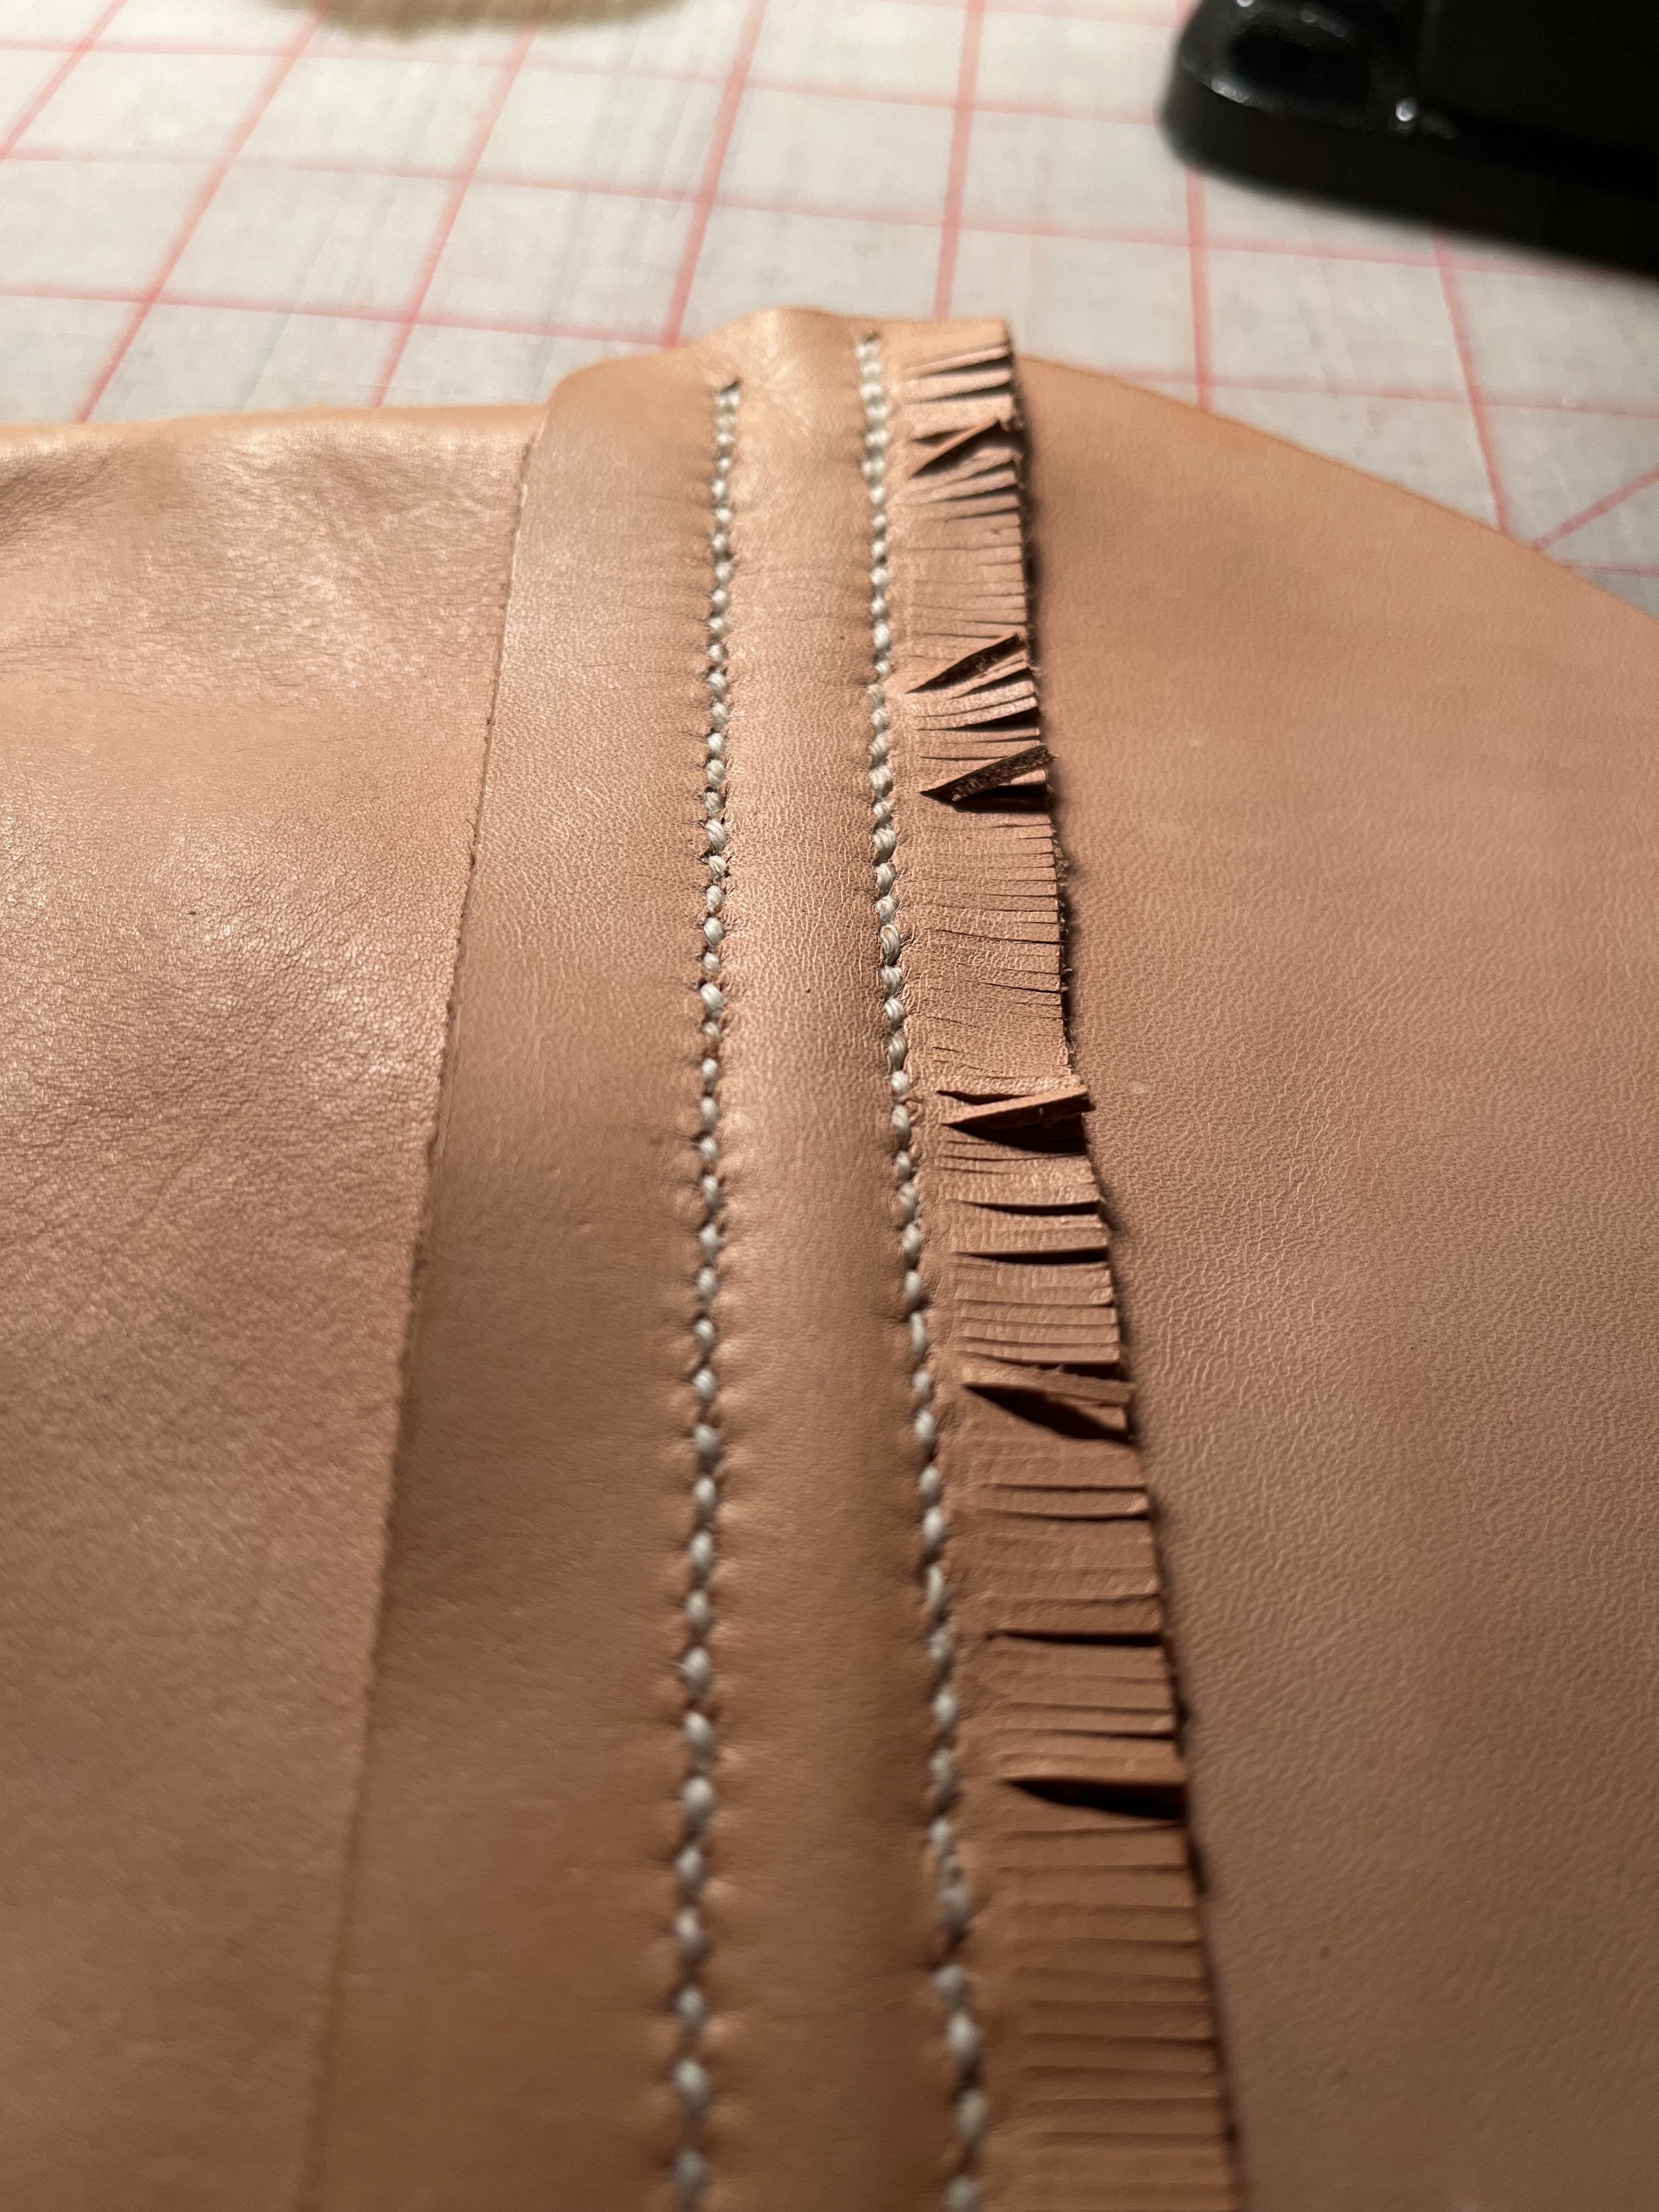
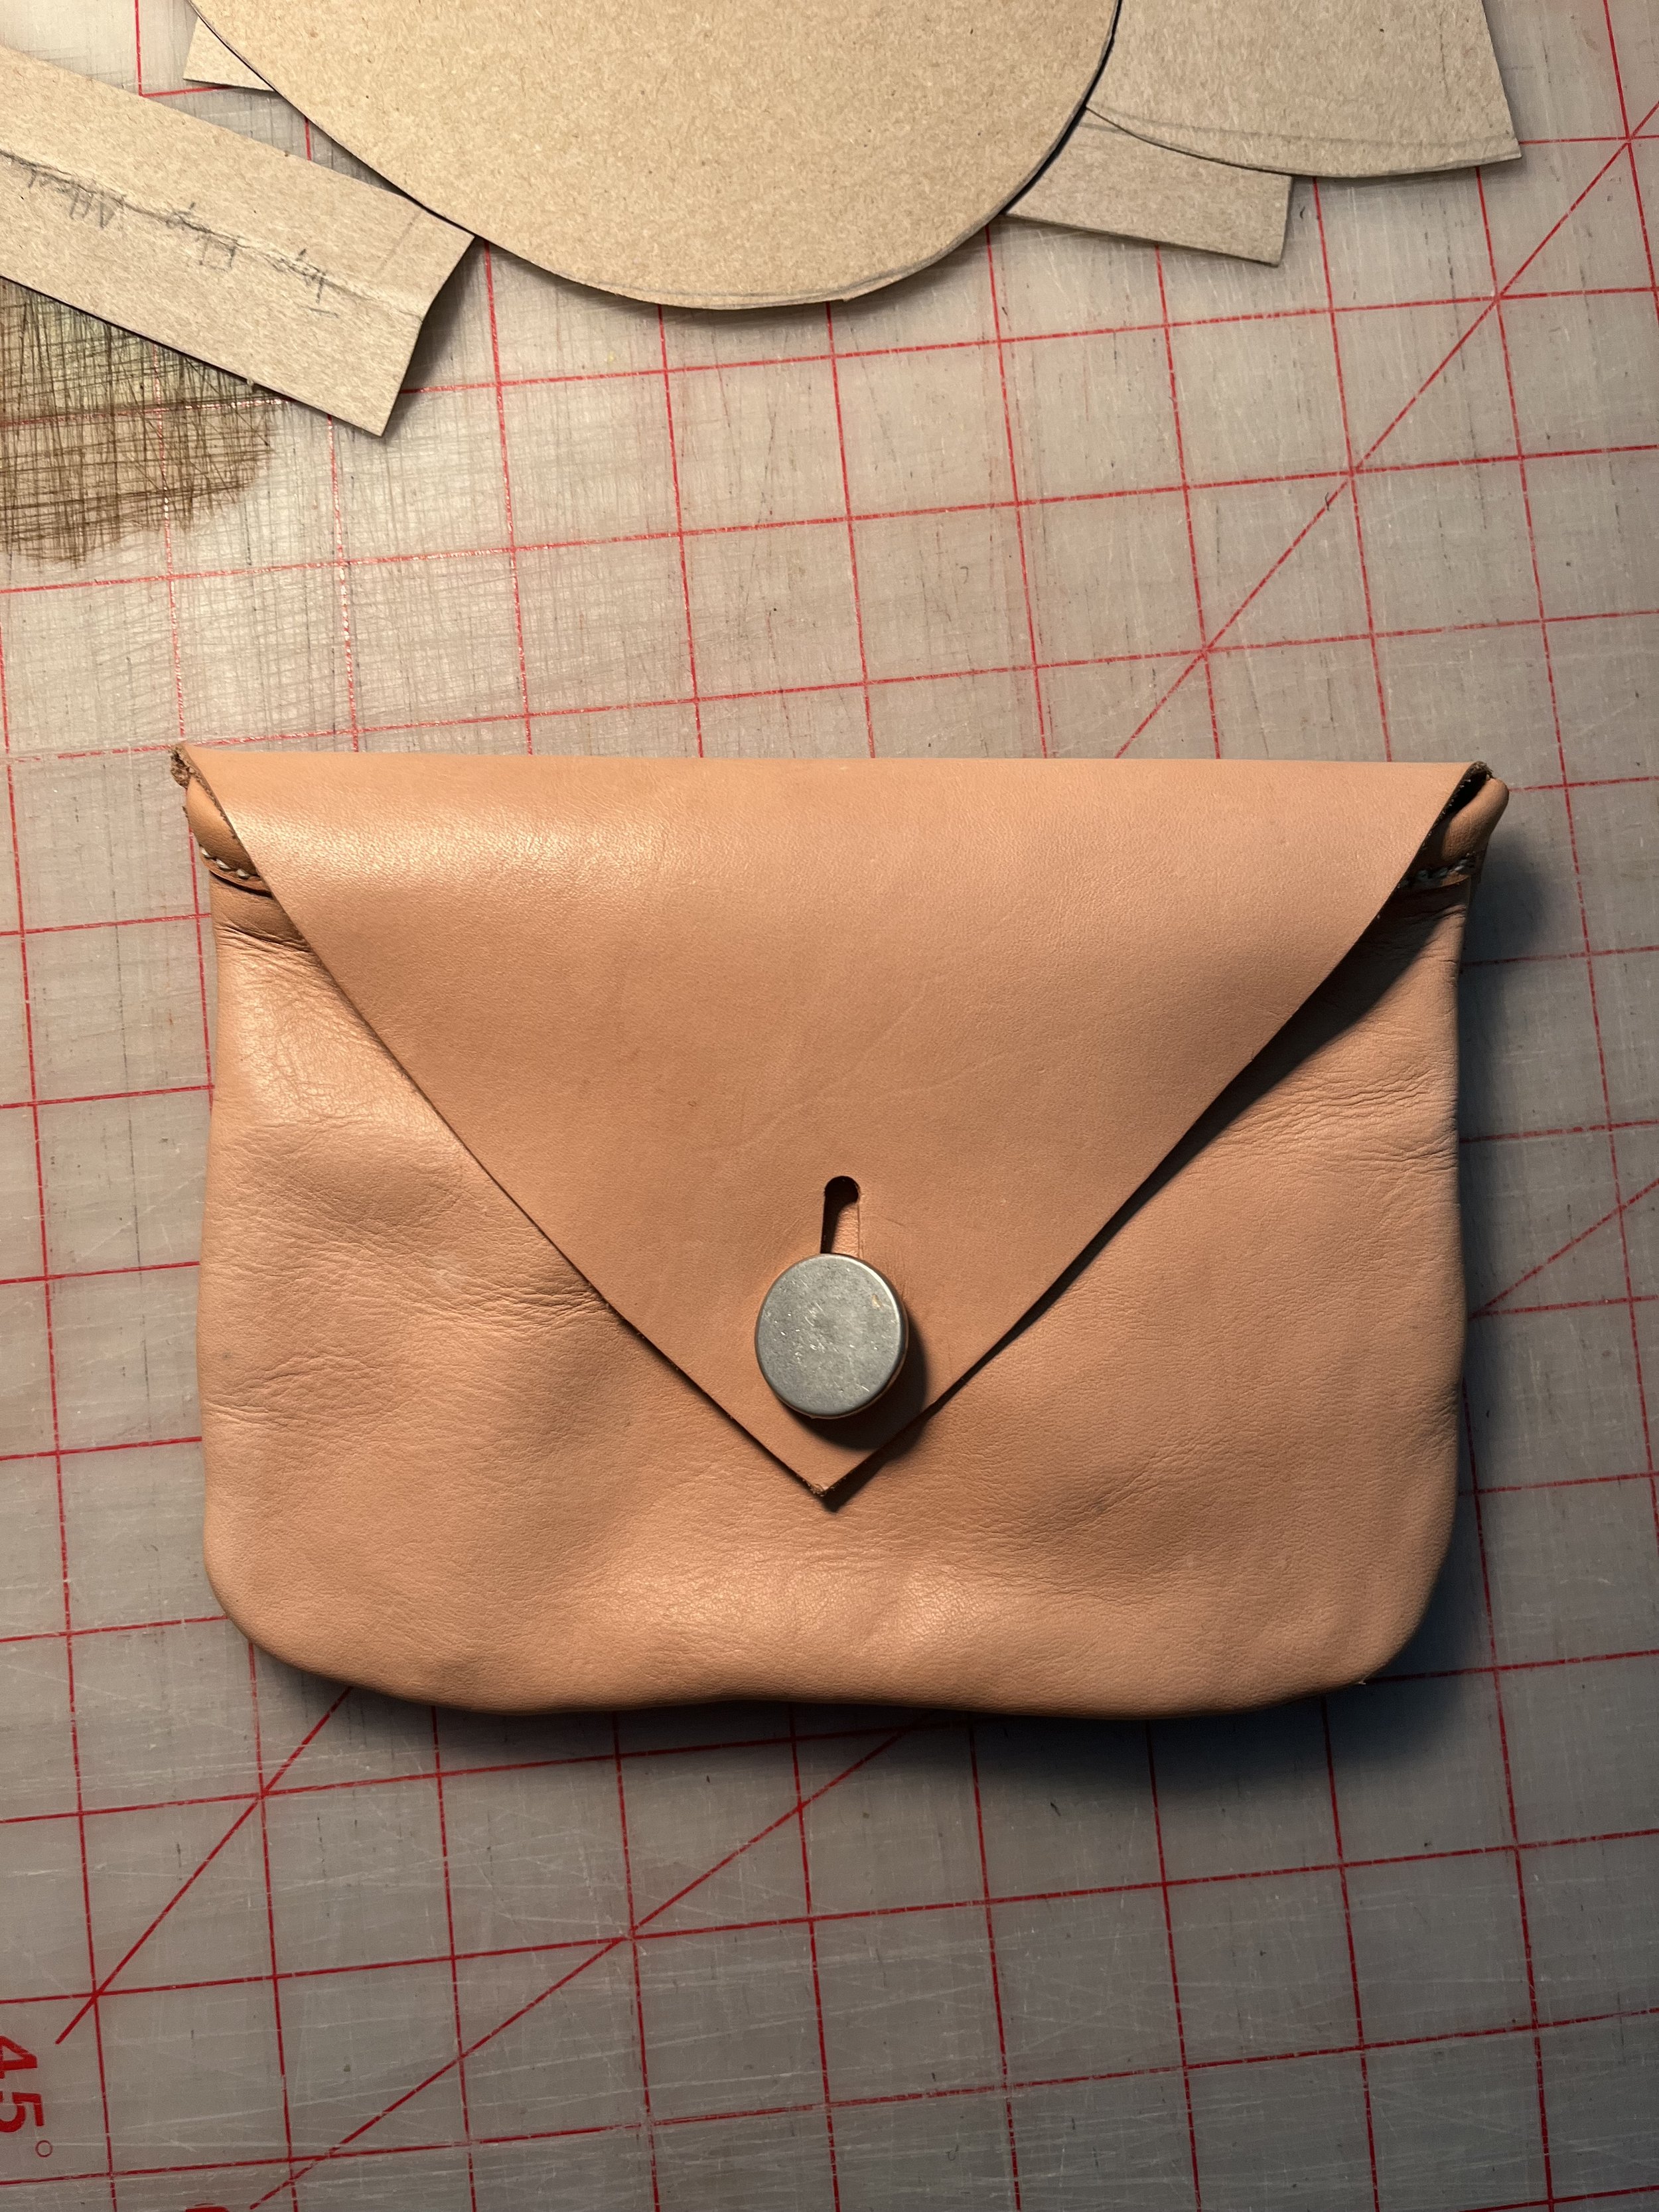
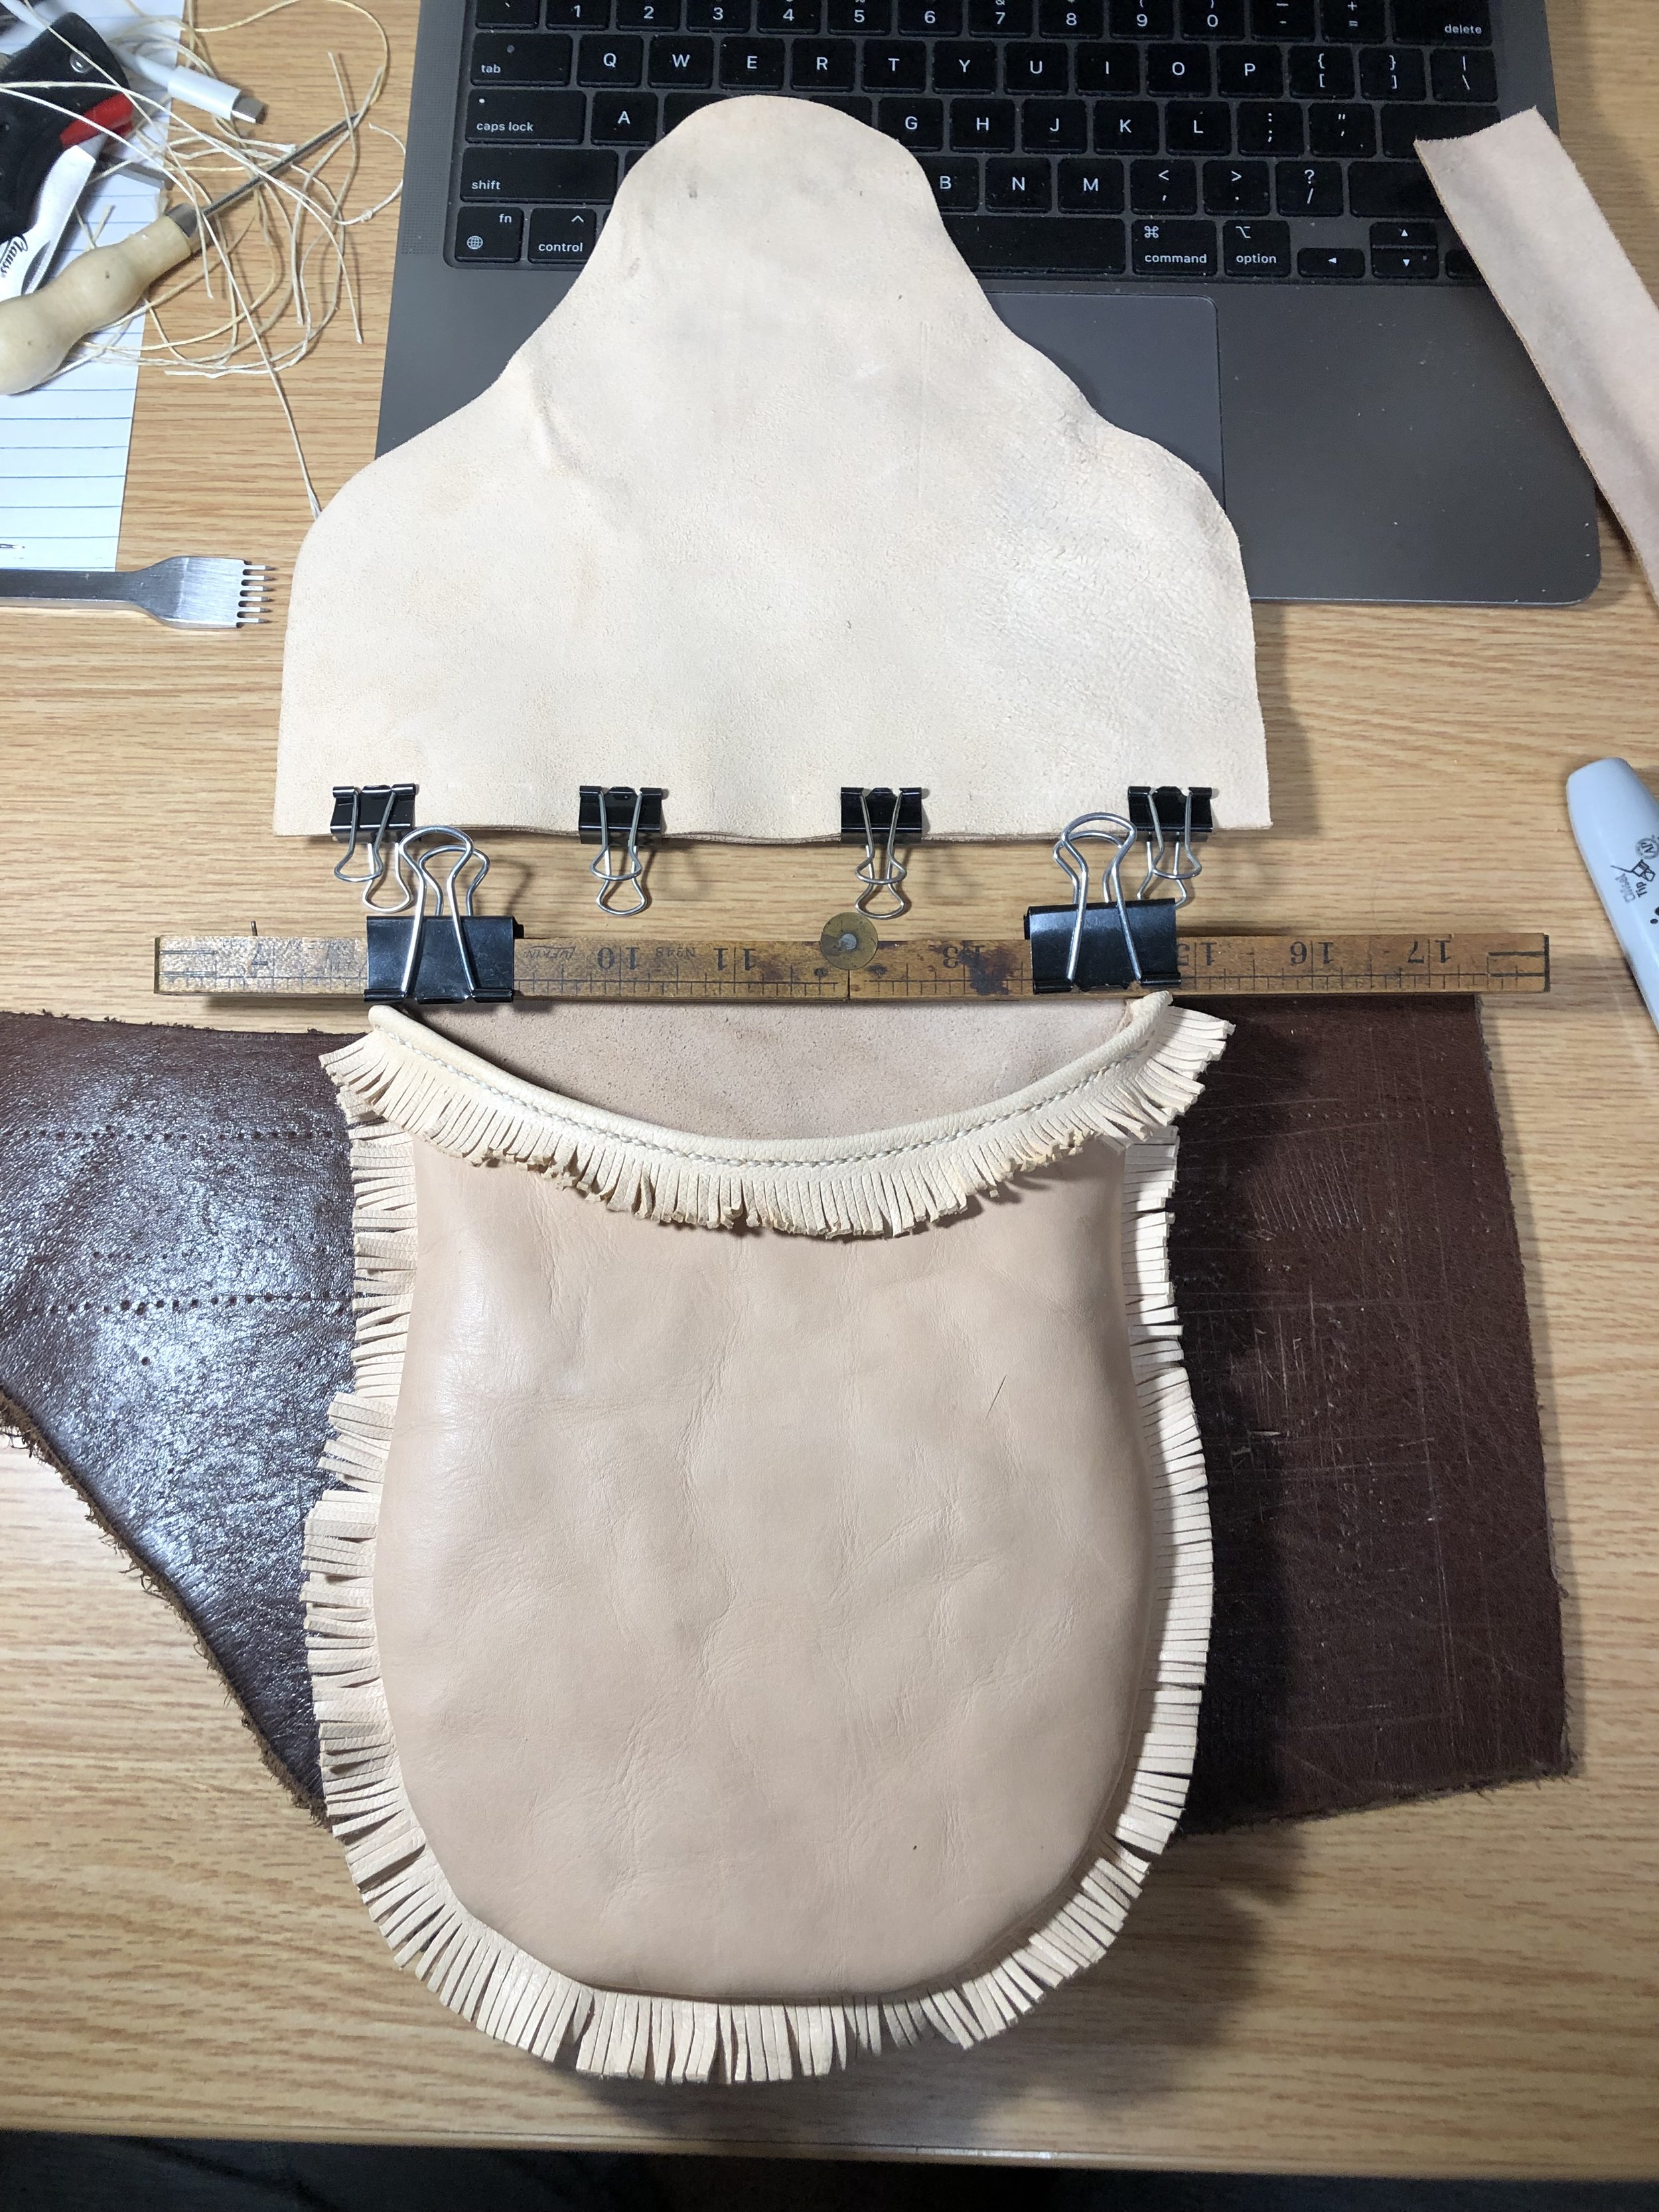
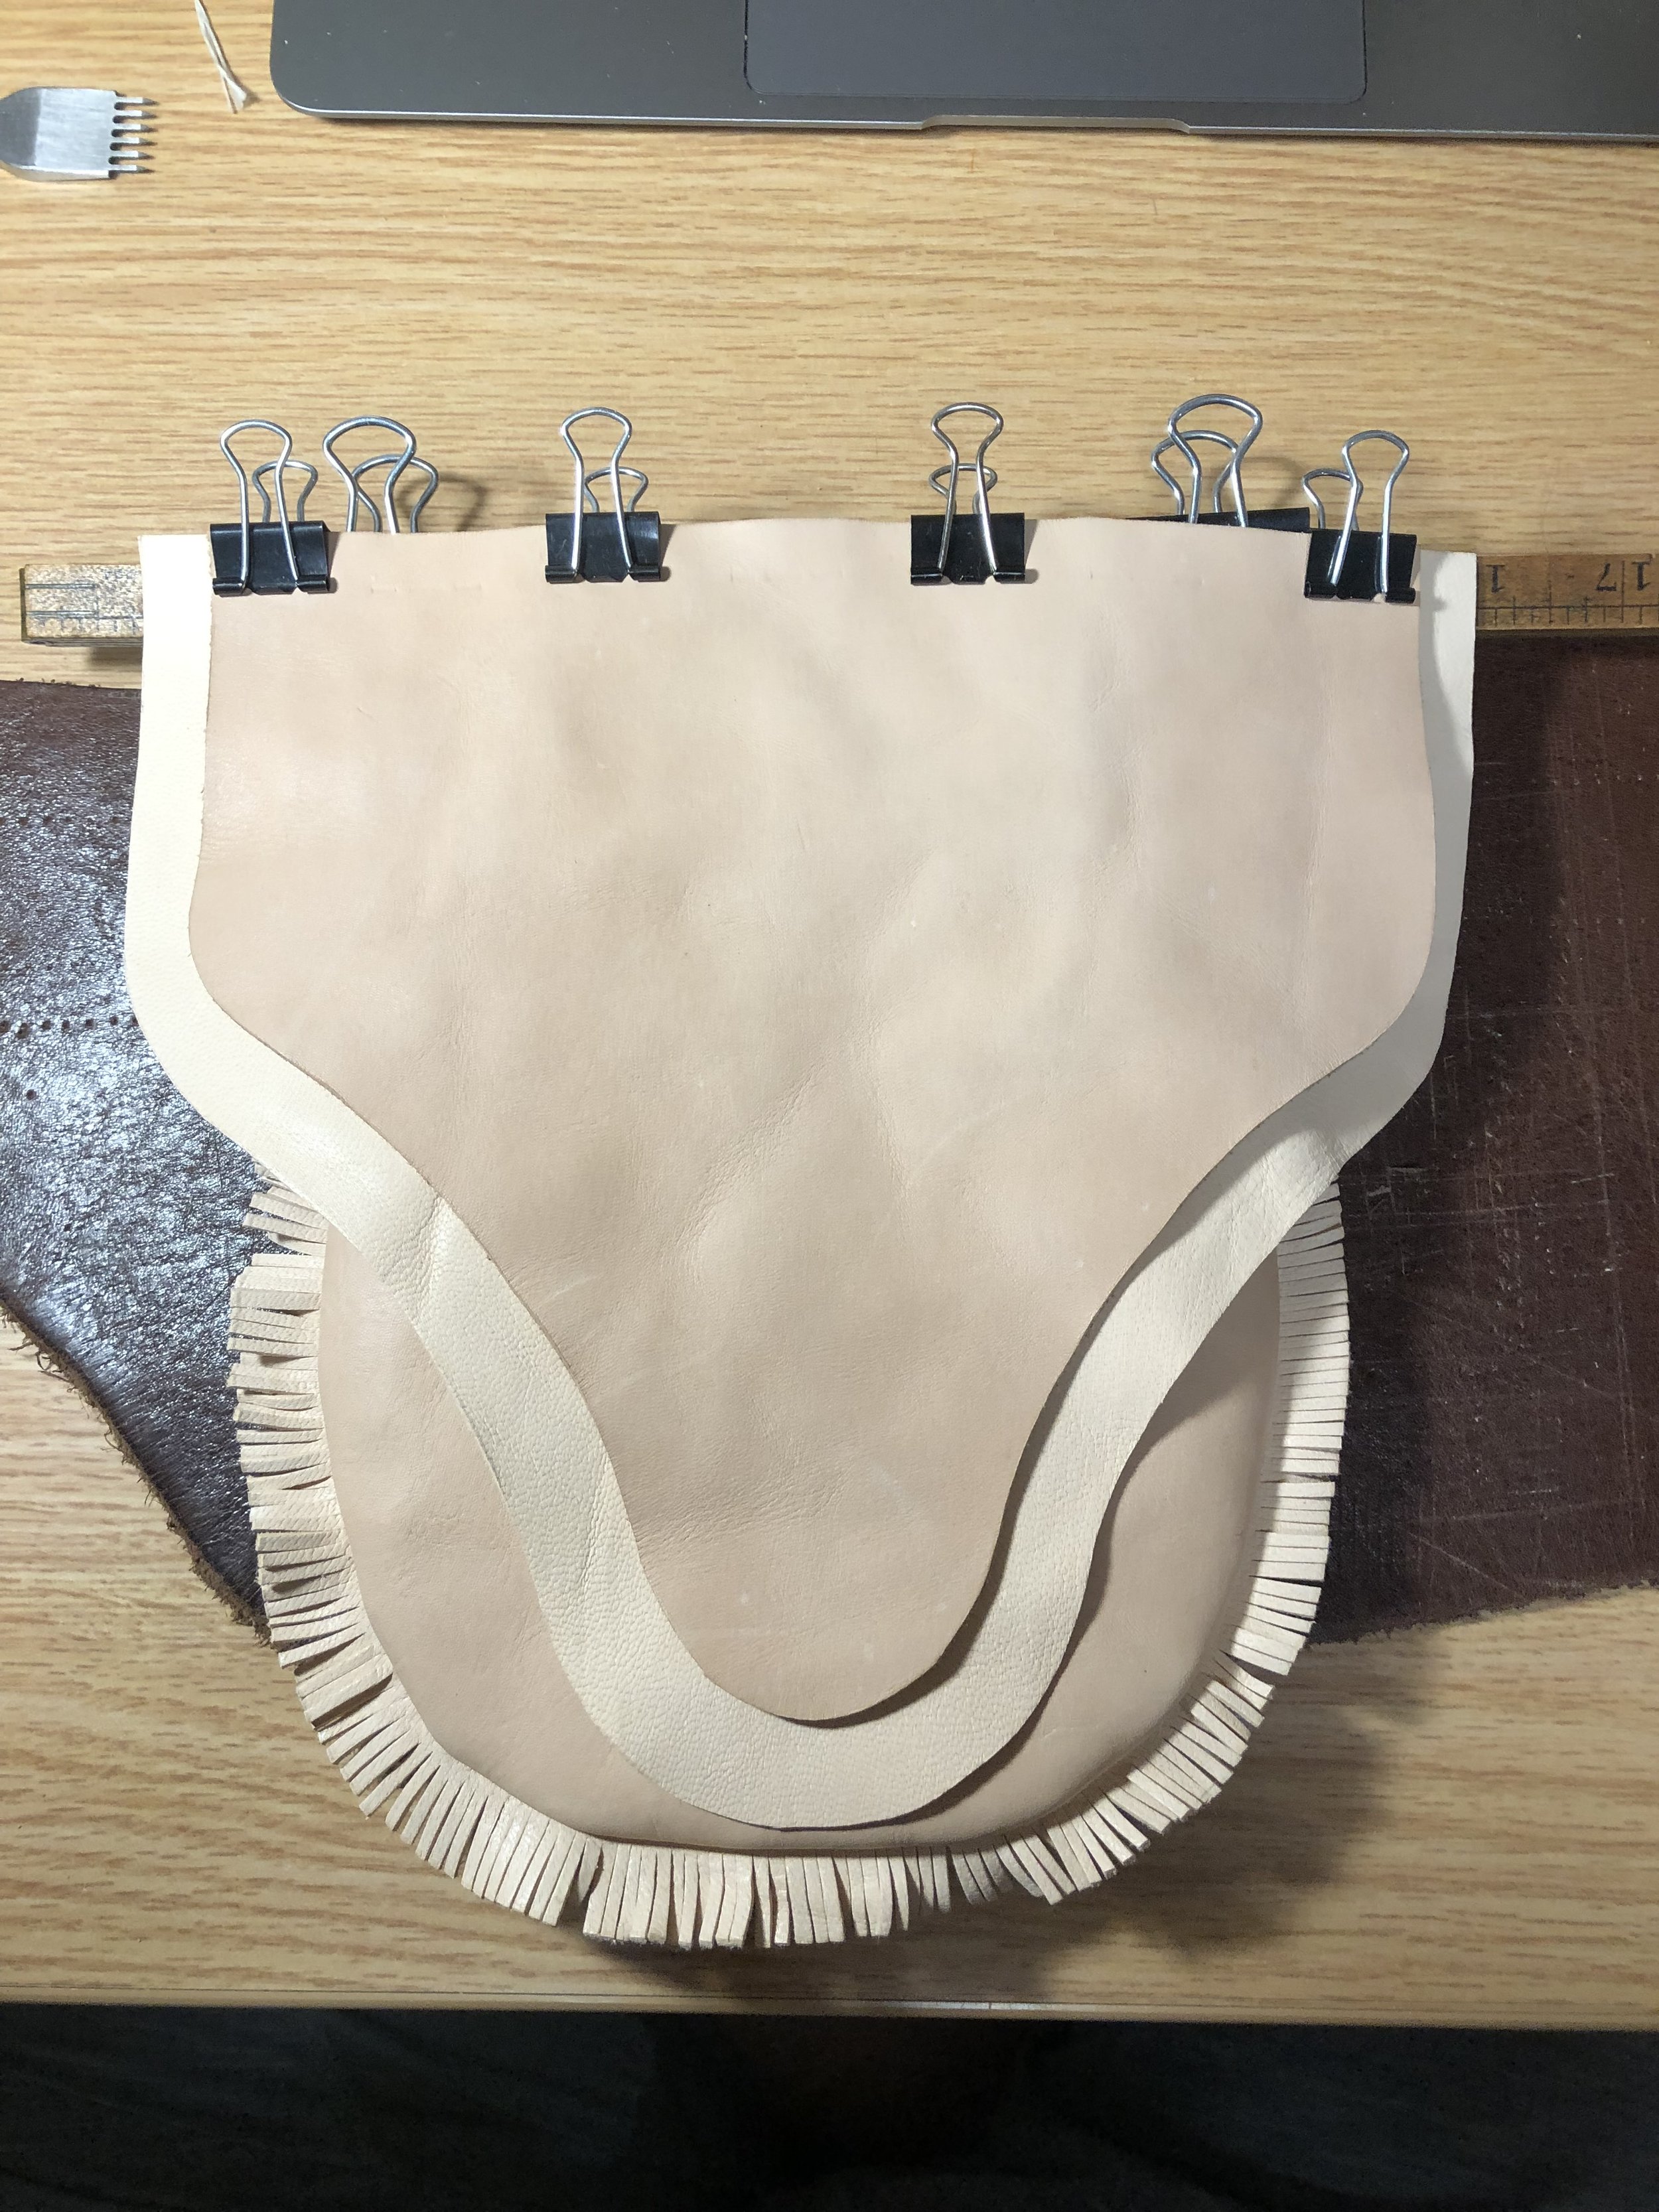
Shot Pouch #5
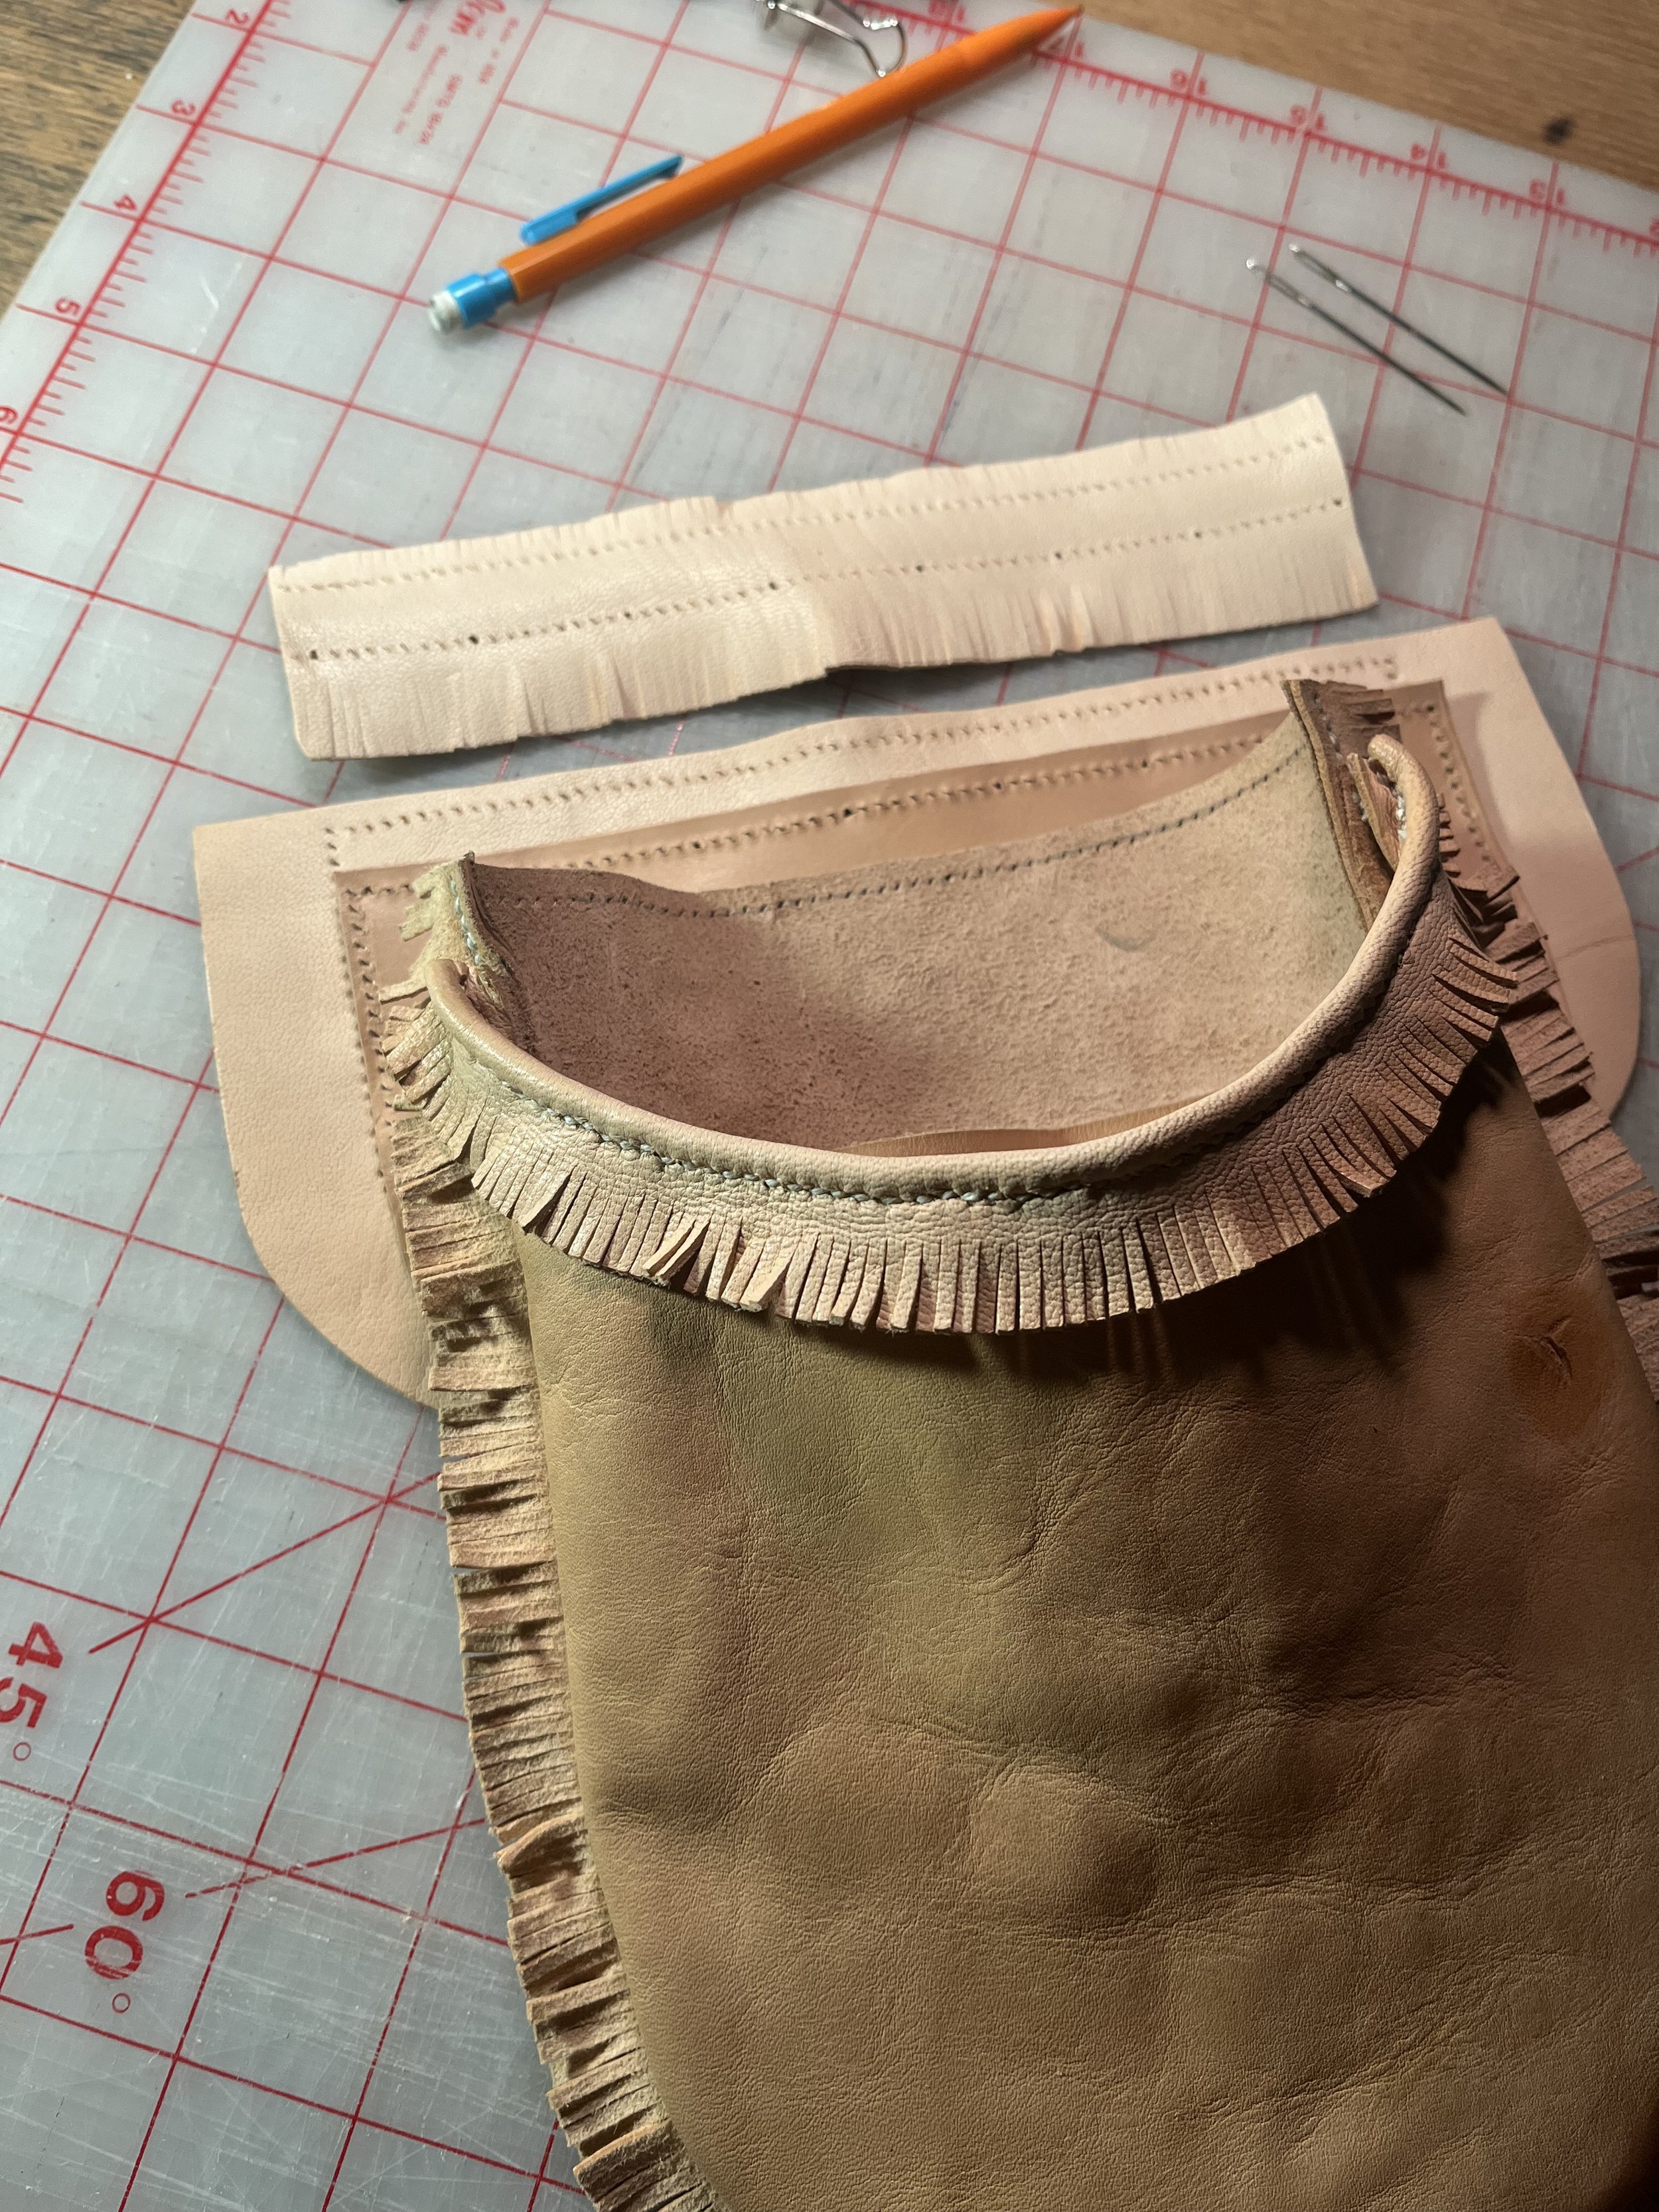
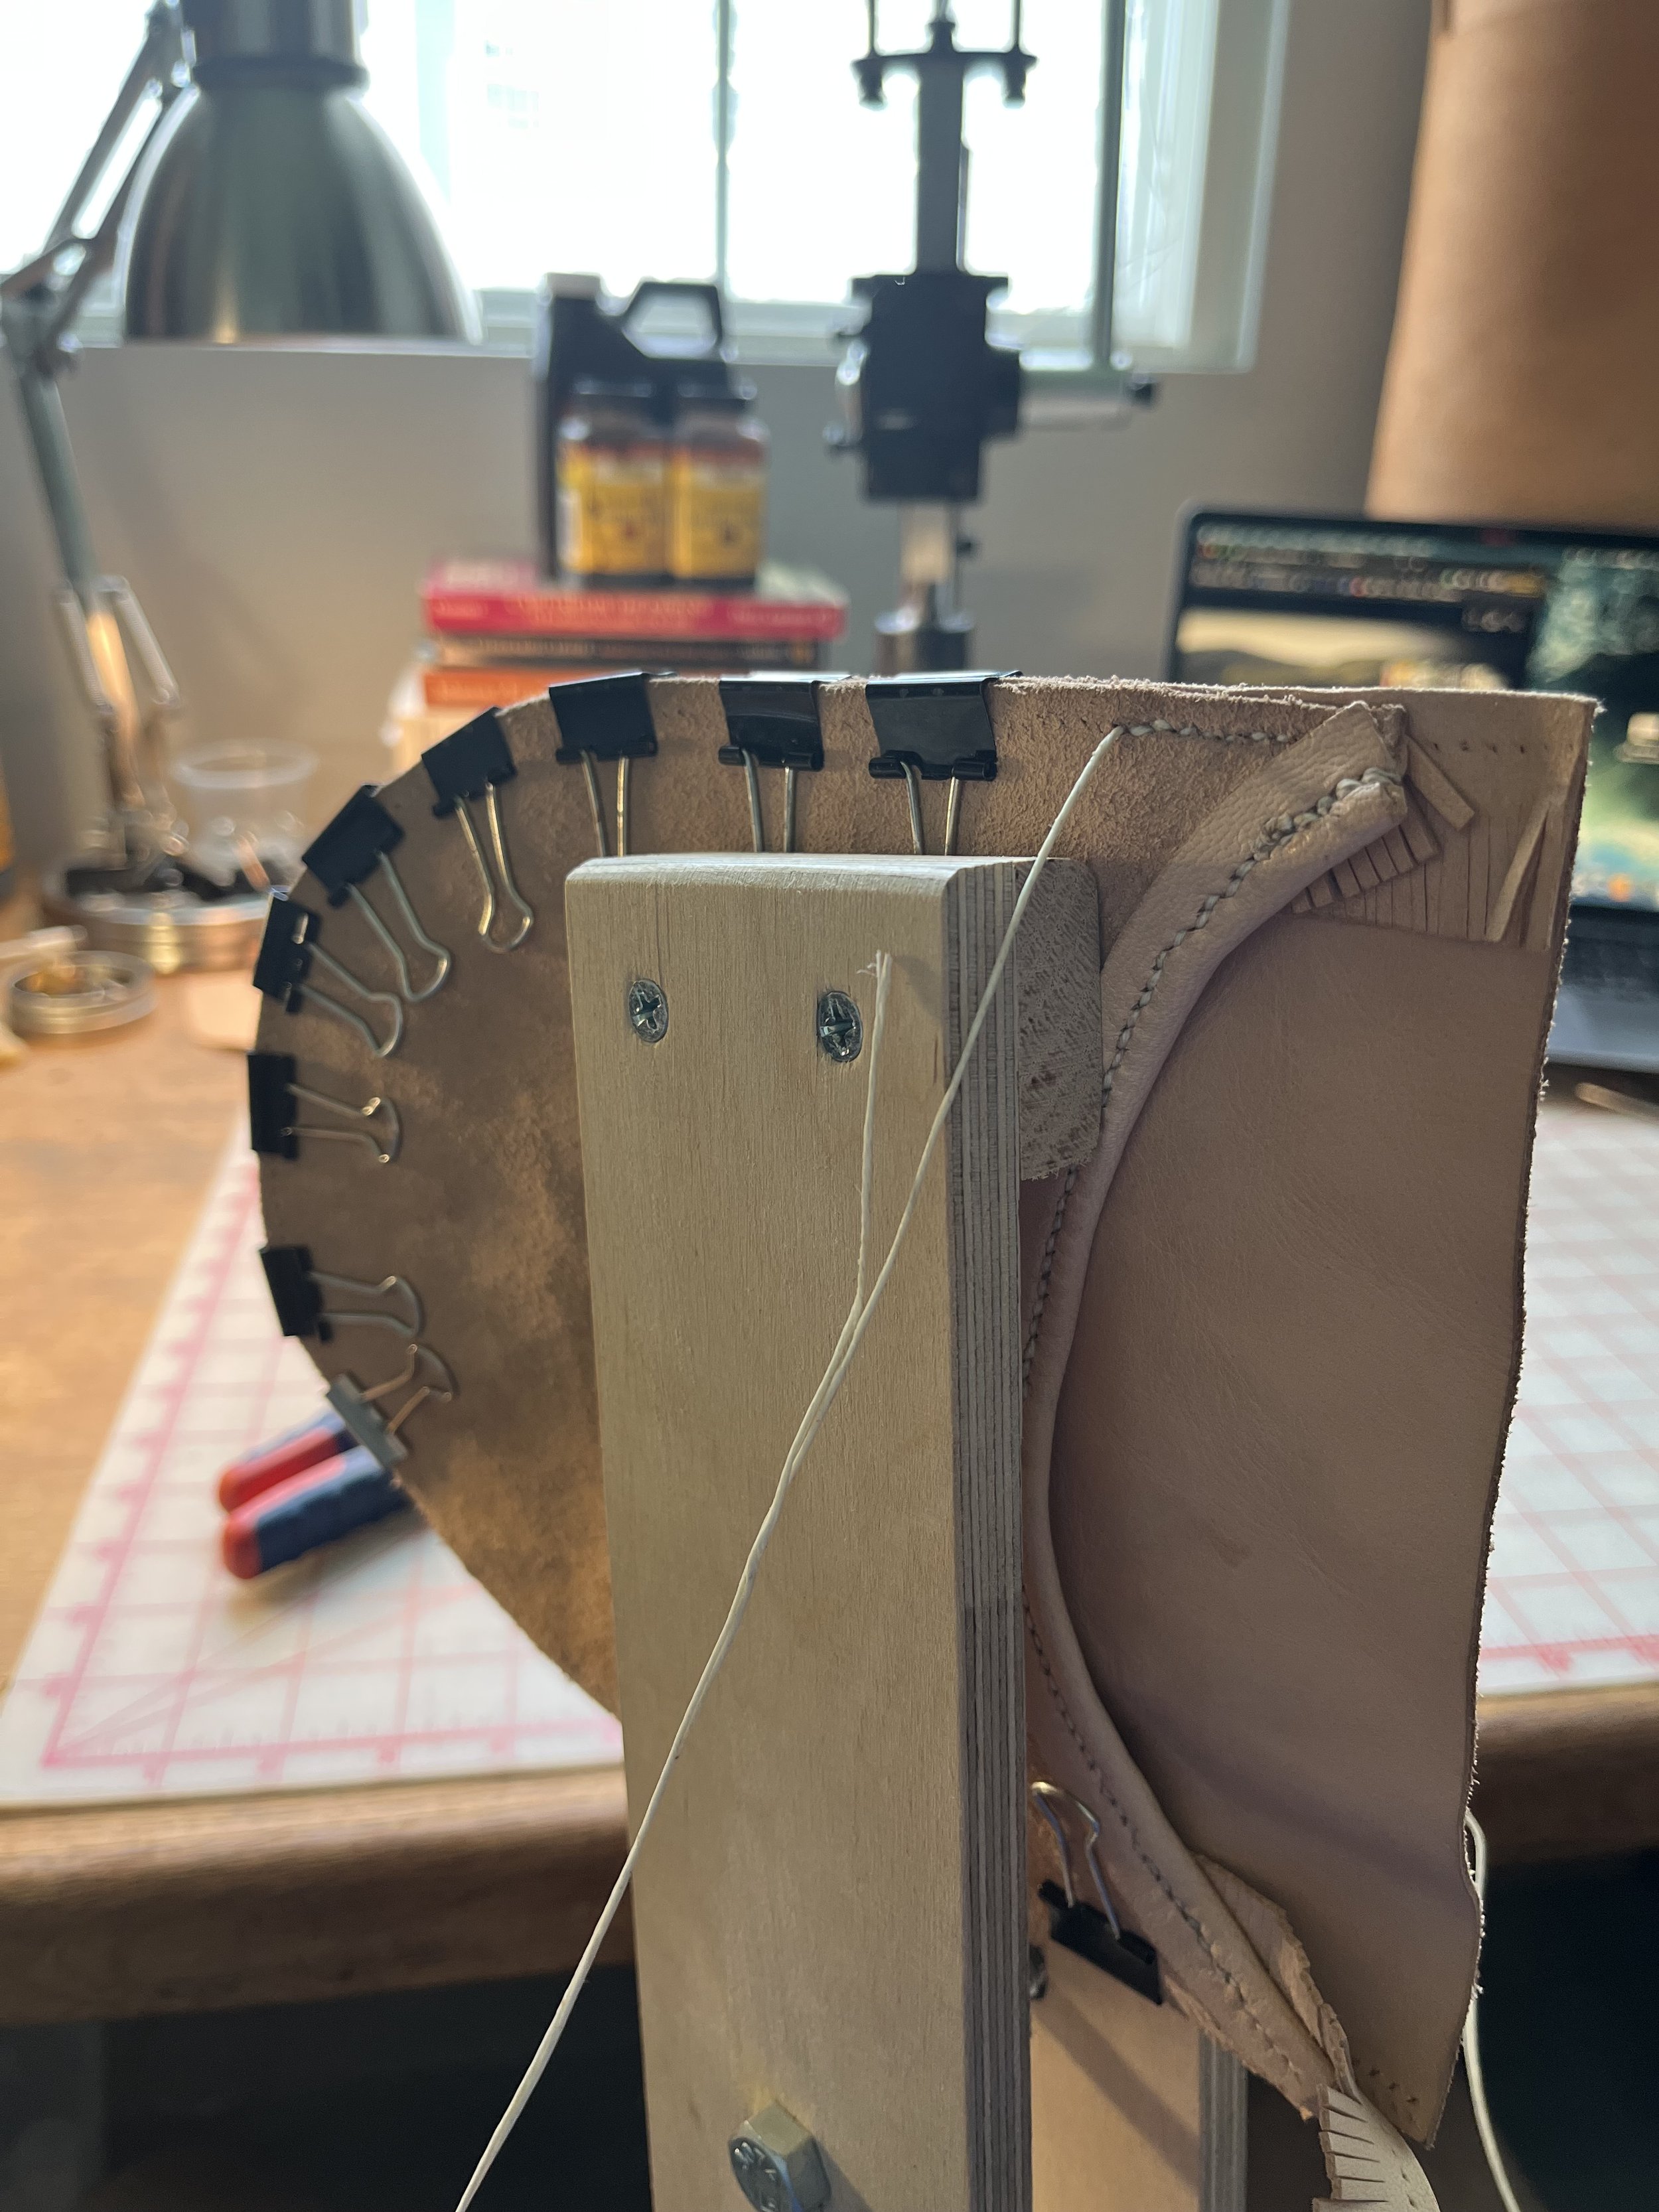
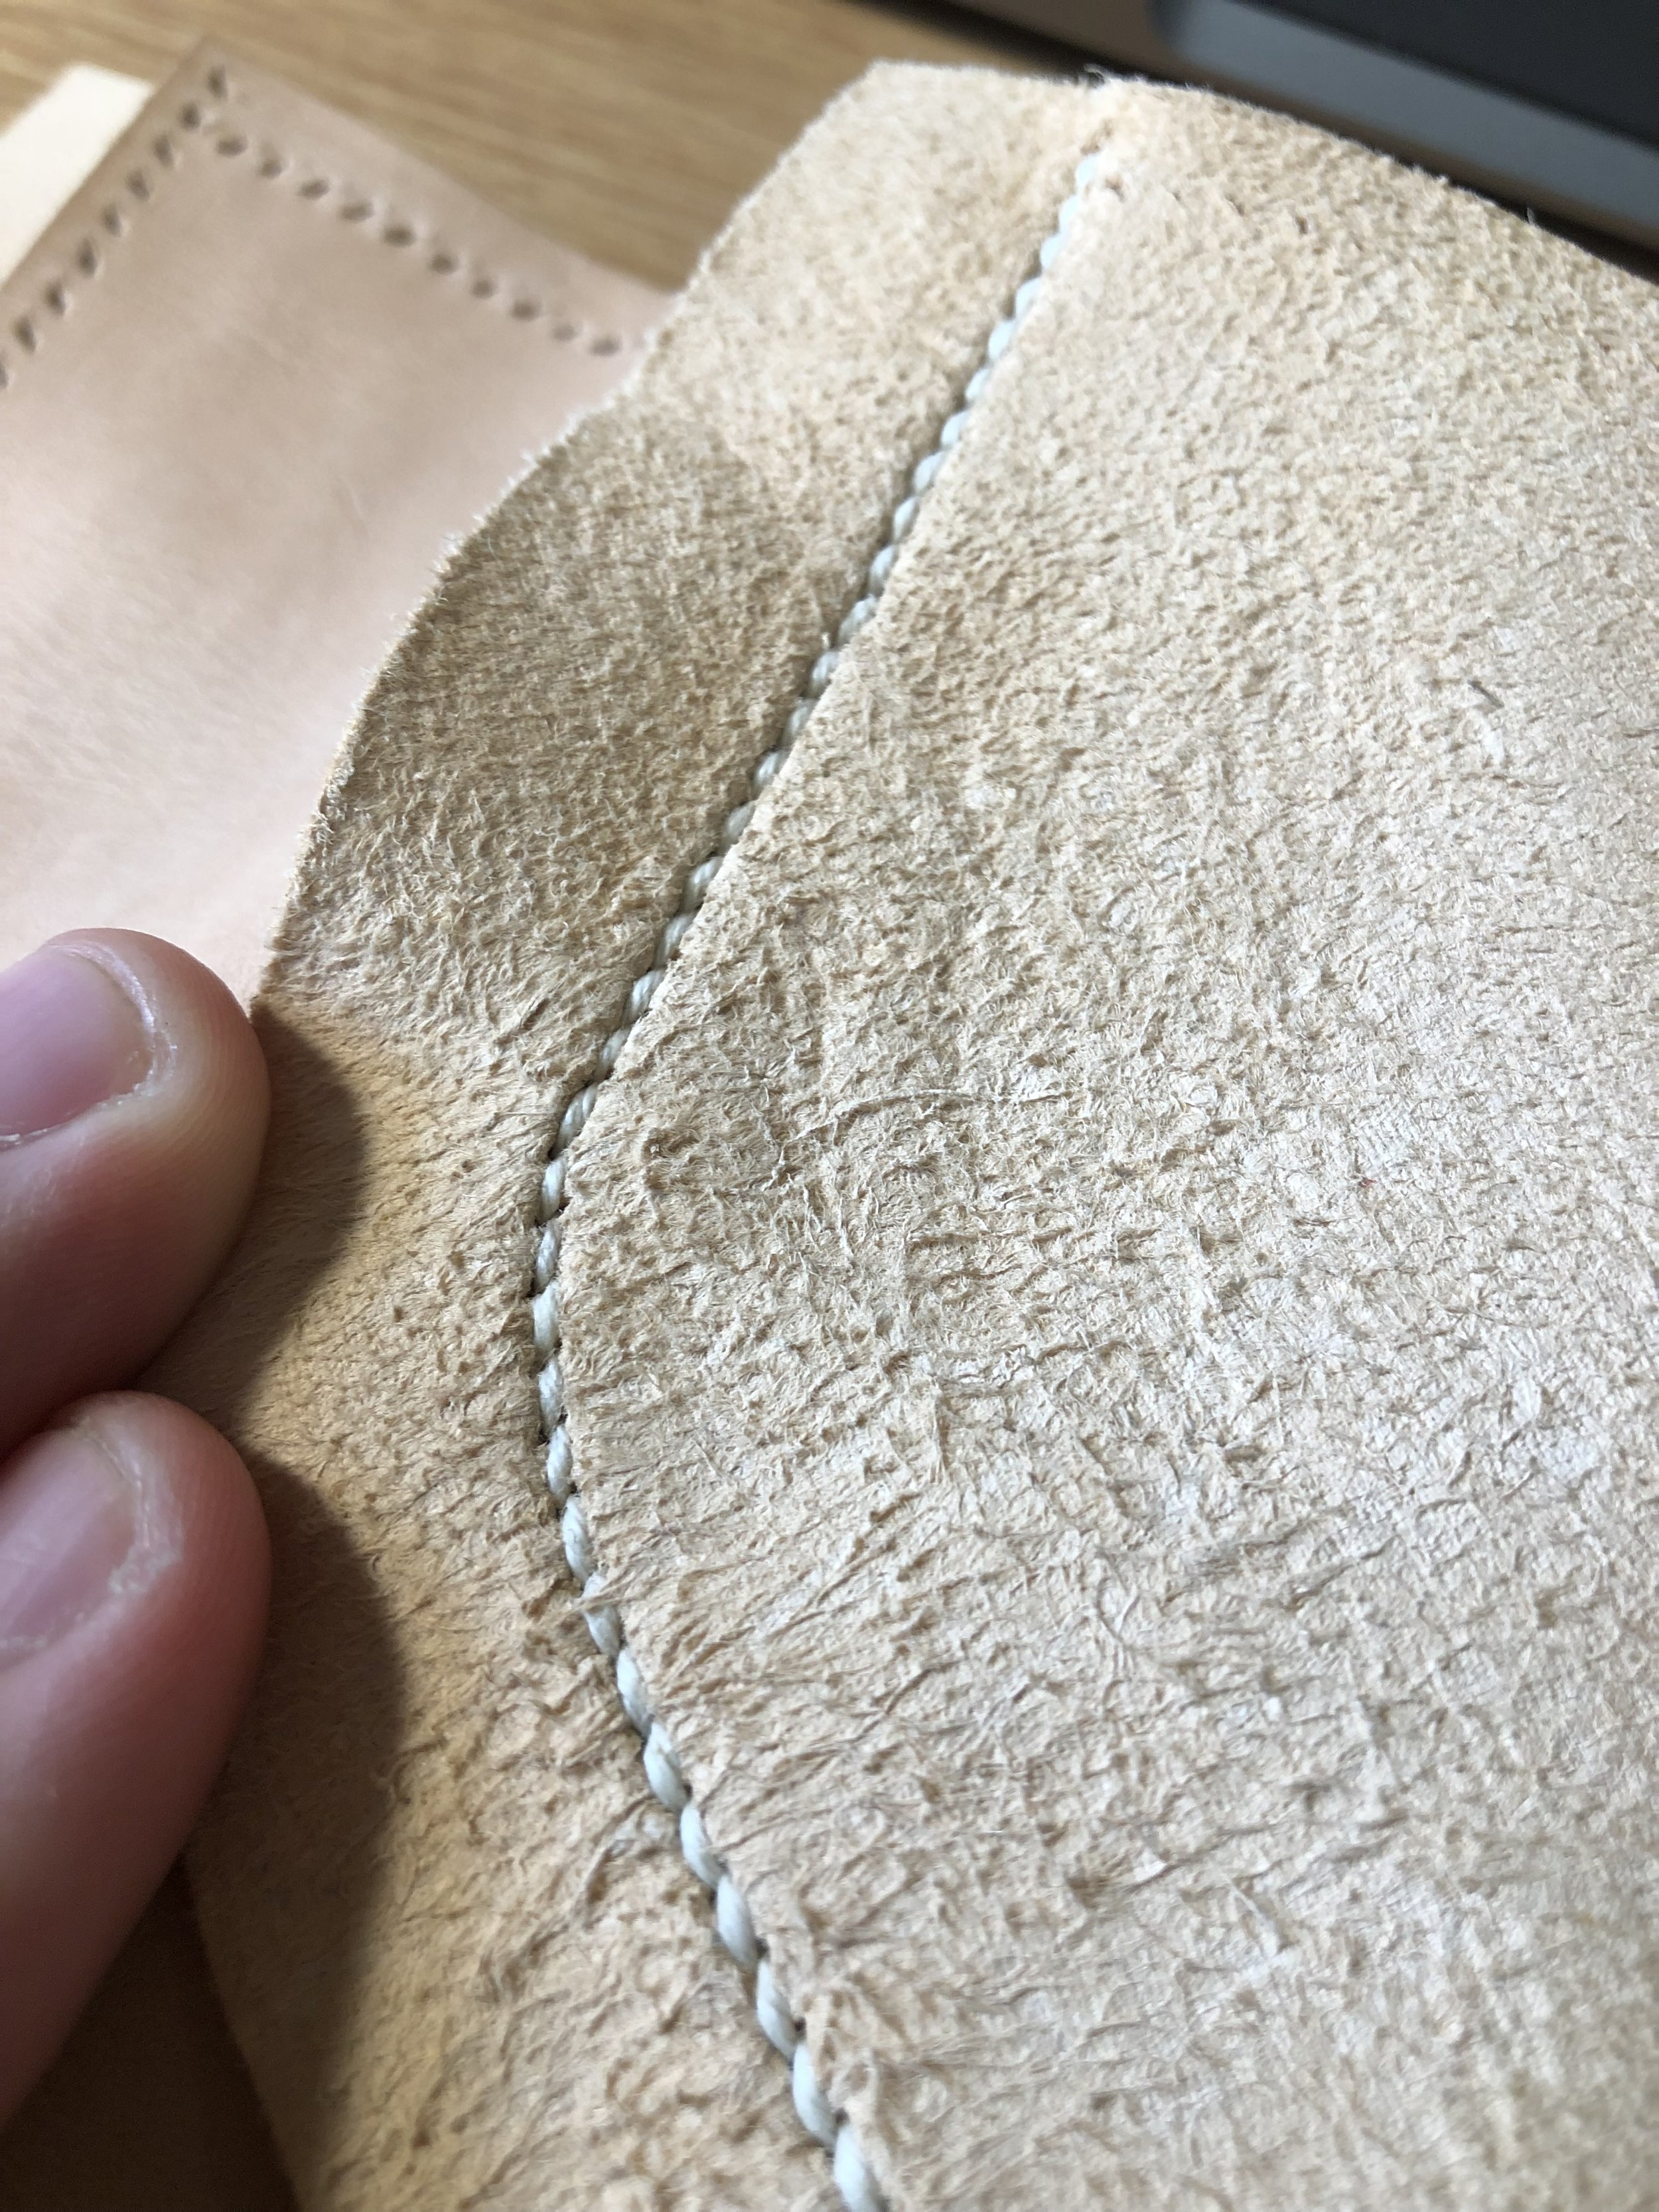
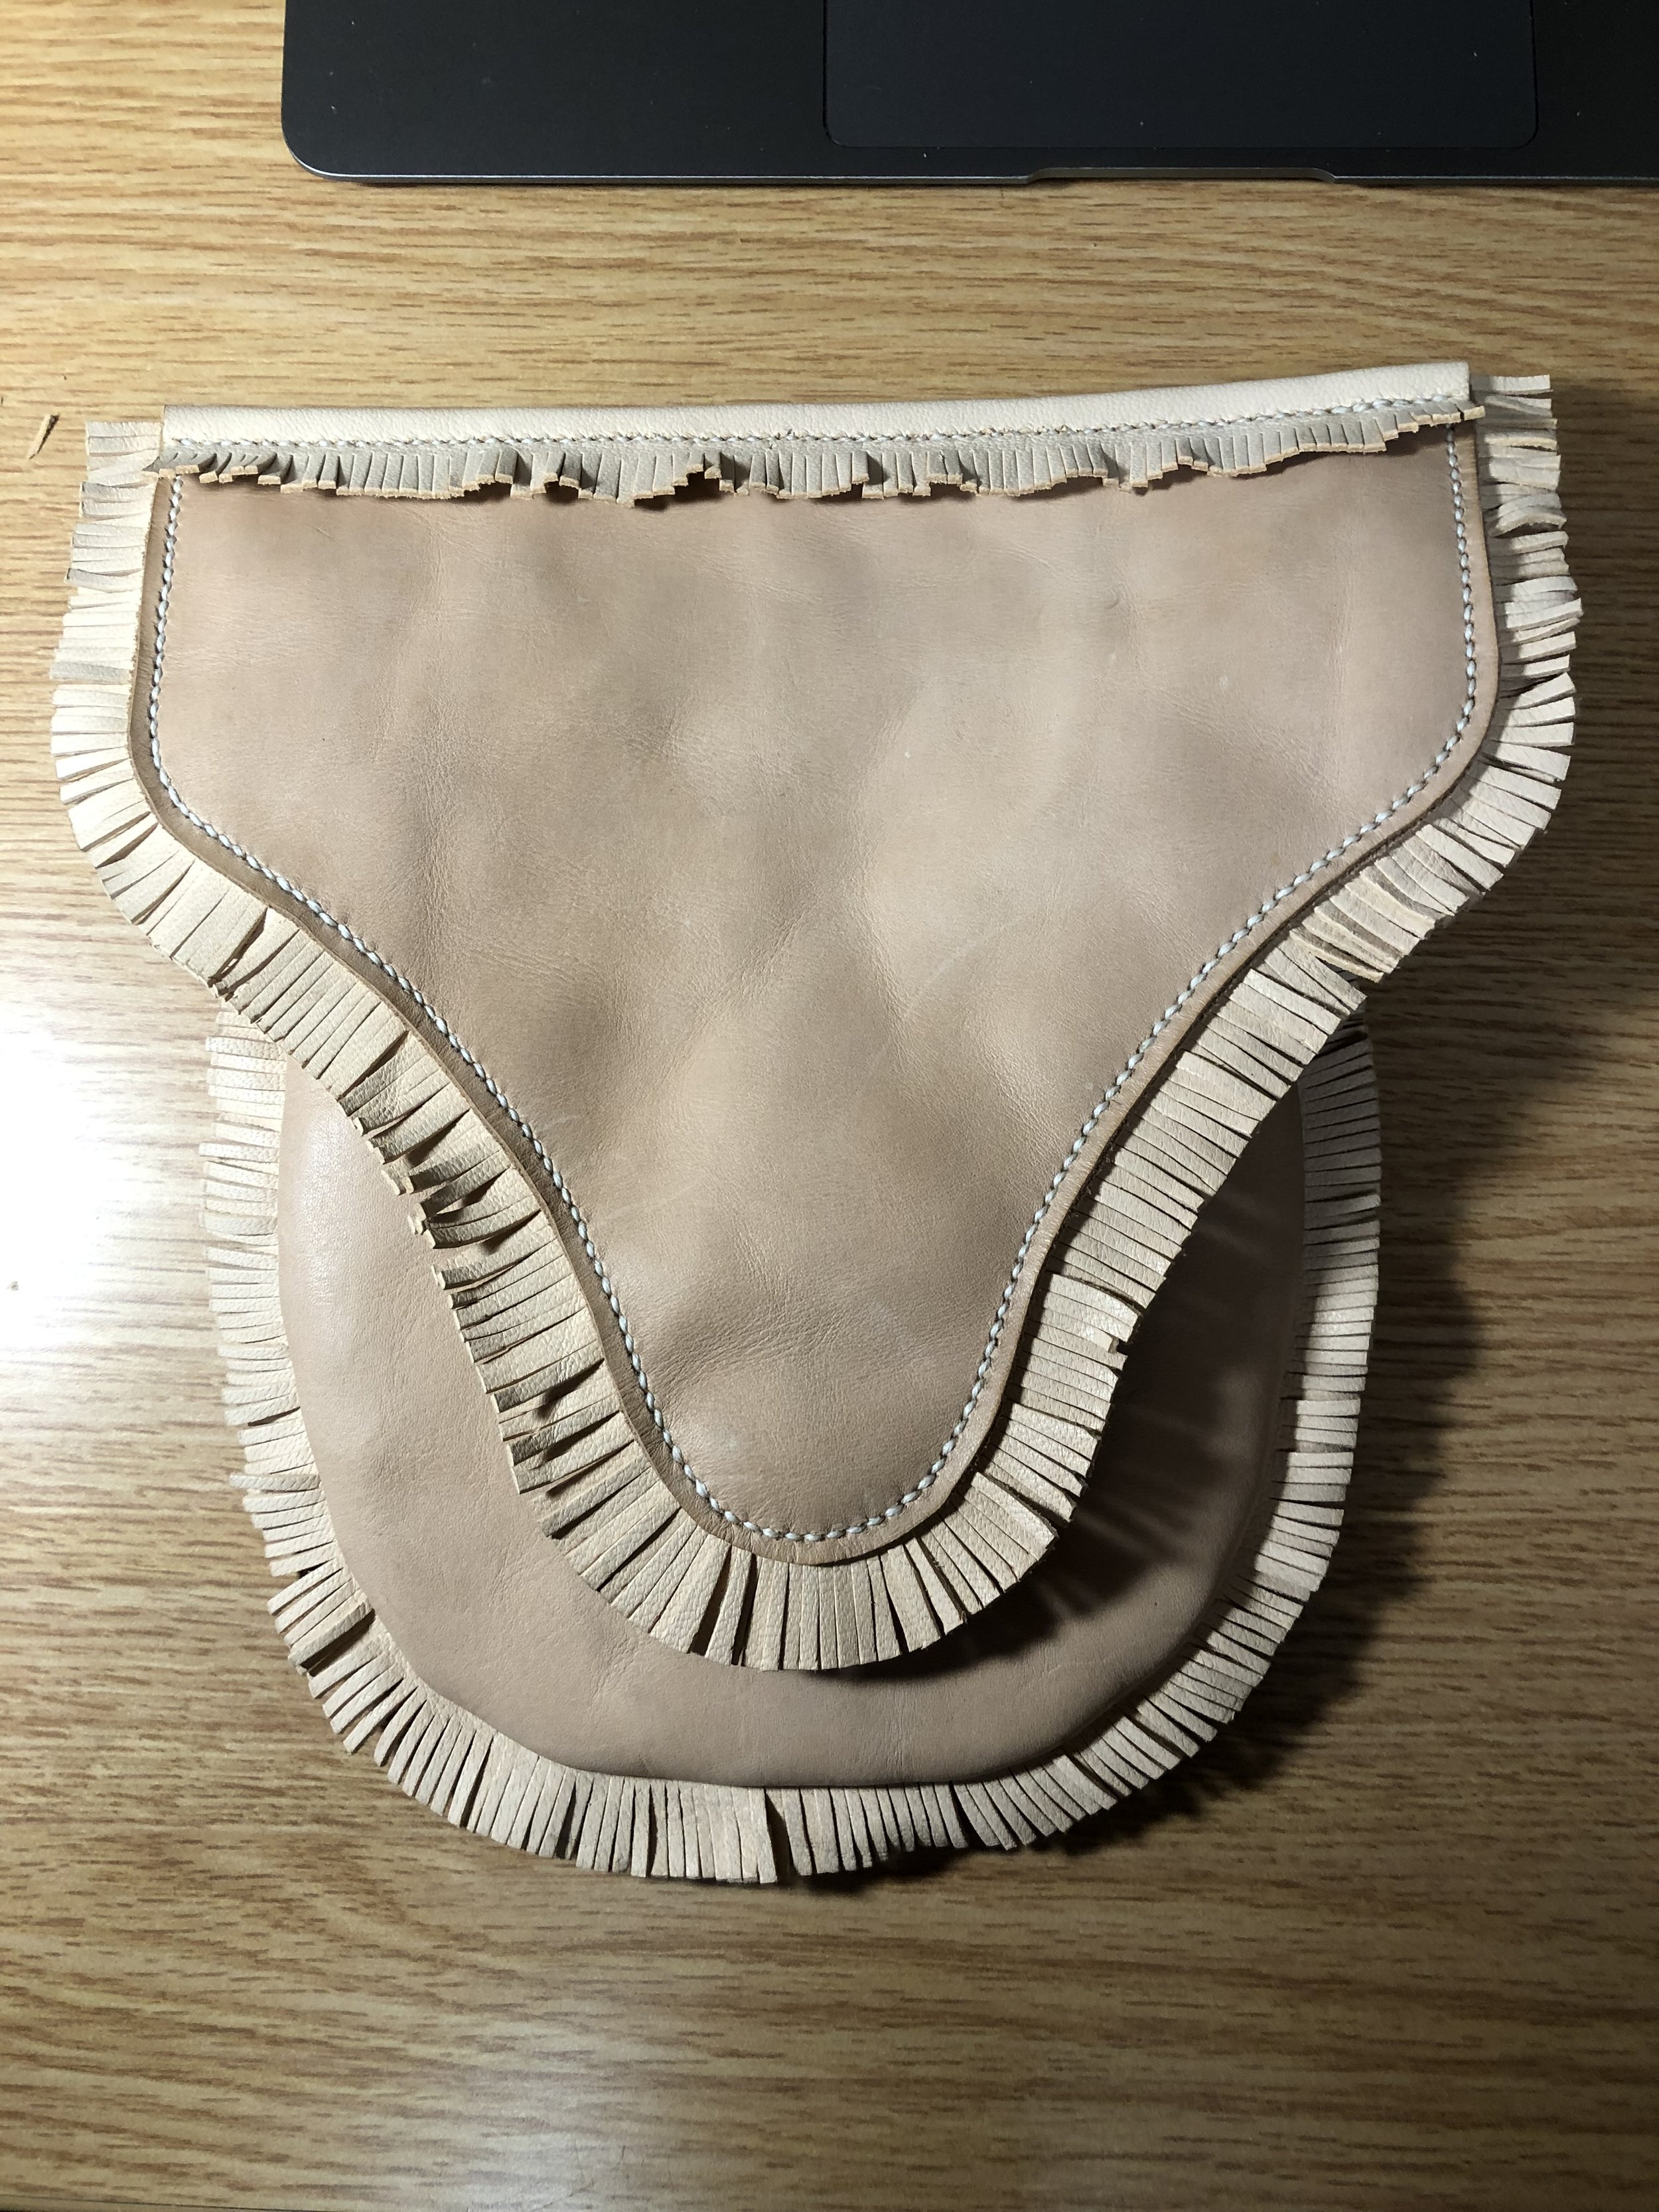
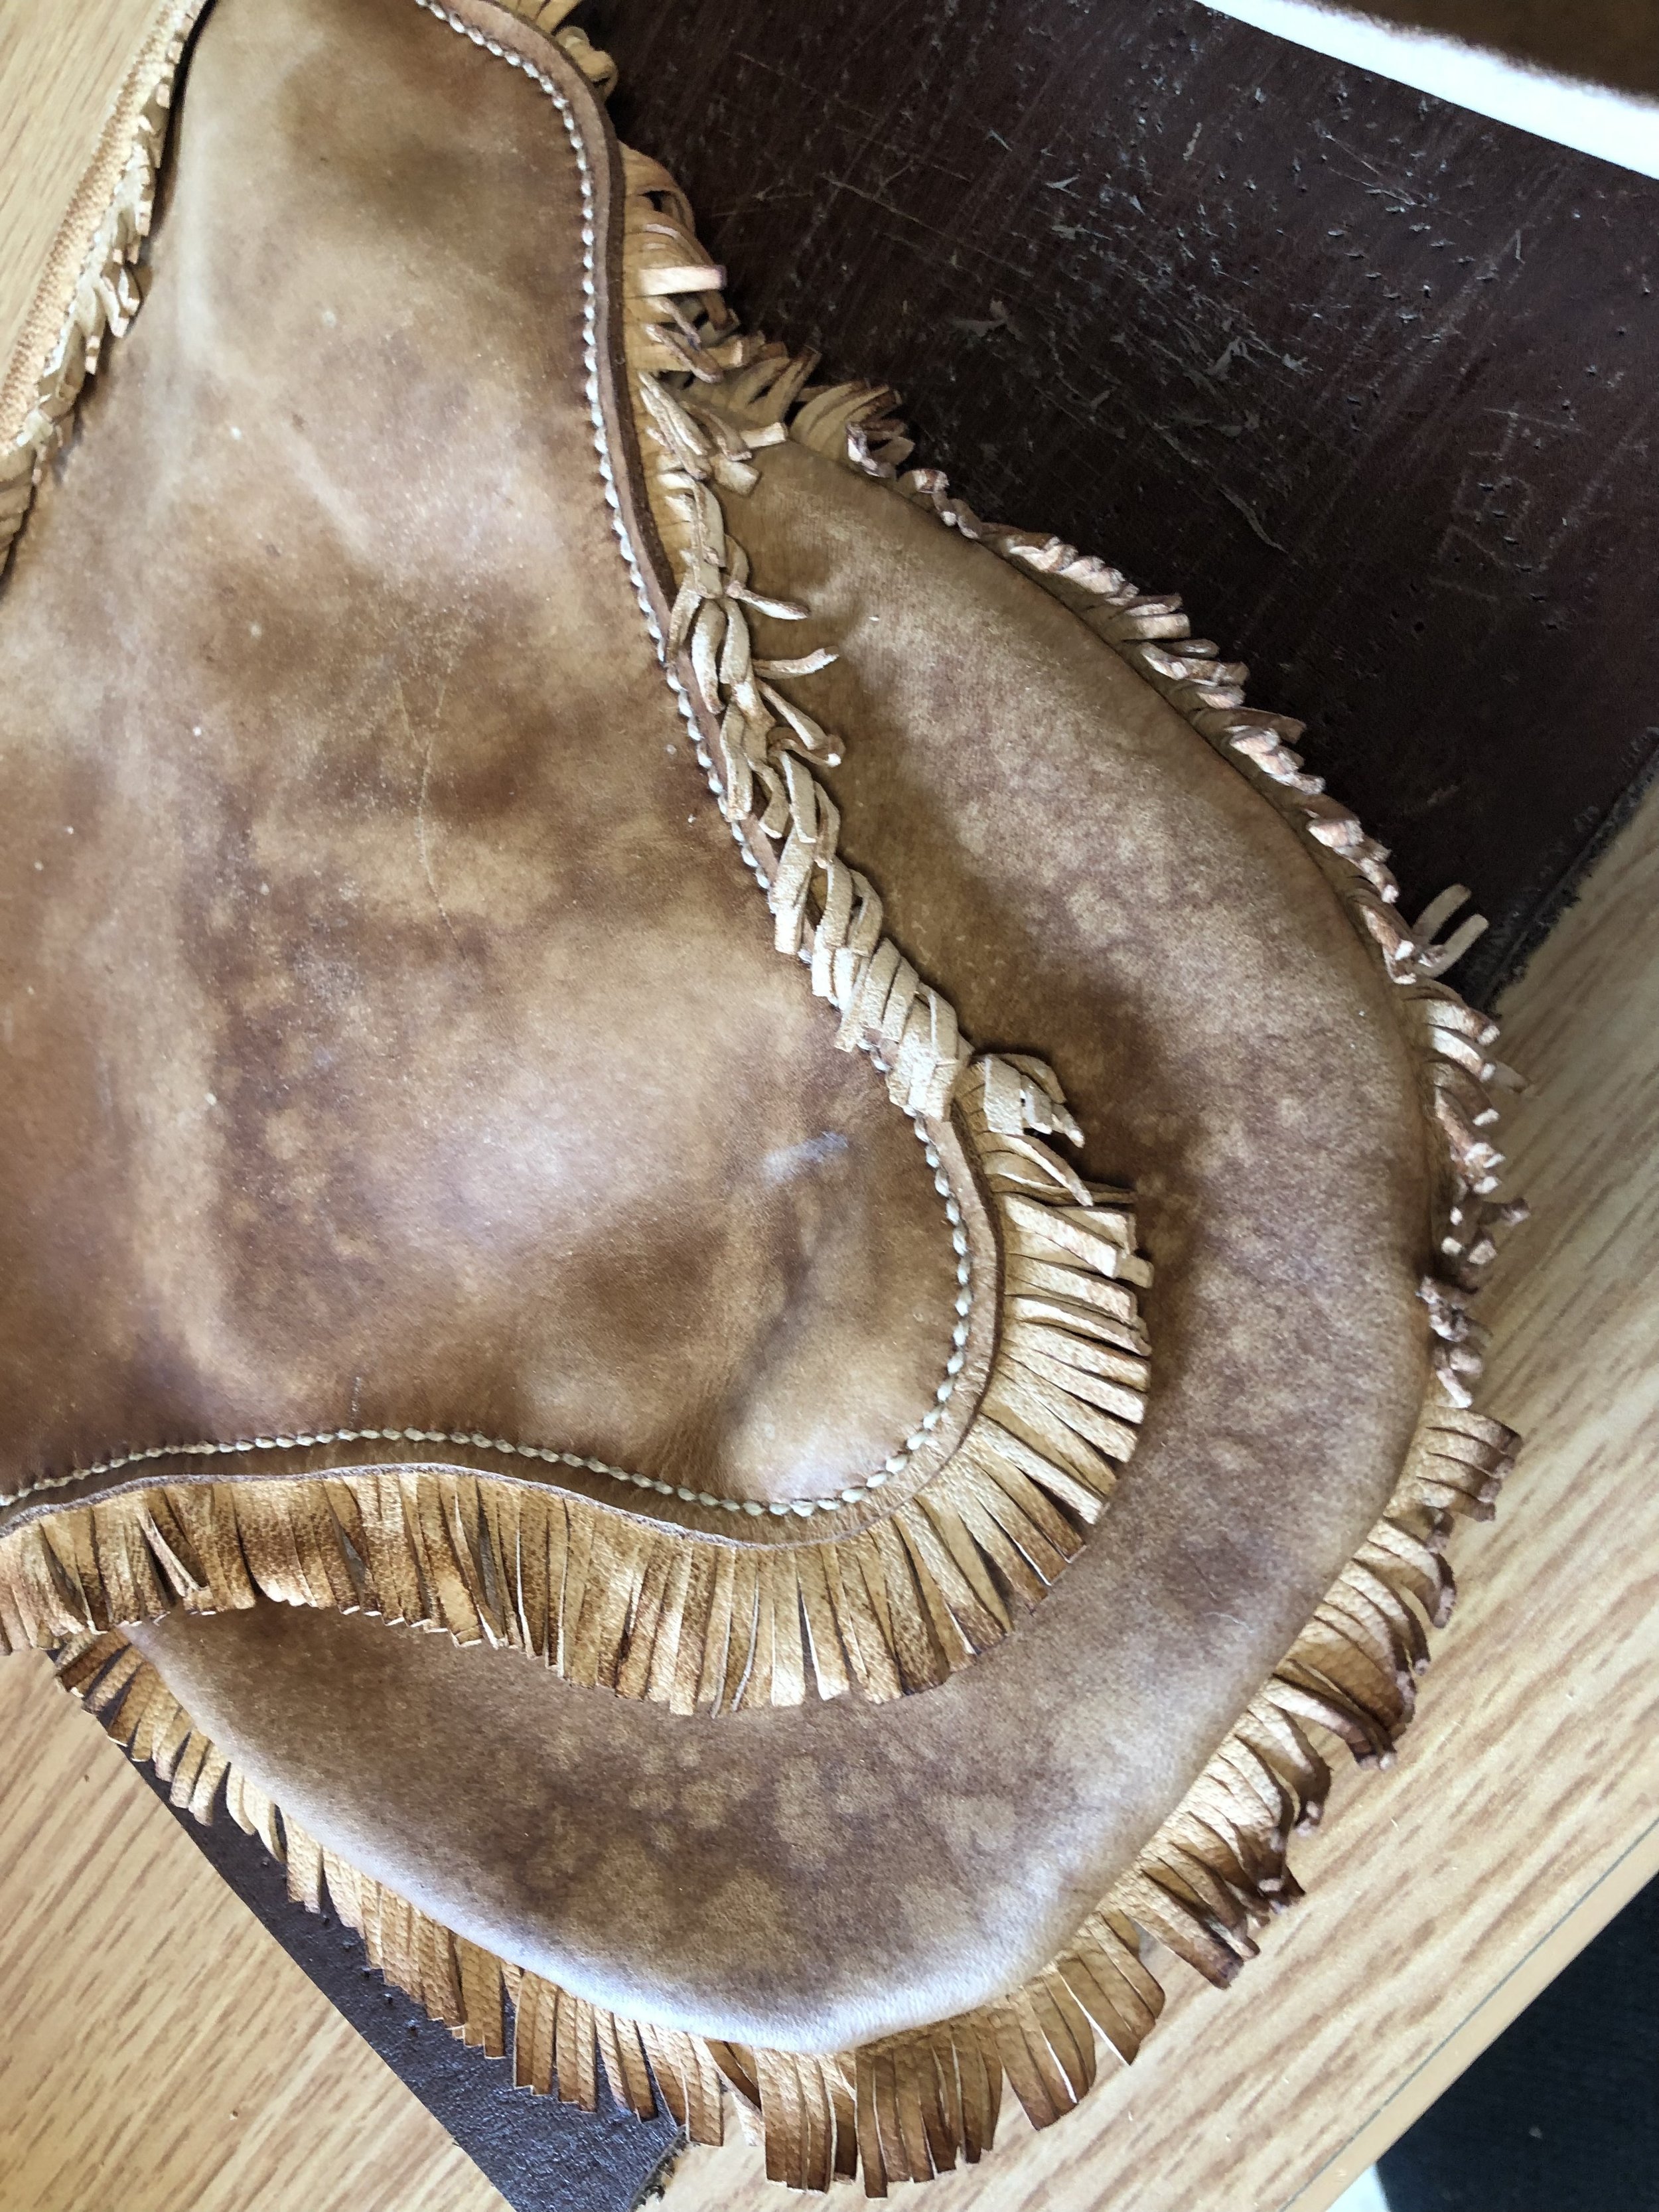
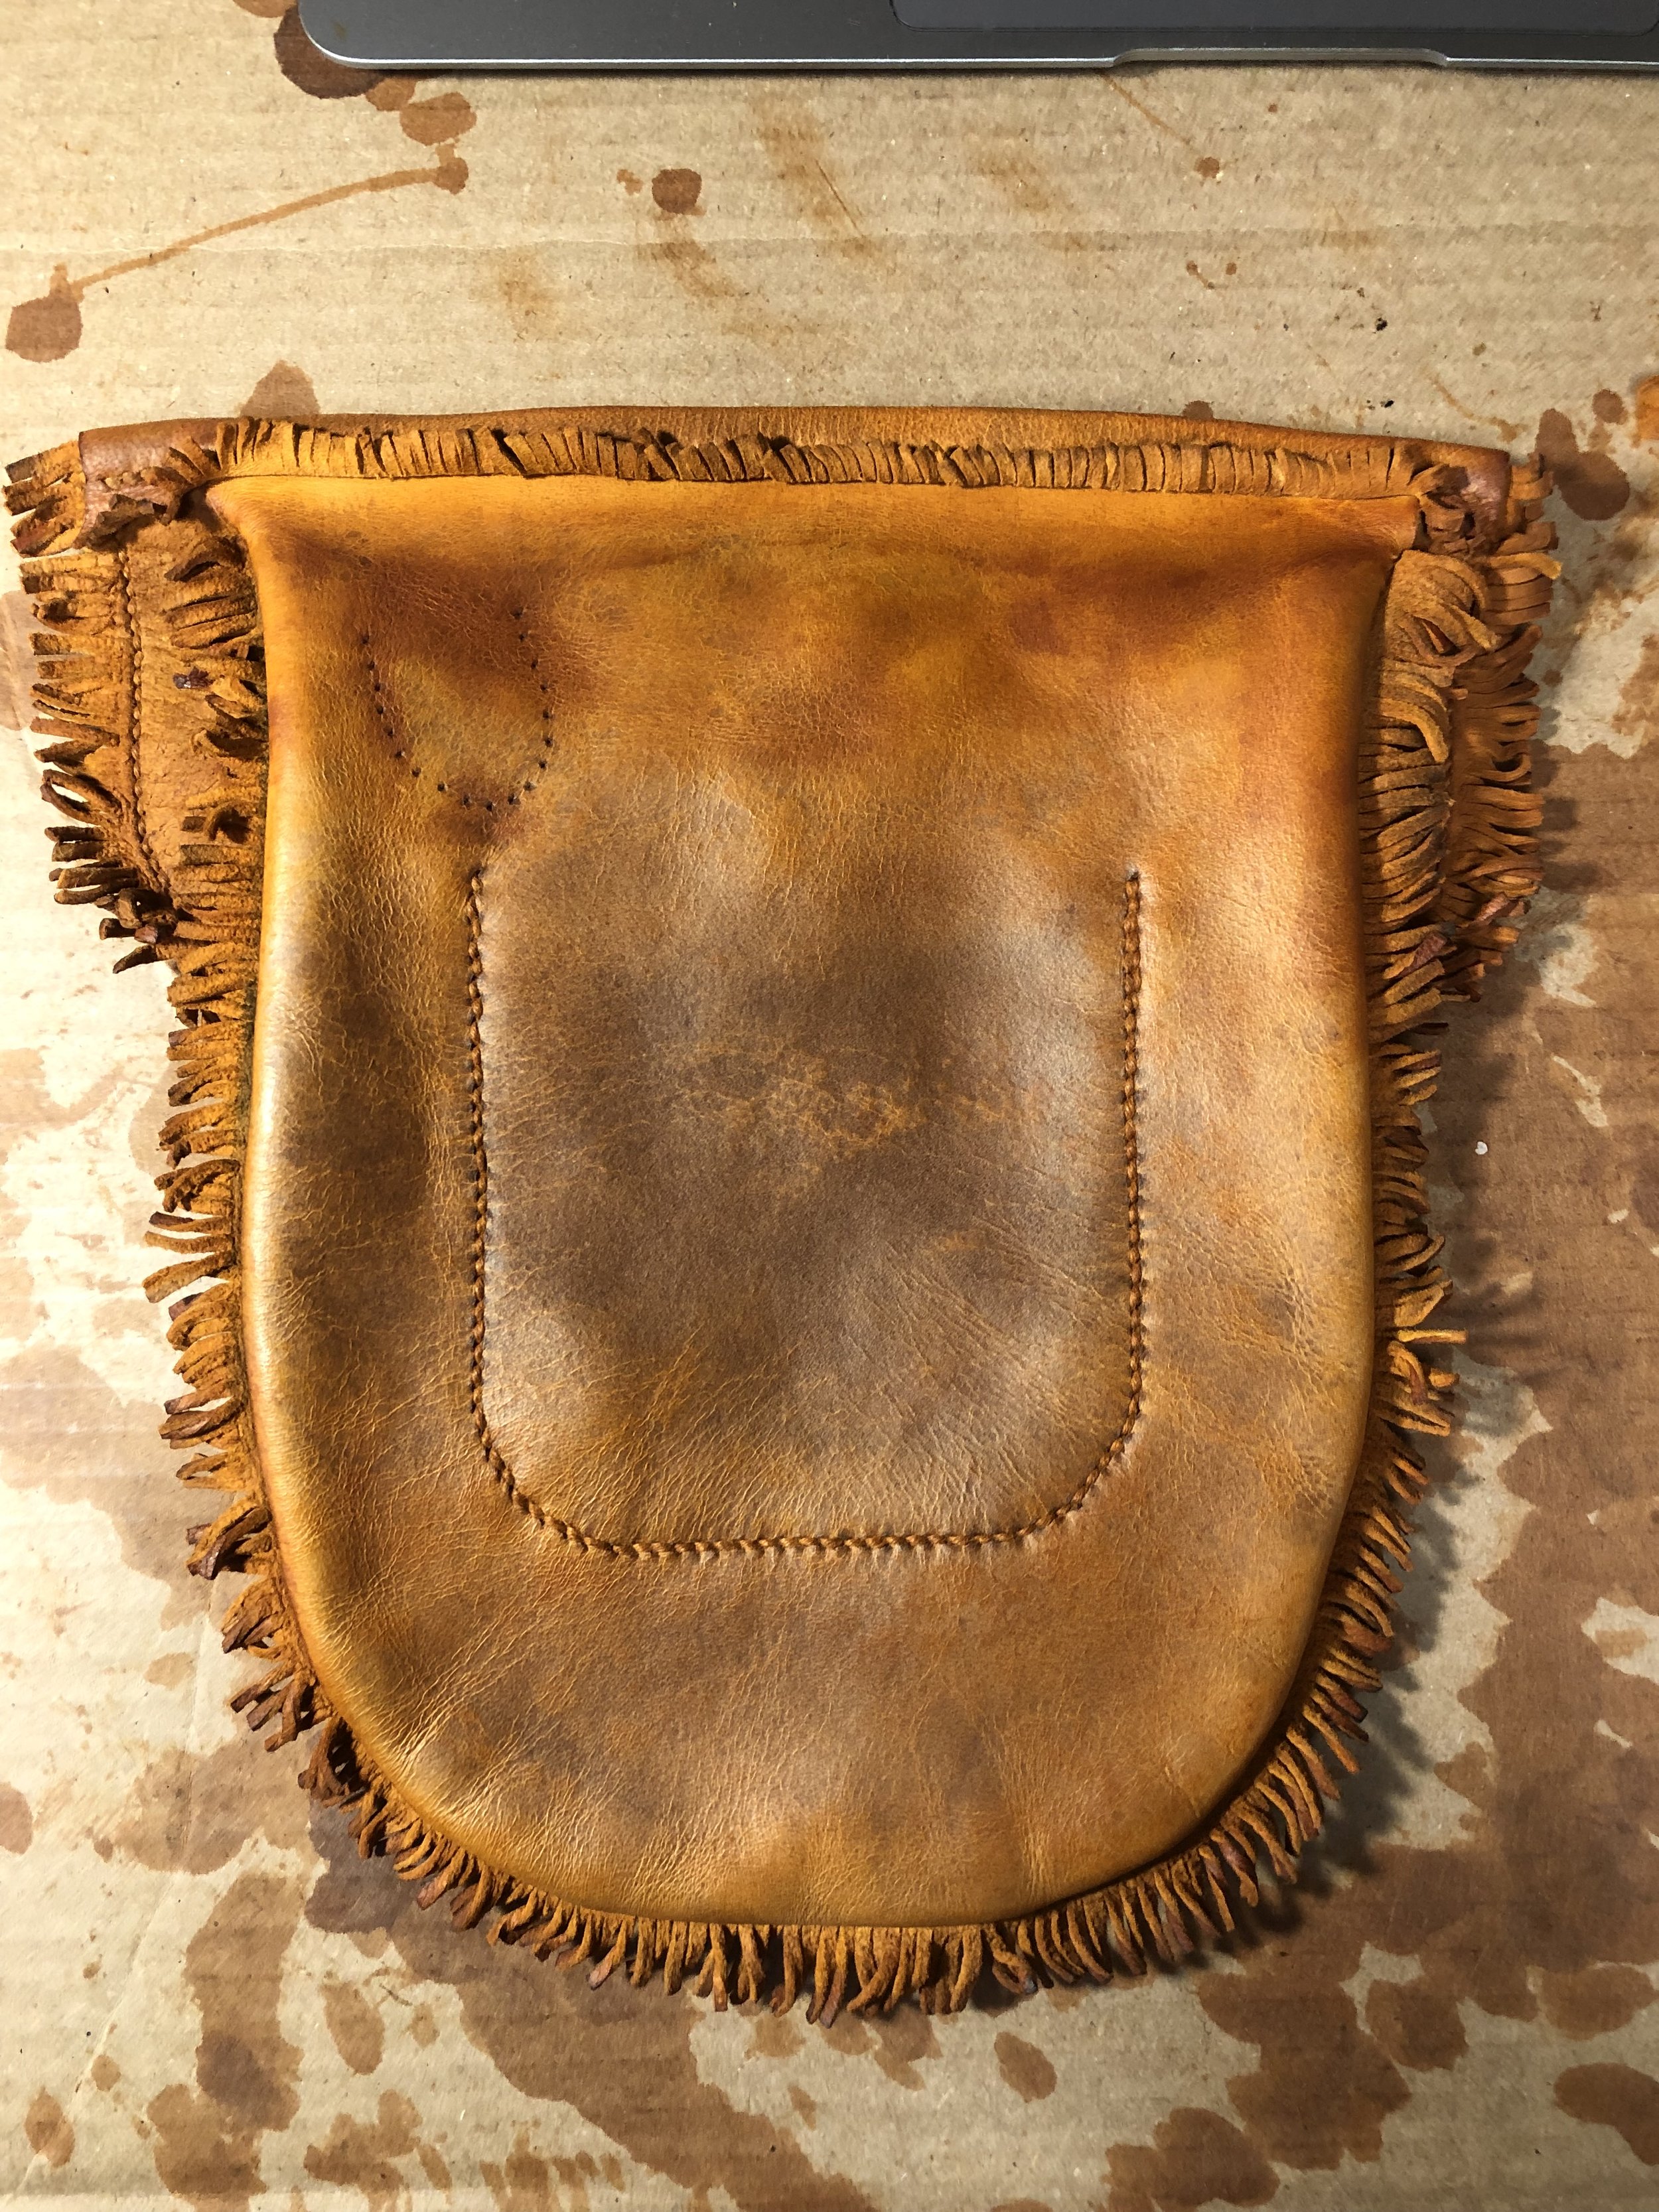
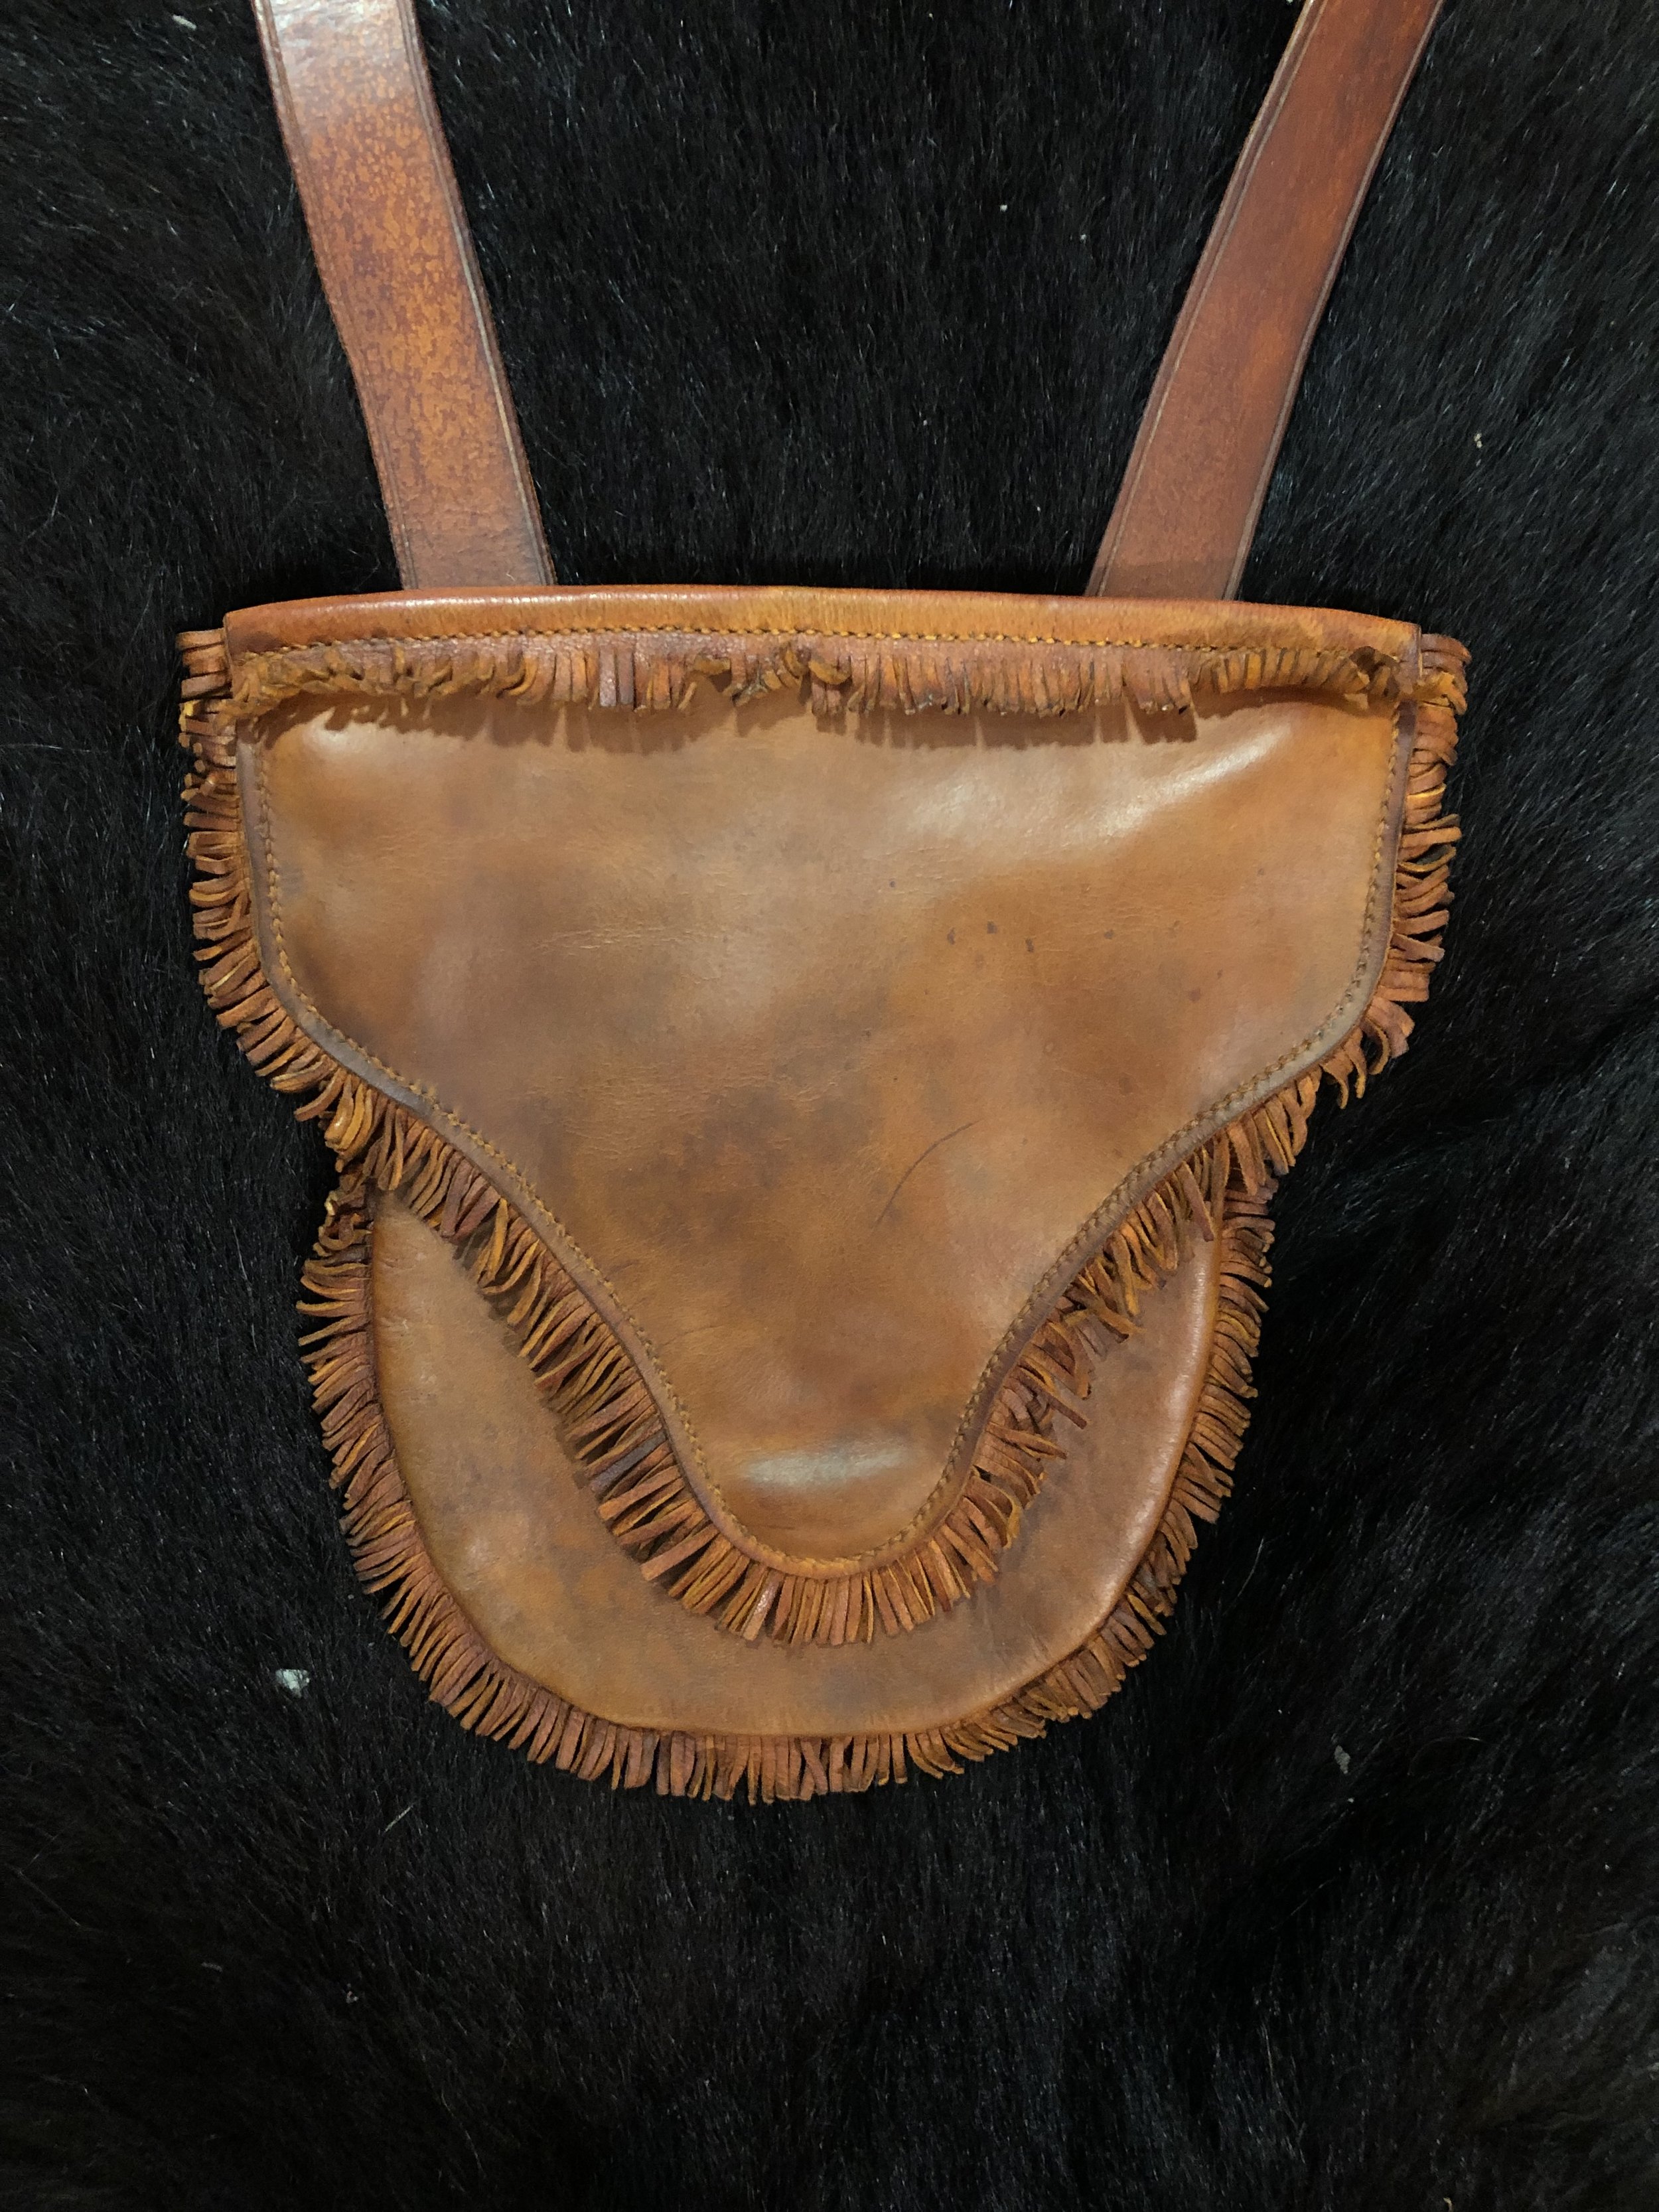
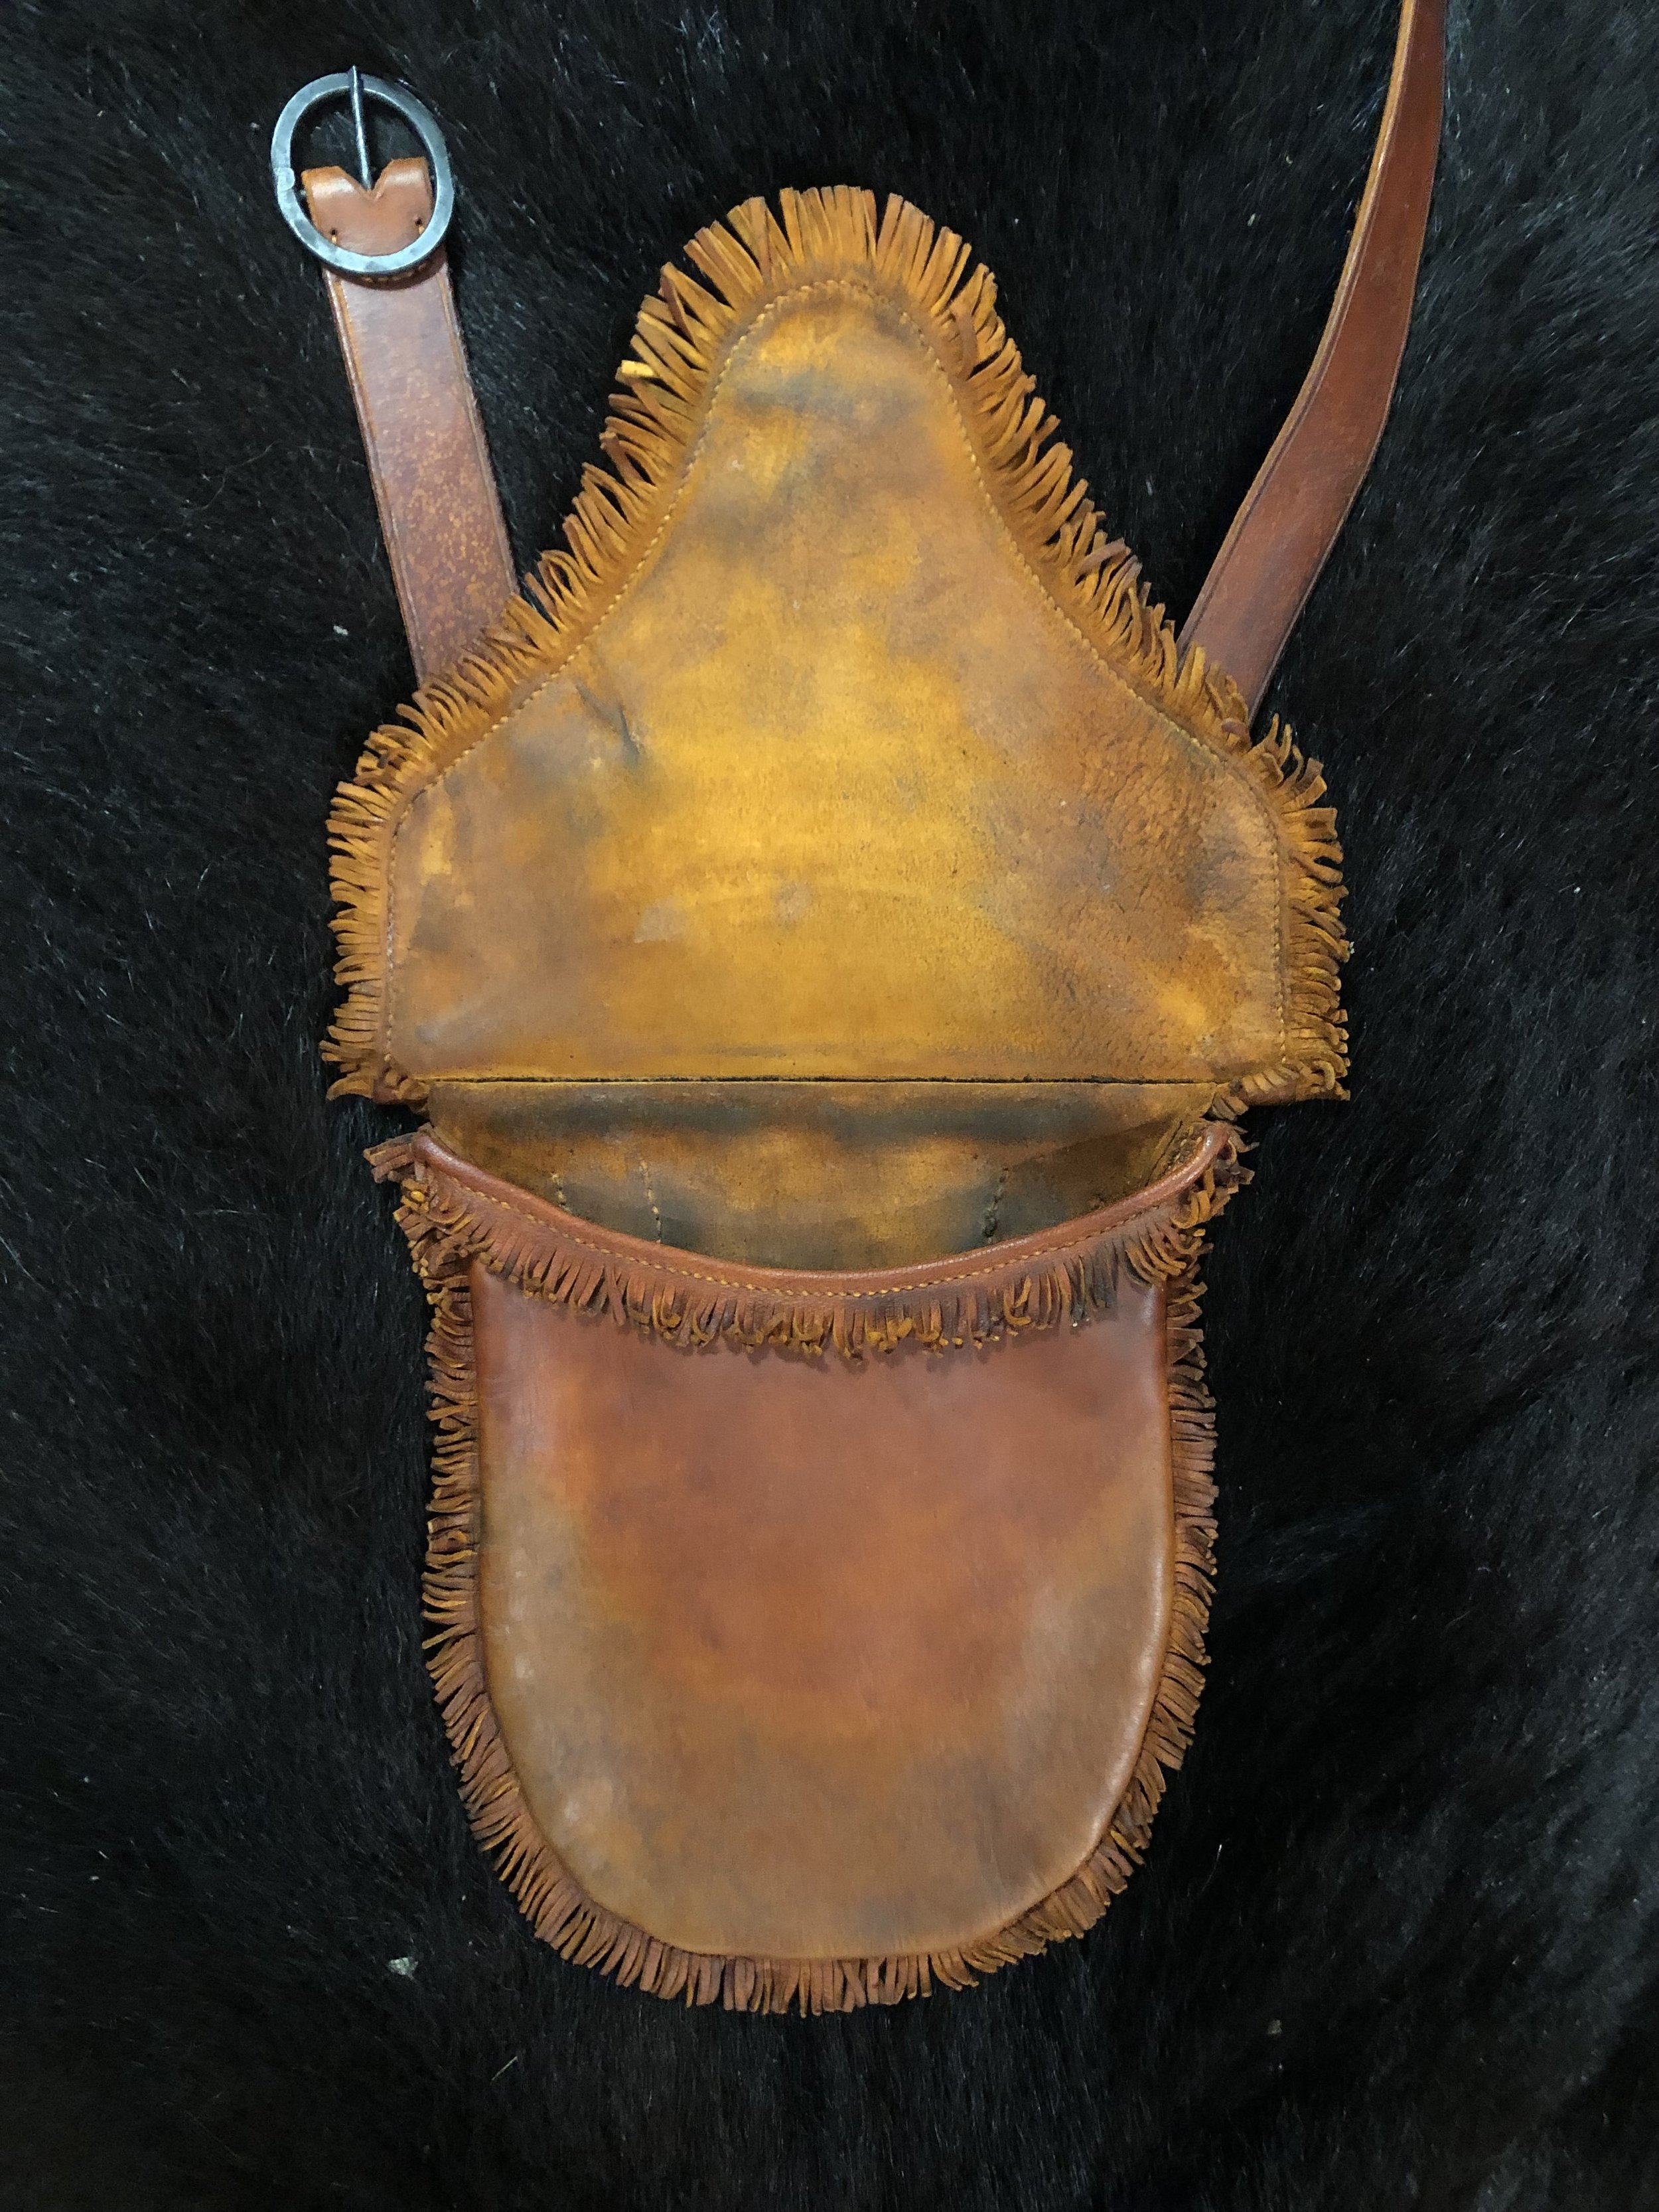
This bag was designed around a tanned coyote face that I intended to attach to the flap. Instead, I decided the plain leather looked good enough, and added some decorative fringe to the top instead. The conical shape mirrors my hand with fingers drawn together, as is the case when you reach into a bag: I find it easy to use this bag because you can immediately feel all of the contents with your whole hand stuck inside — there isn’t much rummaging around.
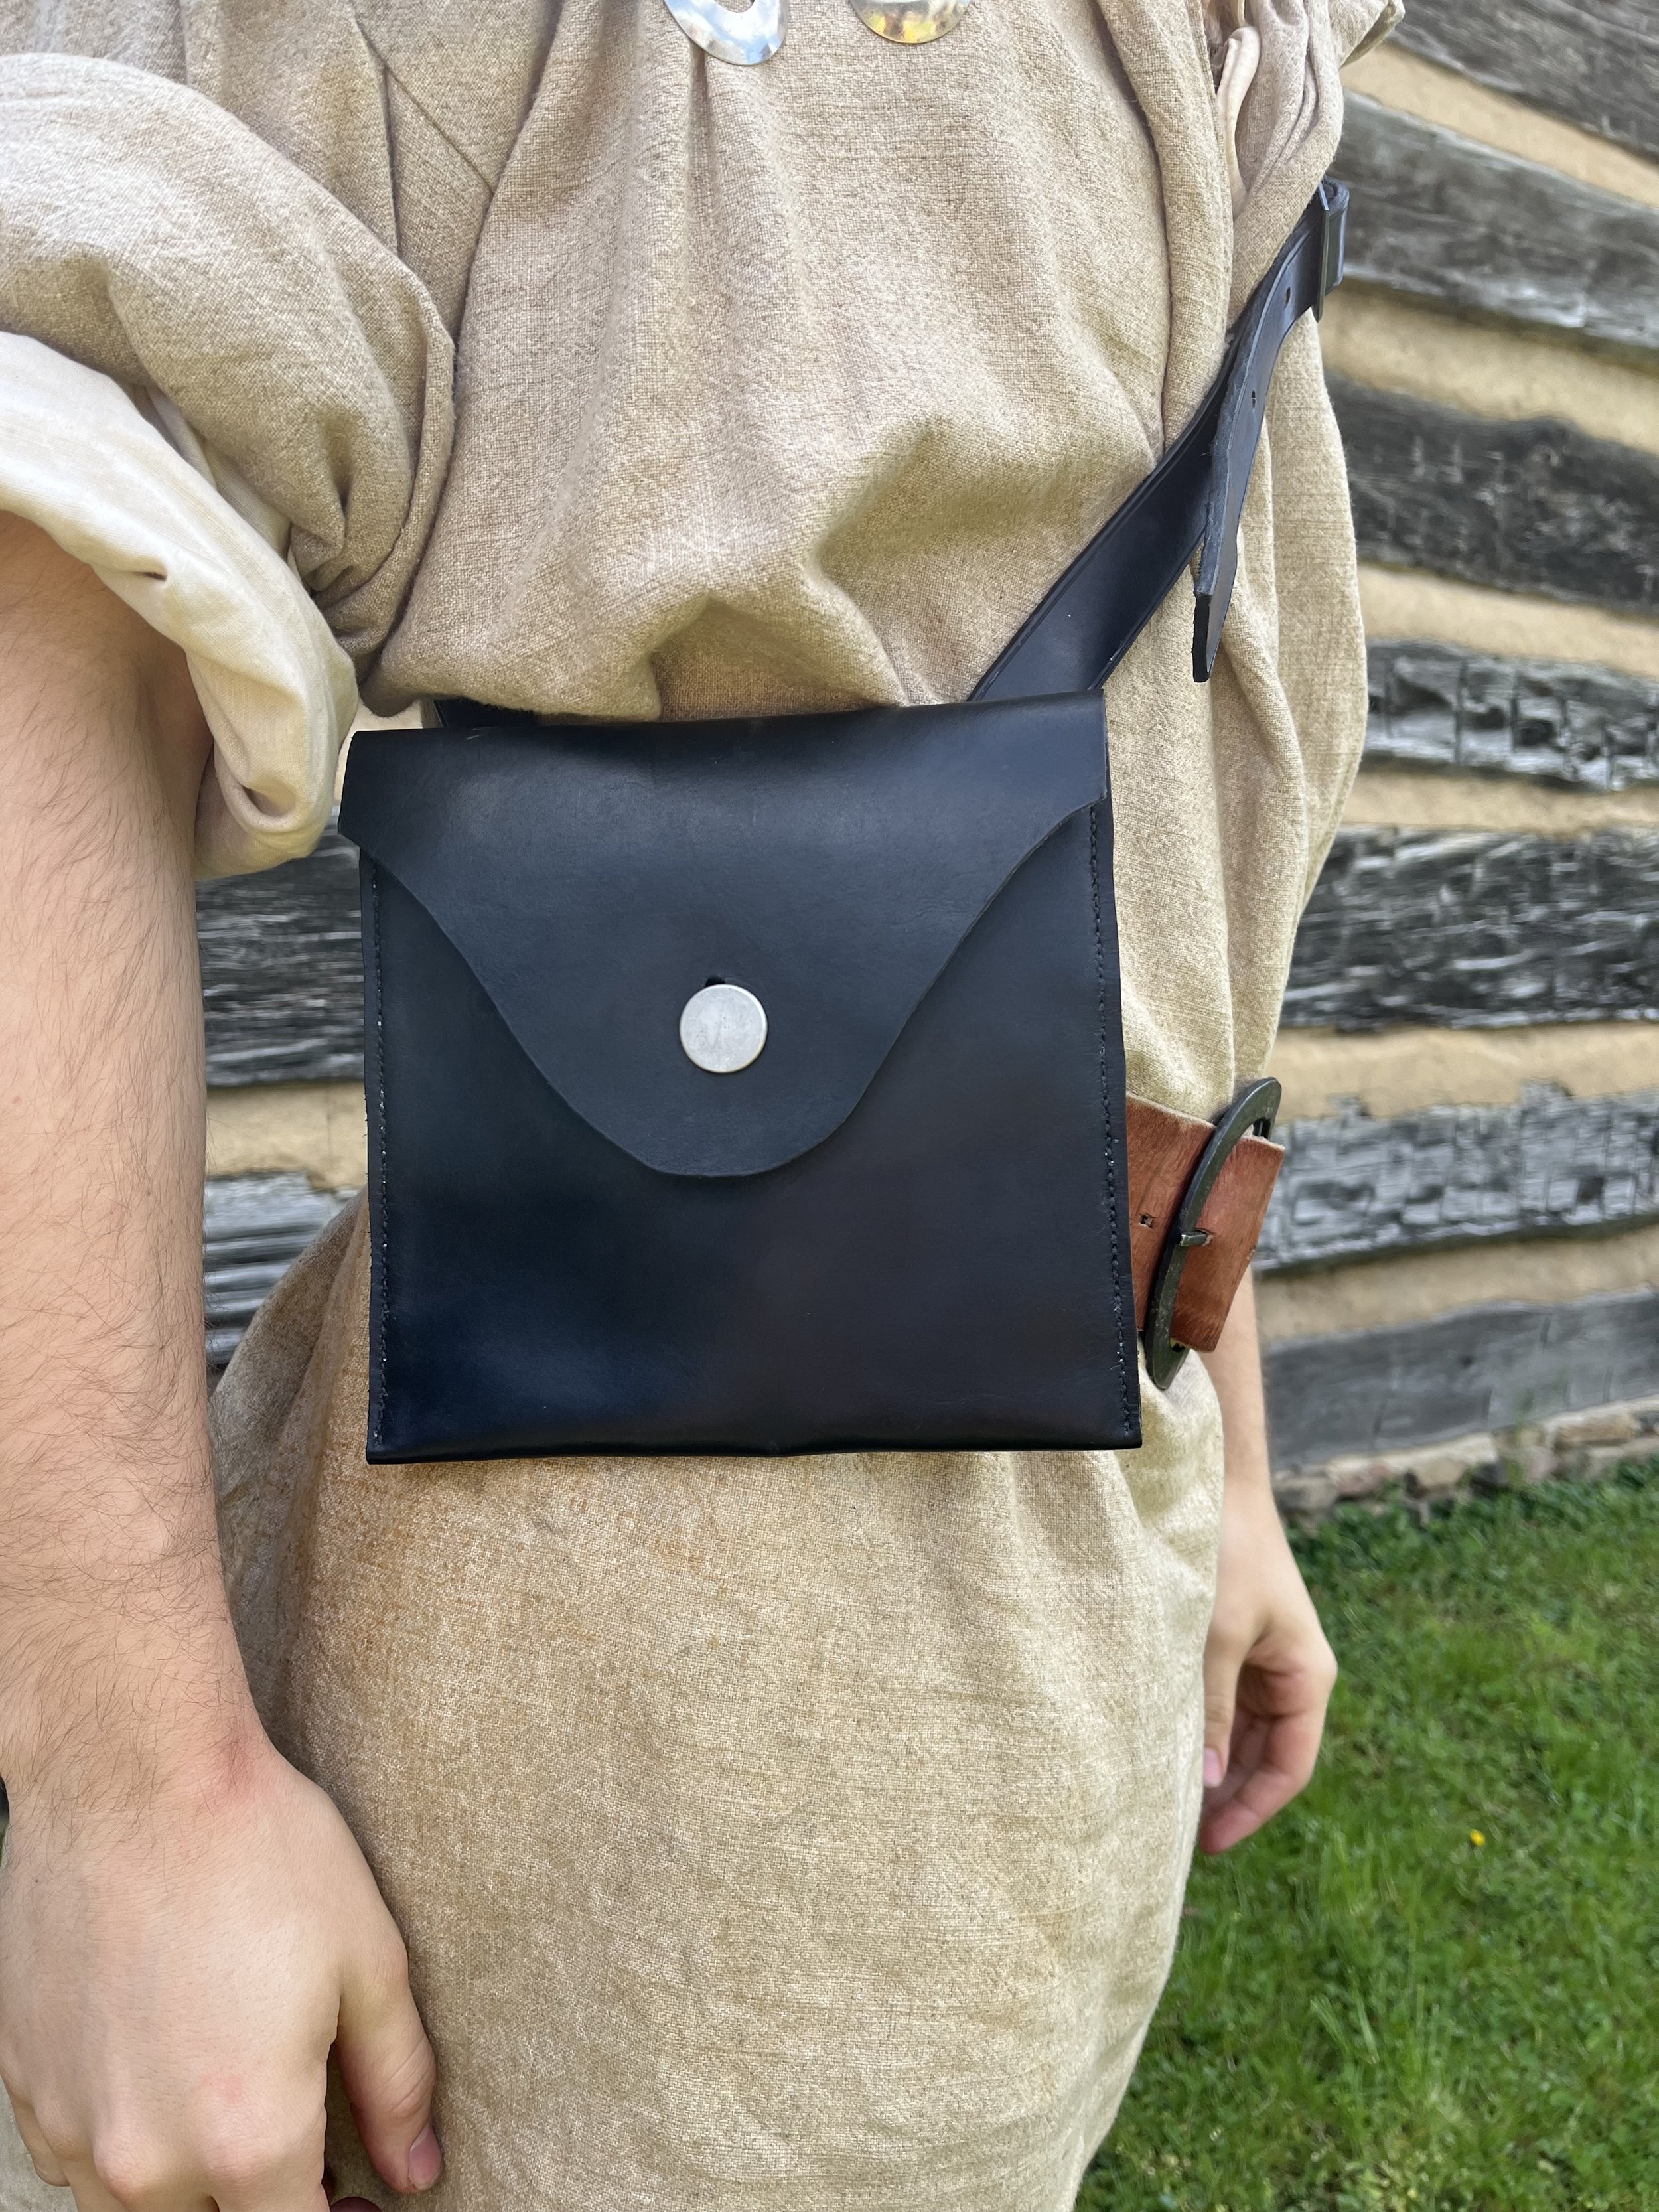
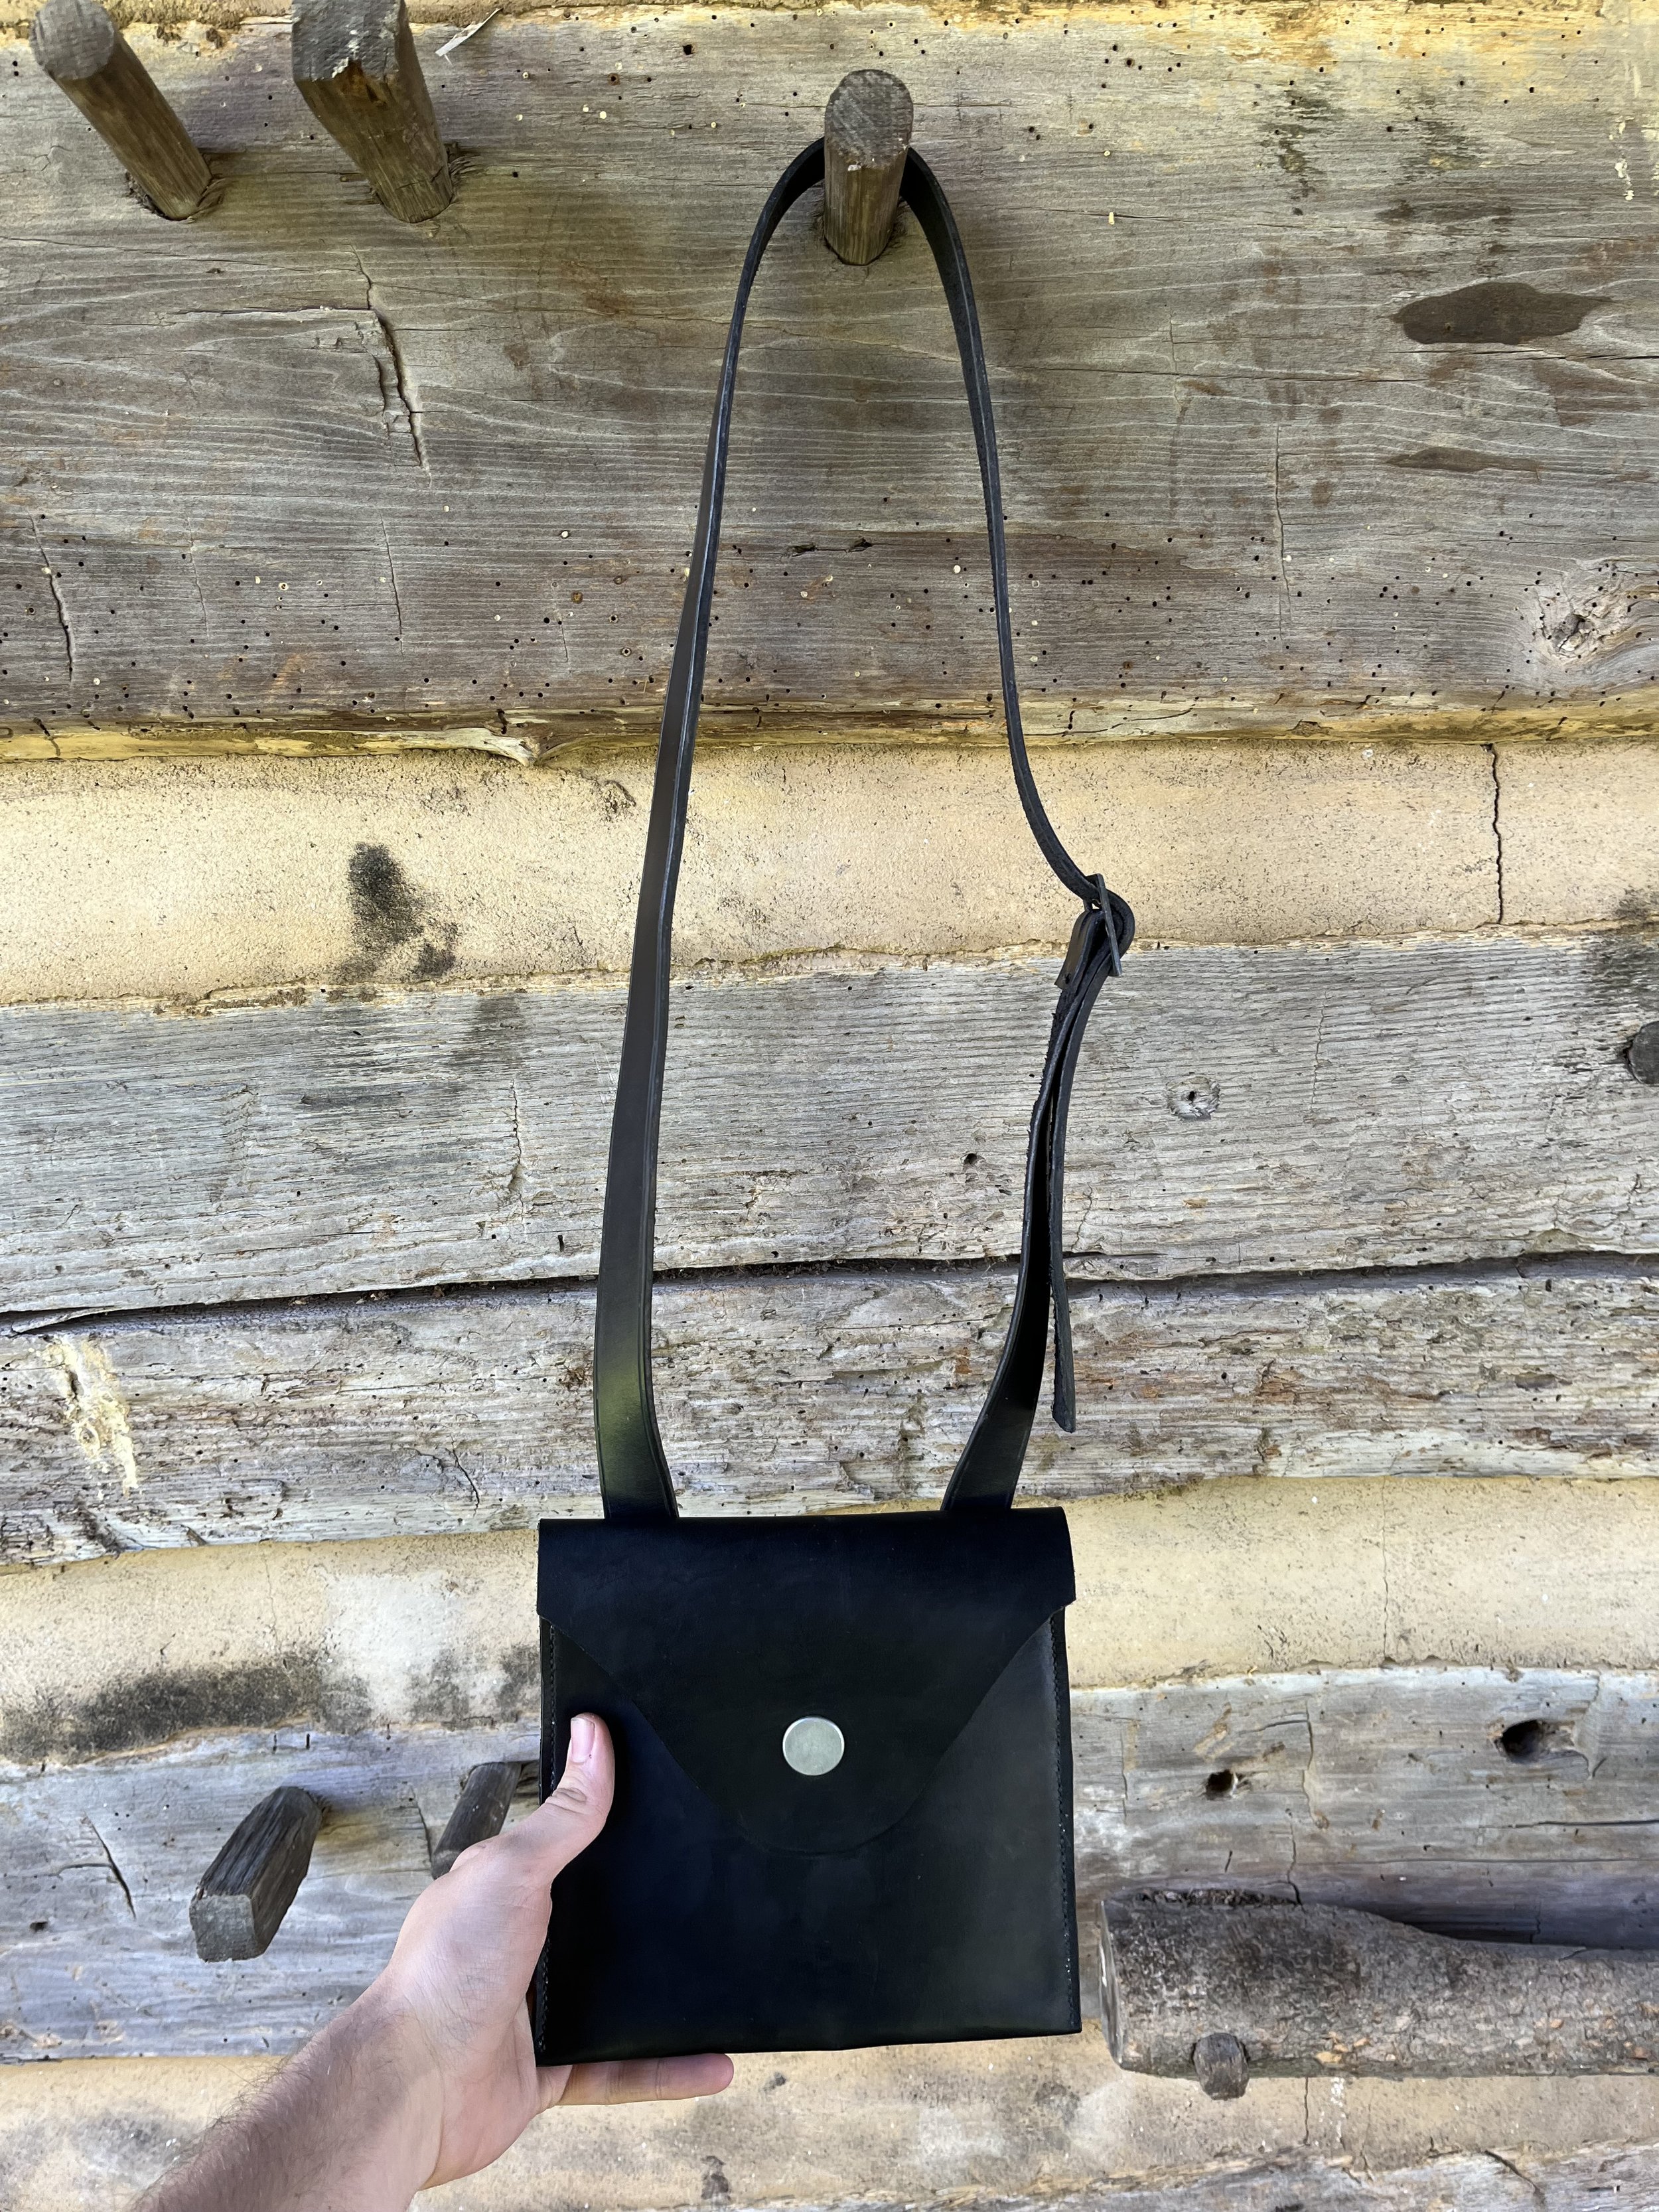
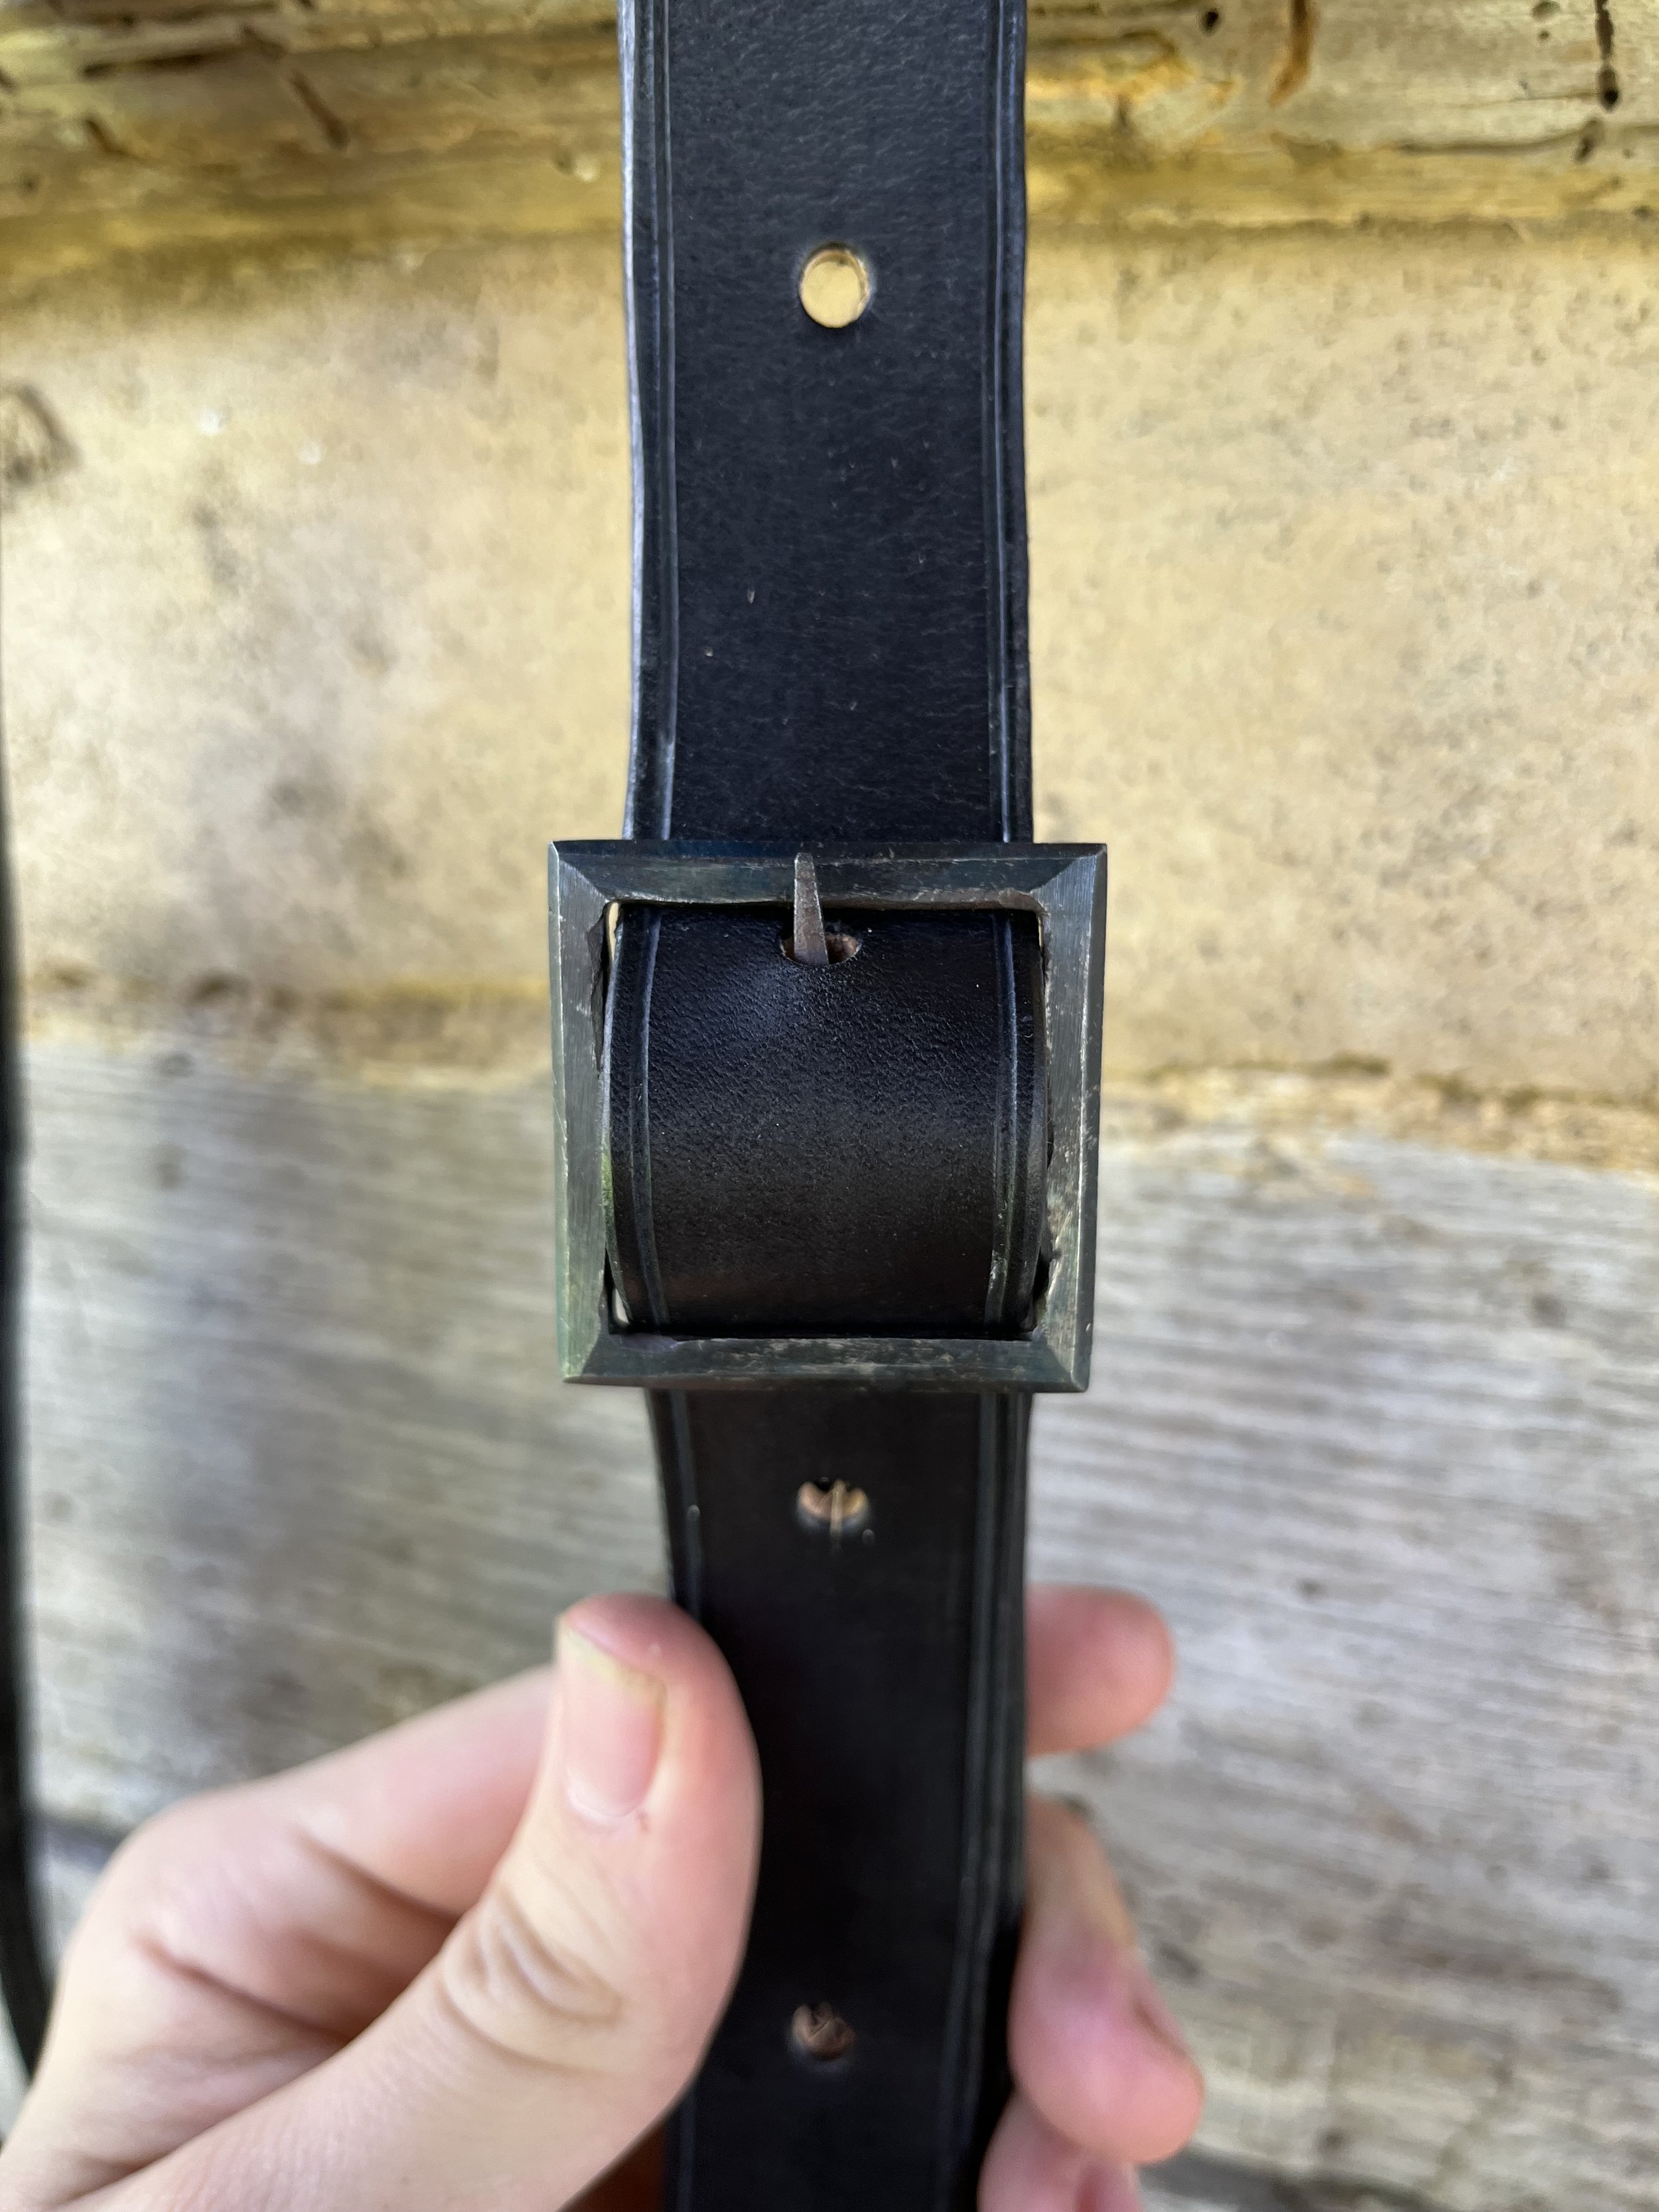
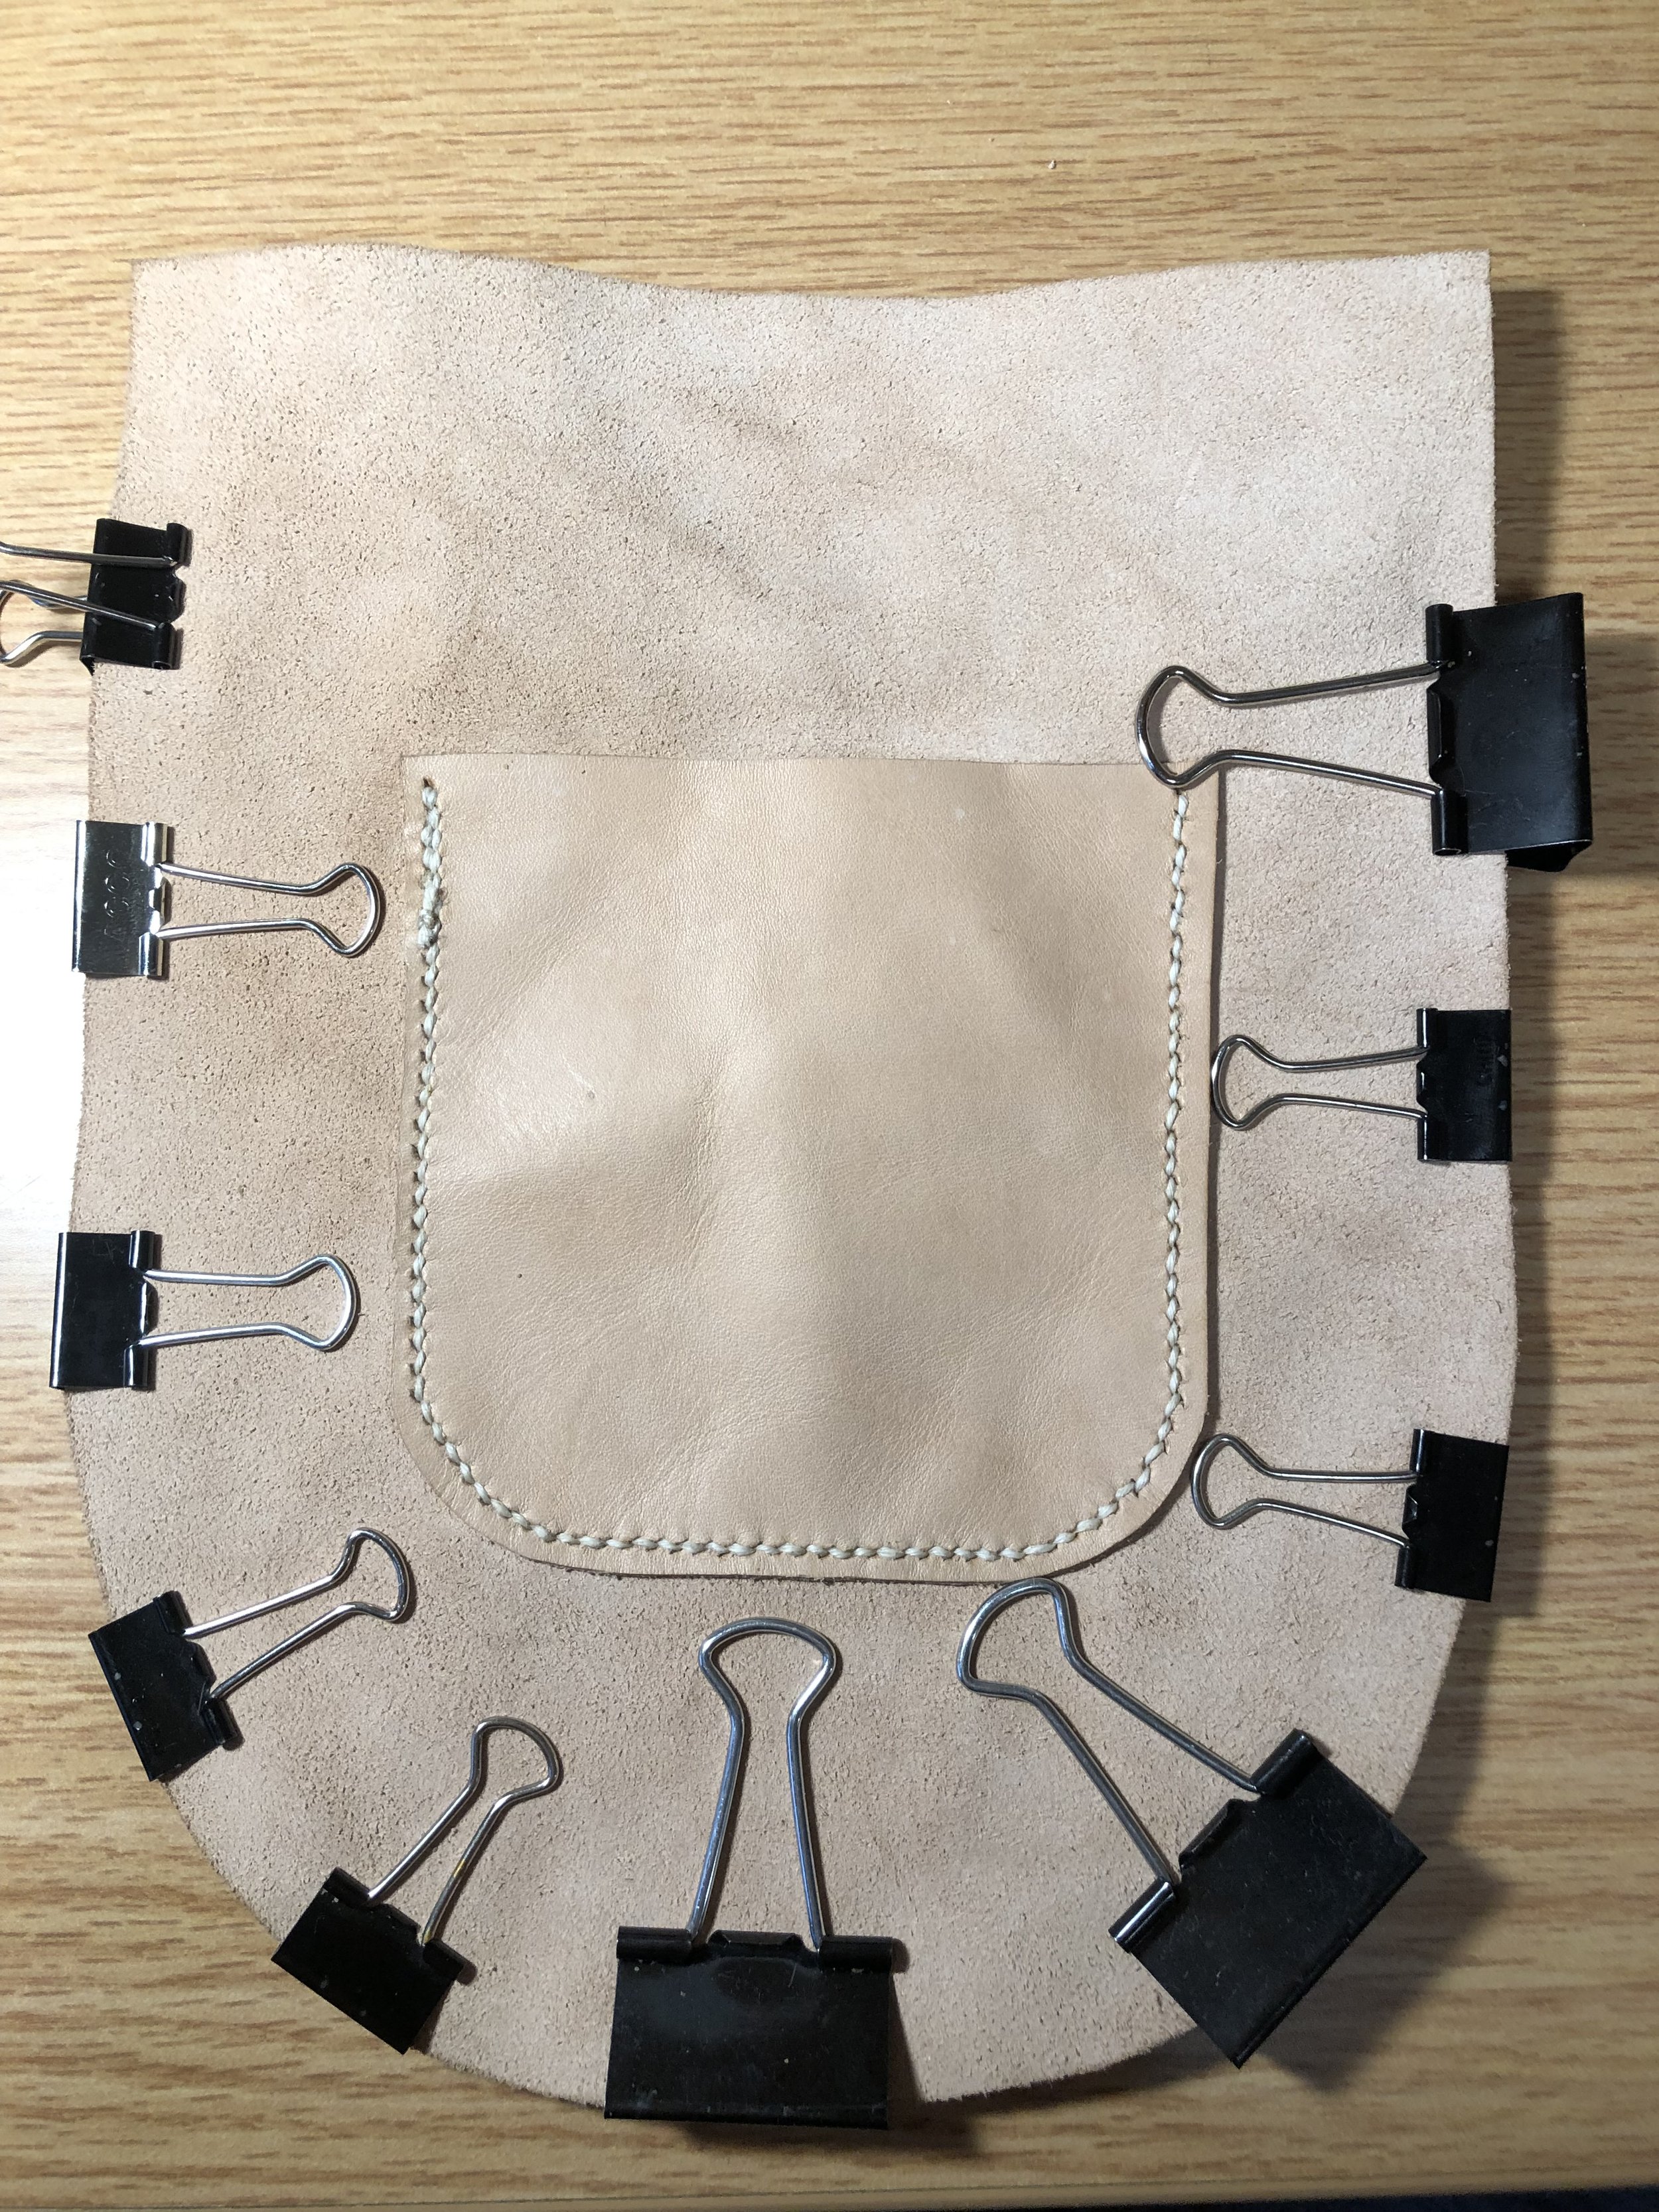
Shot Pouch #4
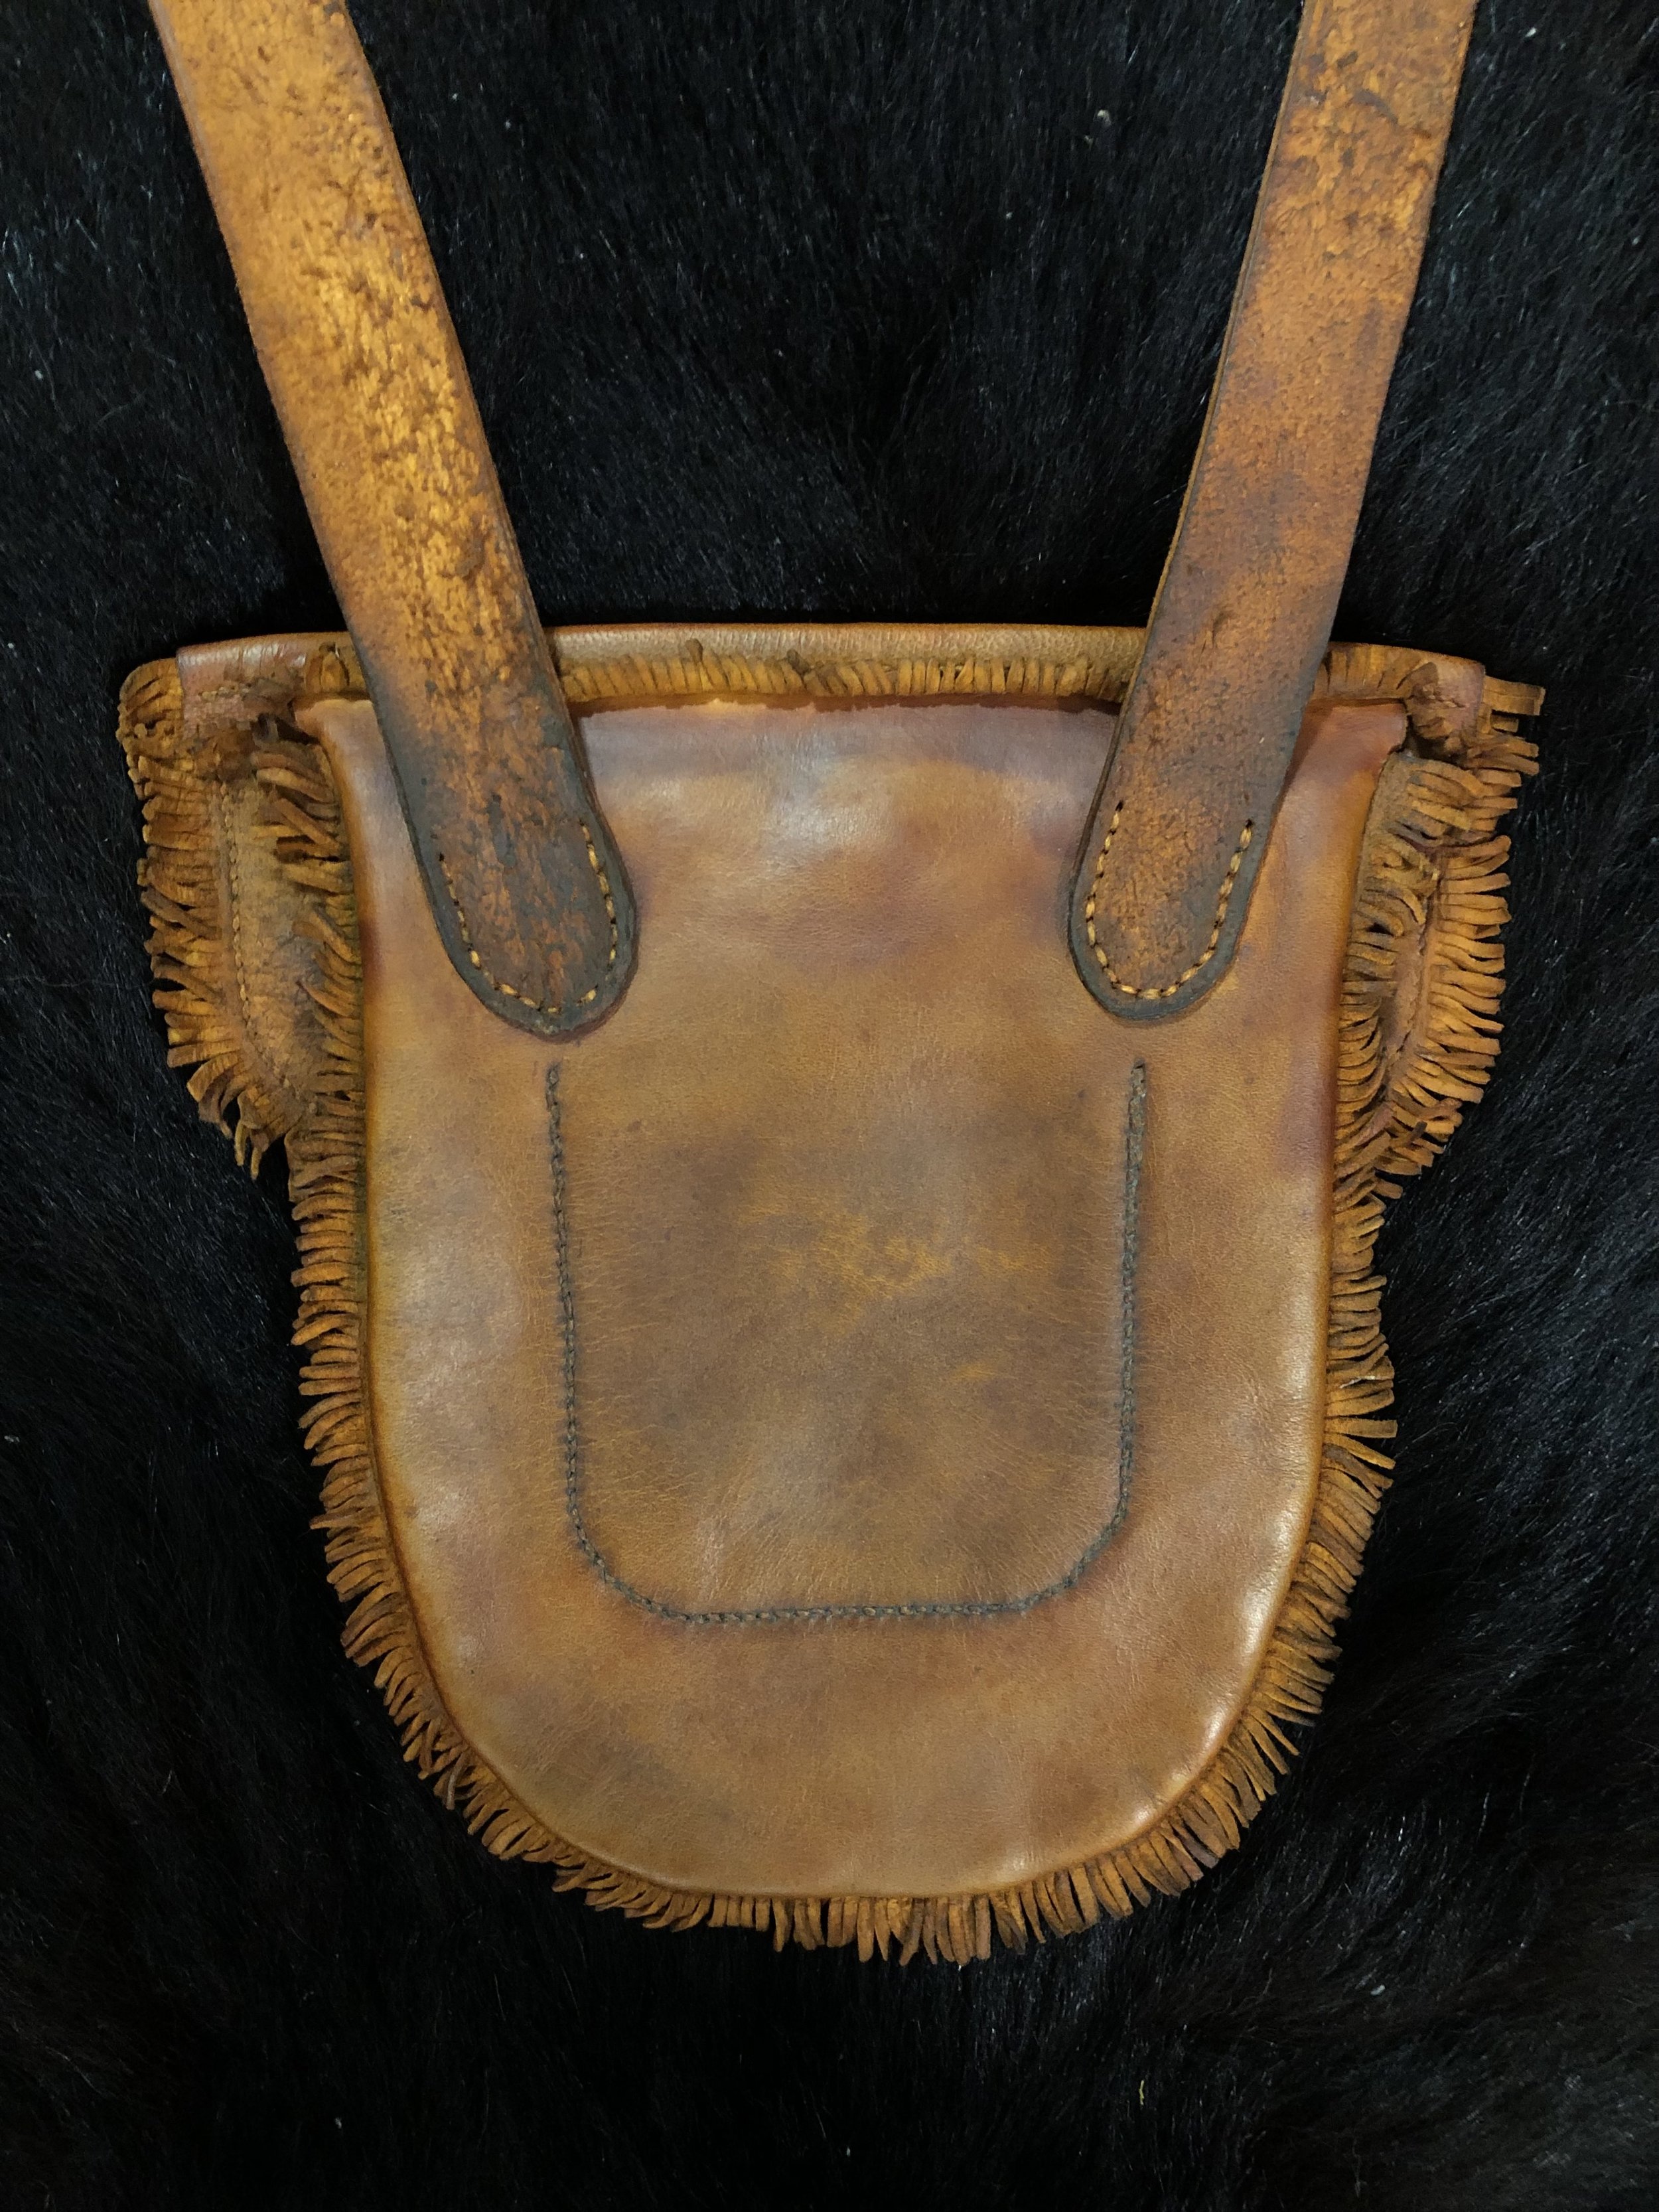
This little bag was based on originals moreso than any of the bags I had made up to this point. The smaller profile, simple button closure, and generic inner pocket are like those found in the 18th-century rather than the larger more intricate bags of the early 19th-century.


Shot Pouch #3
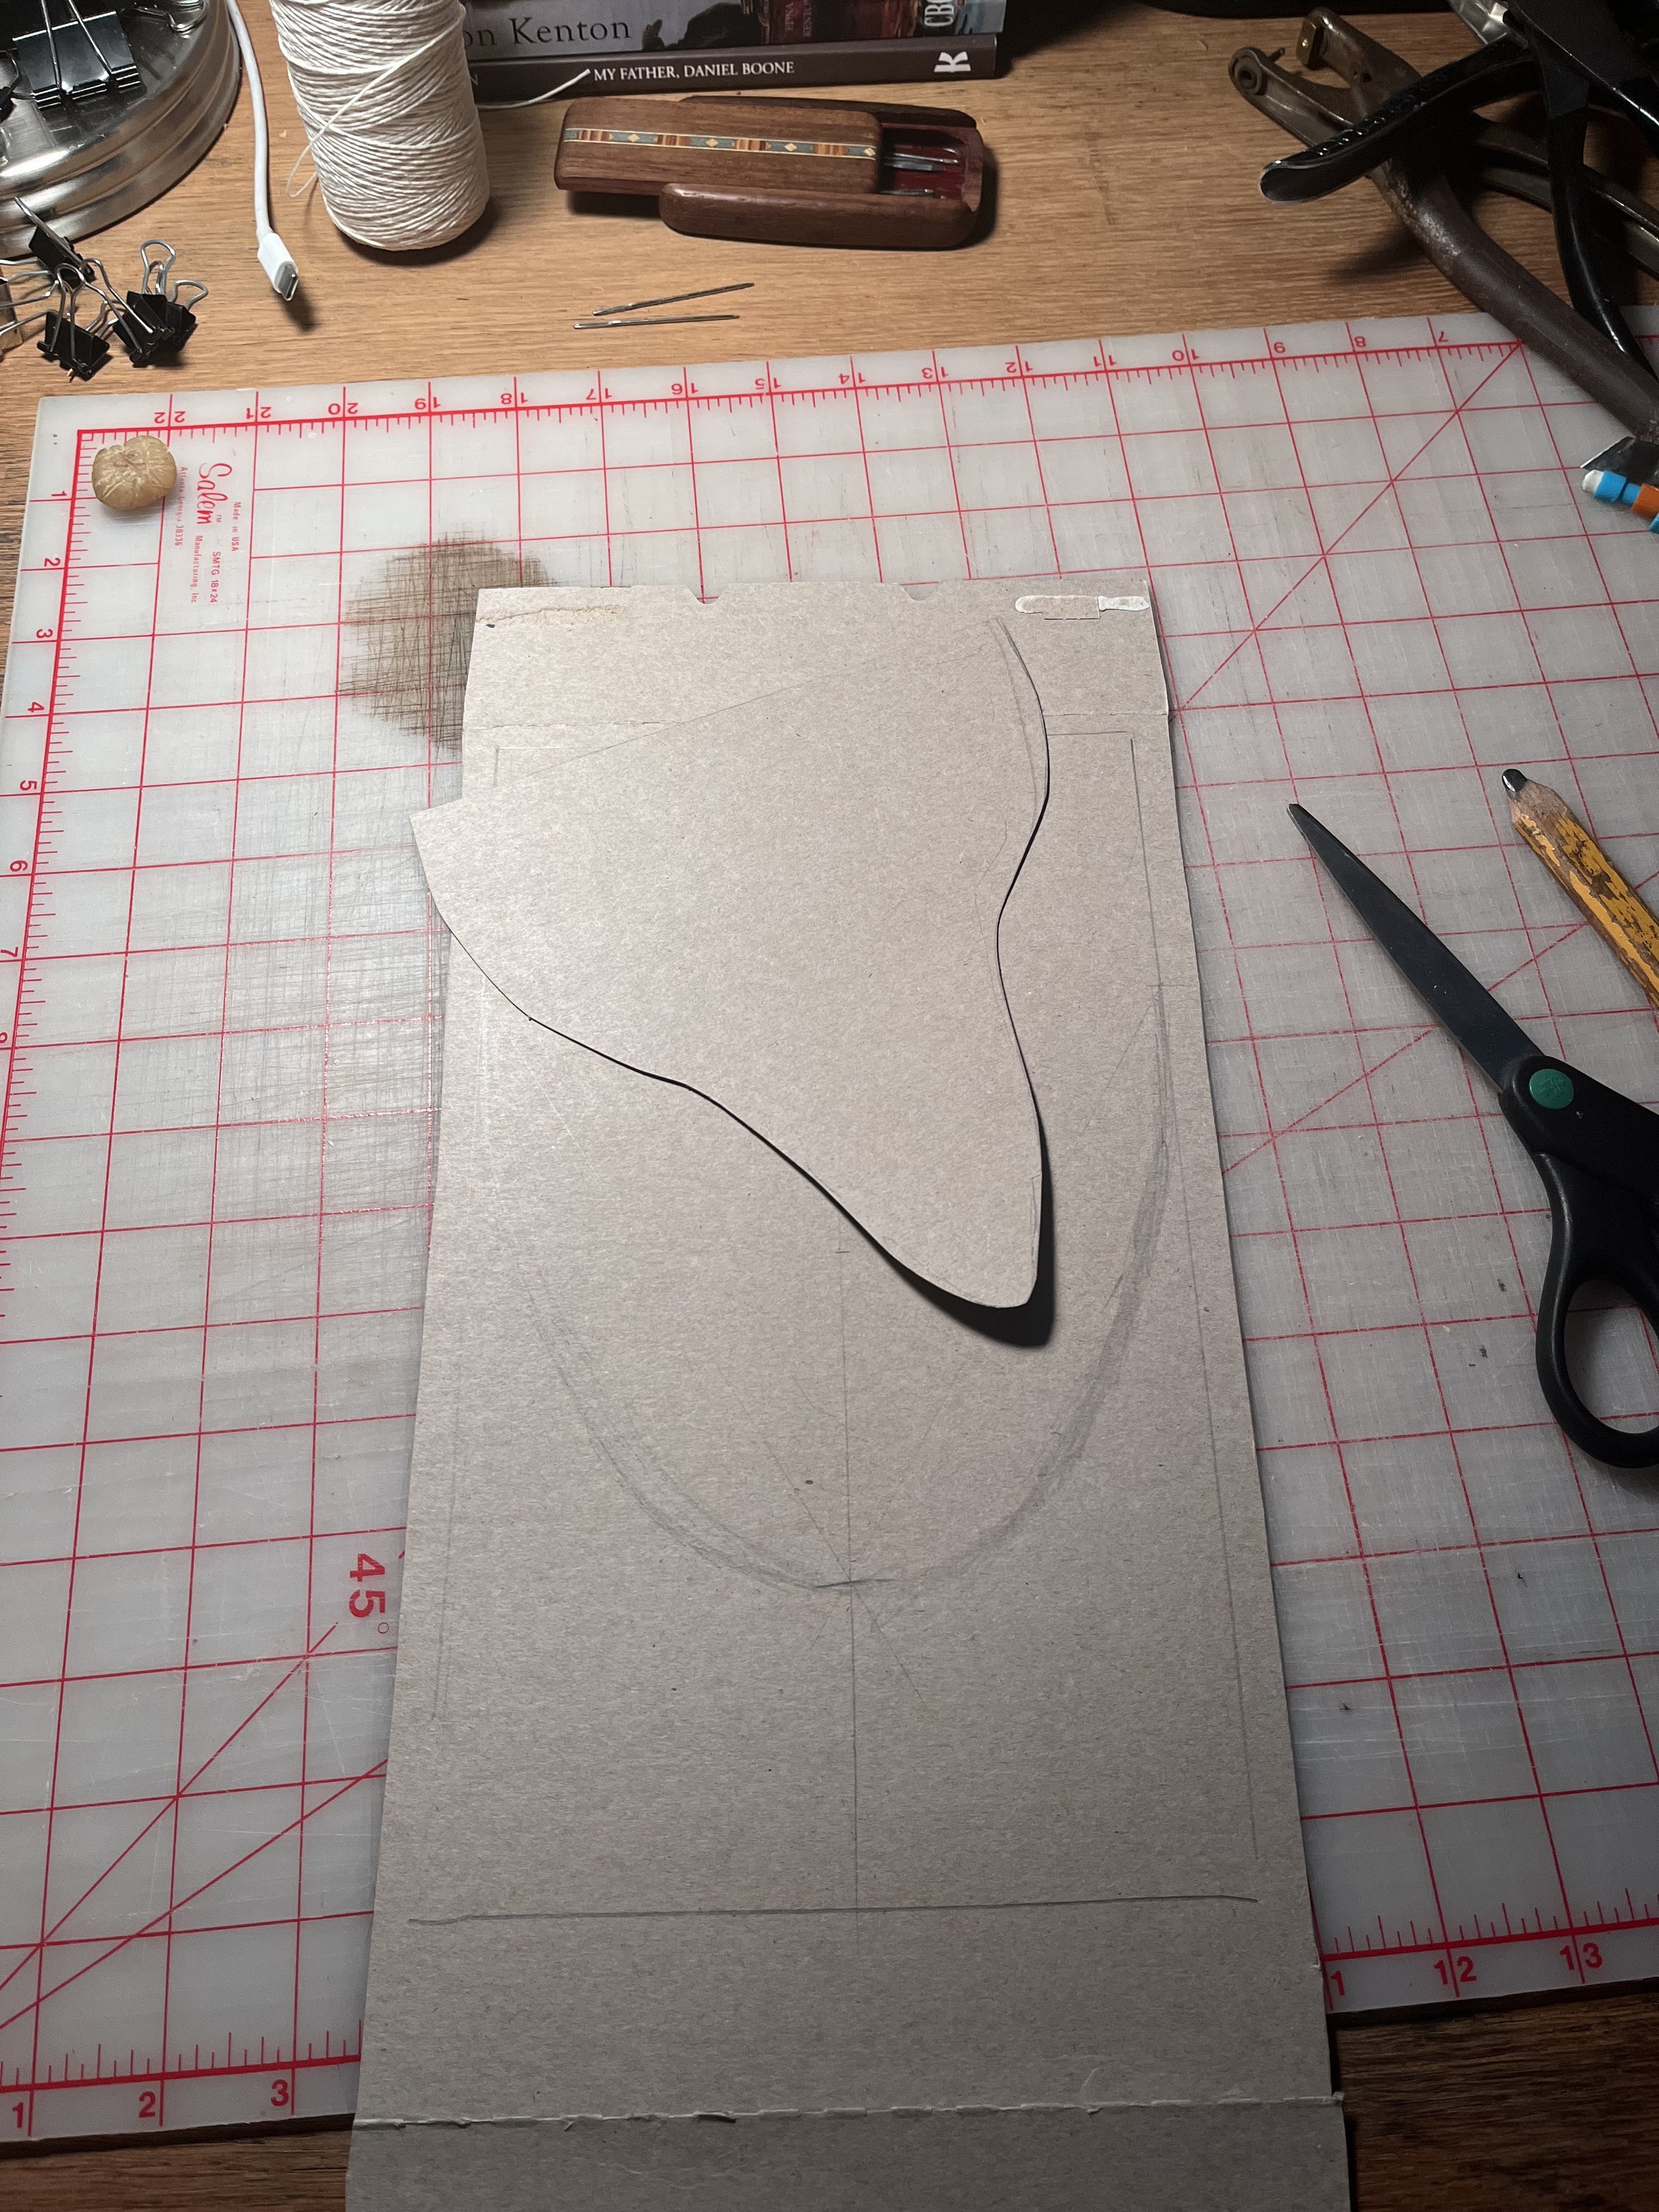
This bag was made from a prior pattern. I intended to further perfect my work with this project, but actually made more mistakes in new areas: leather turned the wrong way, small mistakes with the dye and finish, and a slight tilt to the final attached flap. Overall, between this and my second bag, I had nearly exhausted all possible mistakes, and felt confident moving forward with many lessons learned.


Tumpline #1
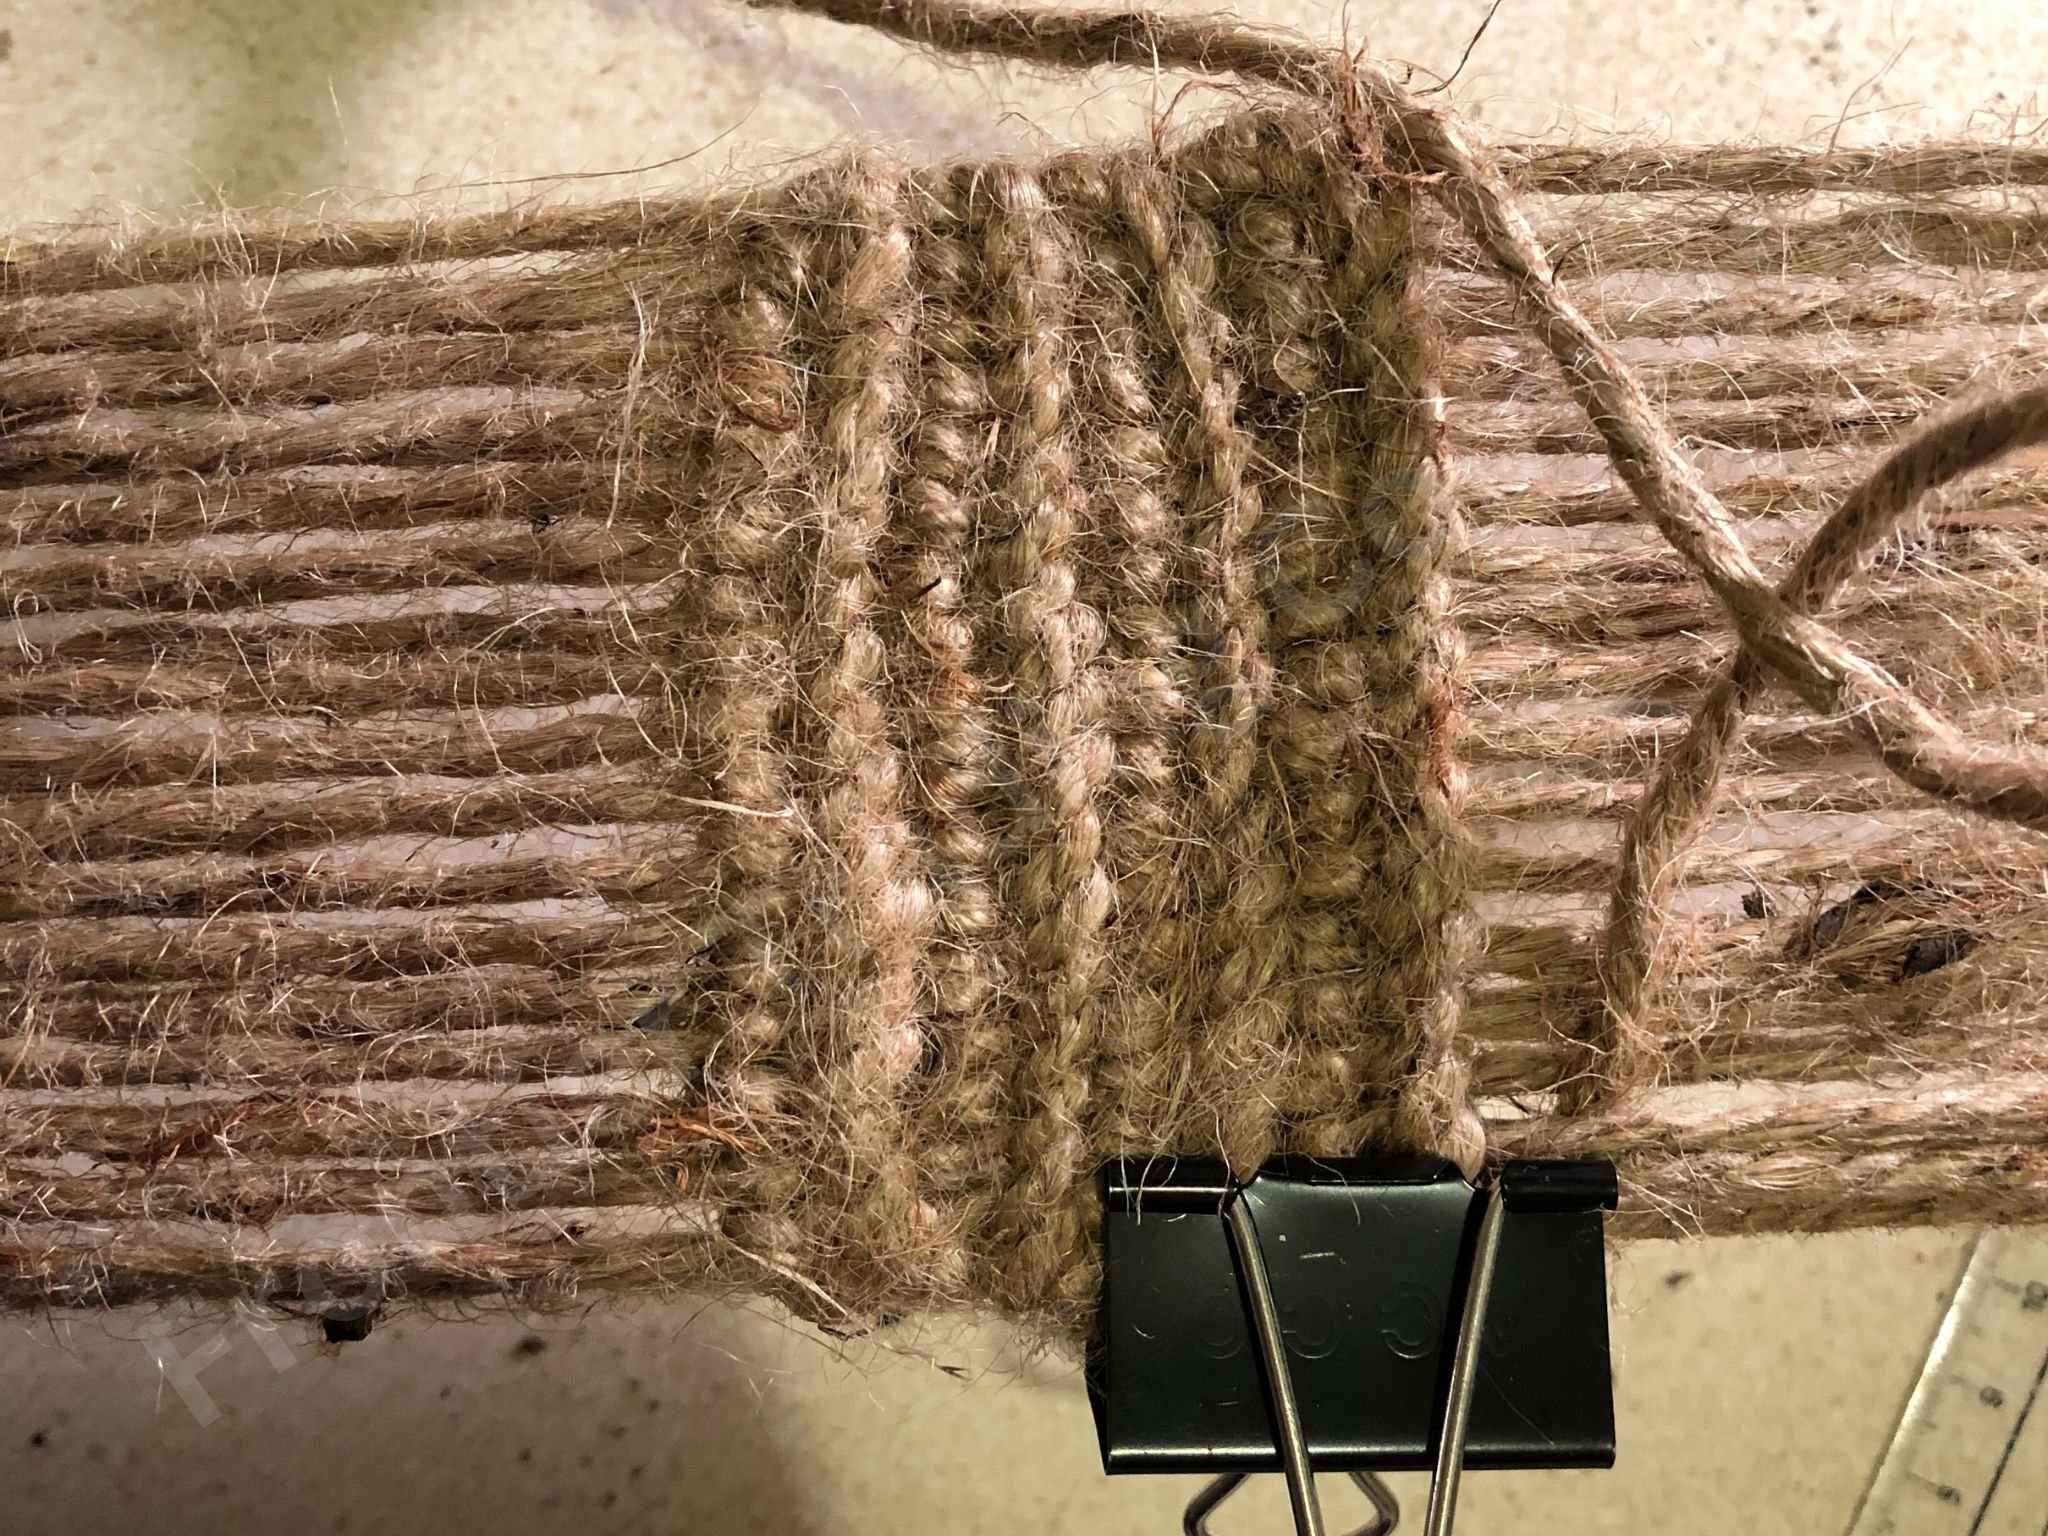
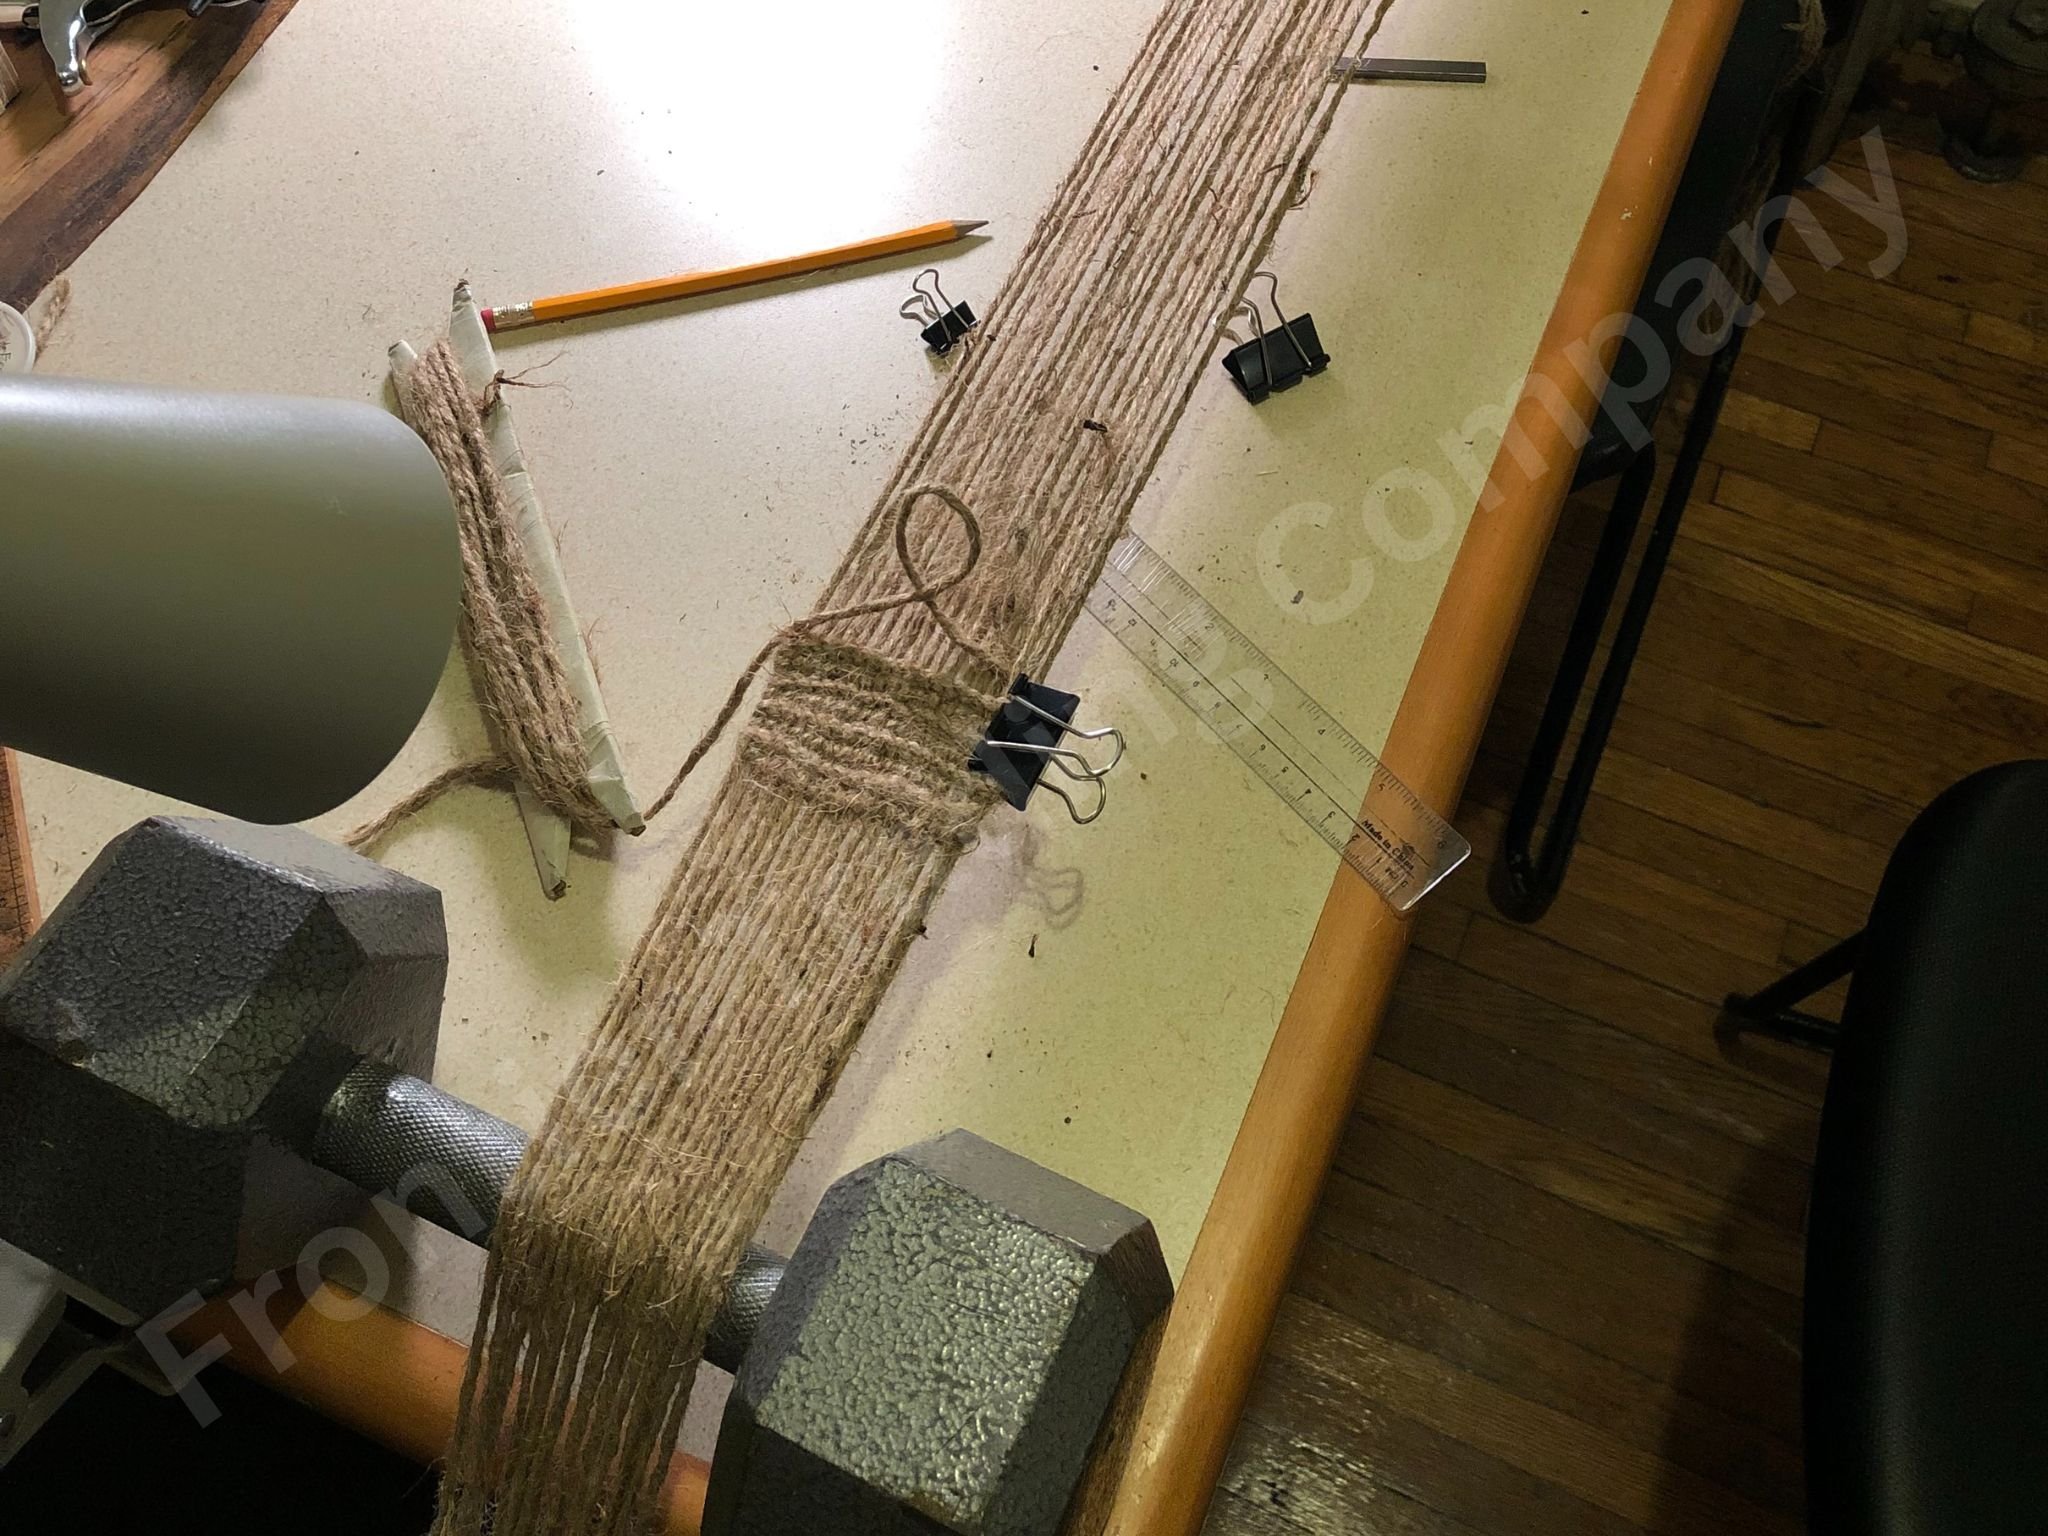
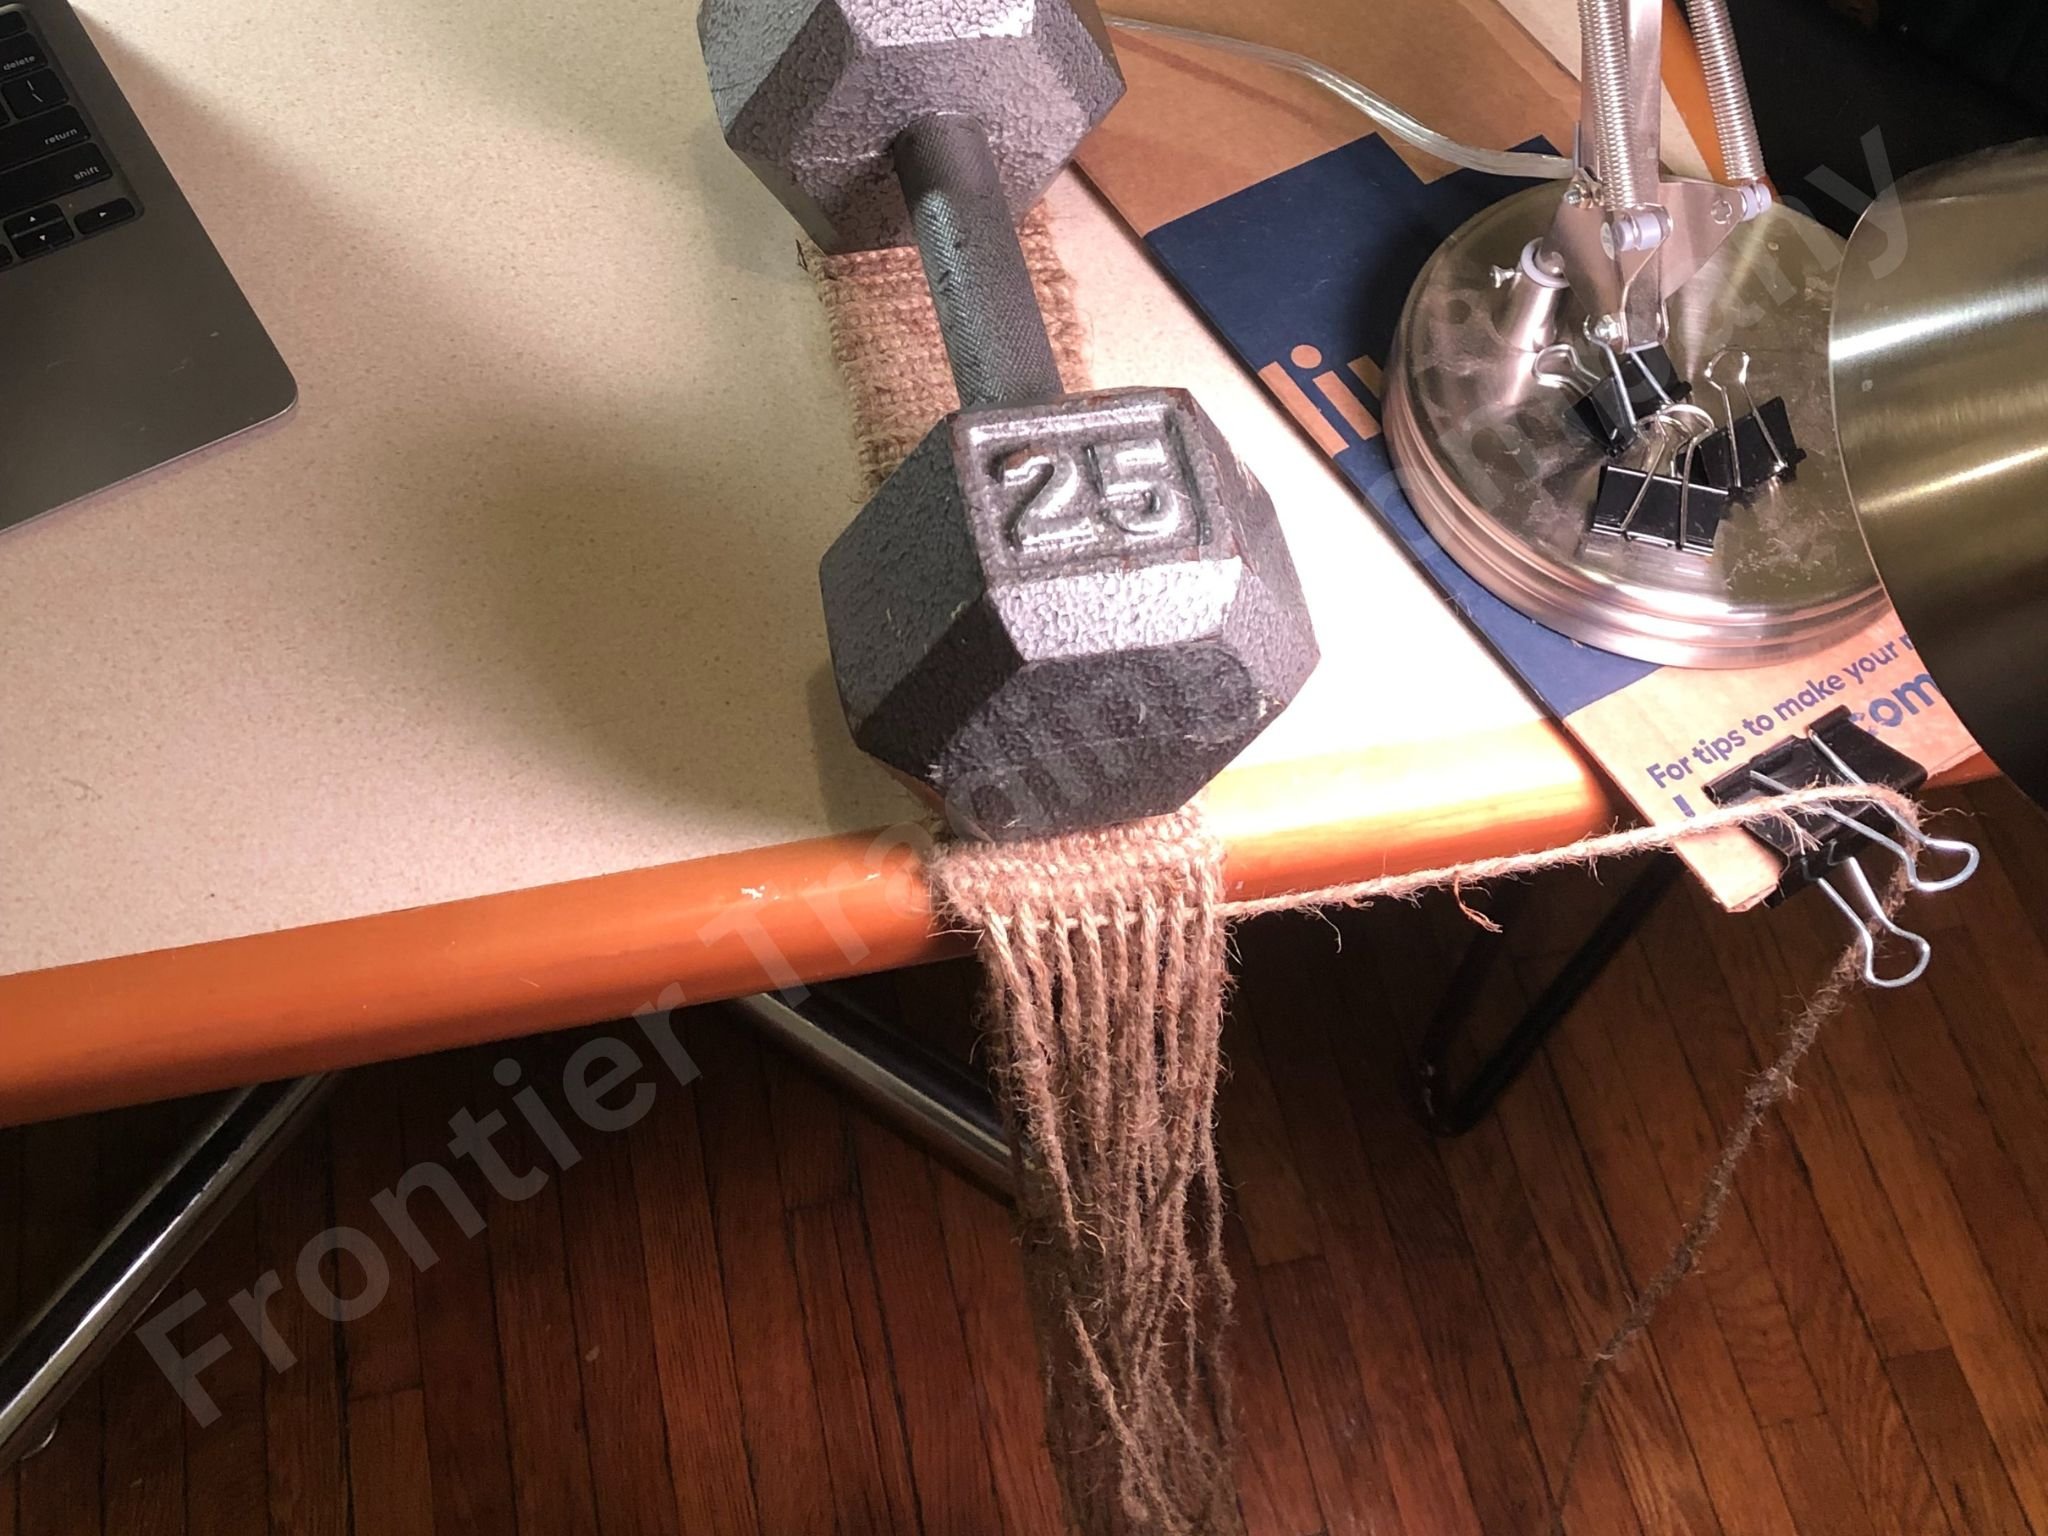
Tumplines are woven straps used to carry all manner of burdens — but especially bedrolls — in the 18th century. Weaving this strap wore my fingers raw, but I kept the stitches tight and made every stitch perfect. The finished product is around 20 feet long, with short split tails, and I was fortunate to find real hemp cordage to use, which was common in the time period, but difficult to find in a sea of sisal, jute, or other twines today. I intend to use this tumpline for the rest of my life.
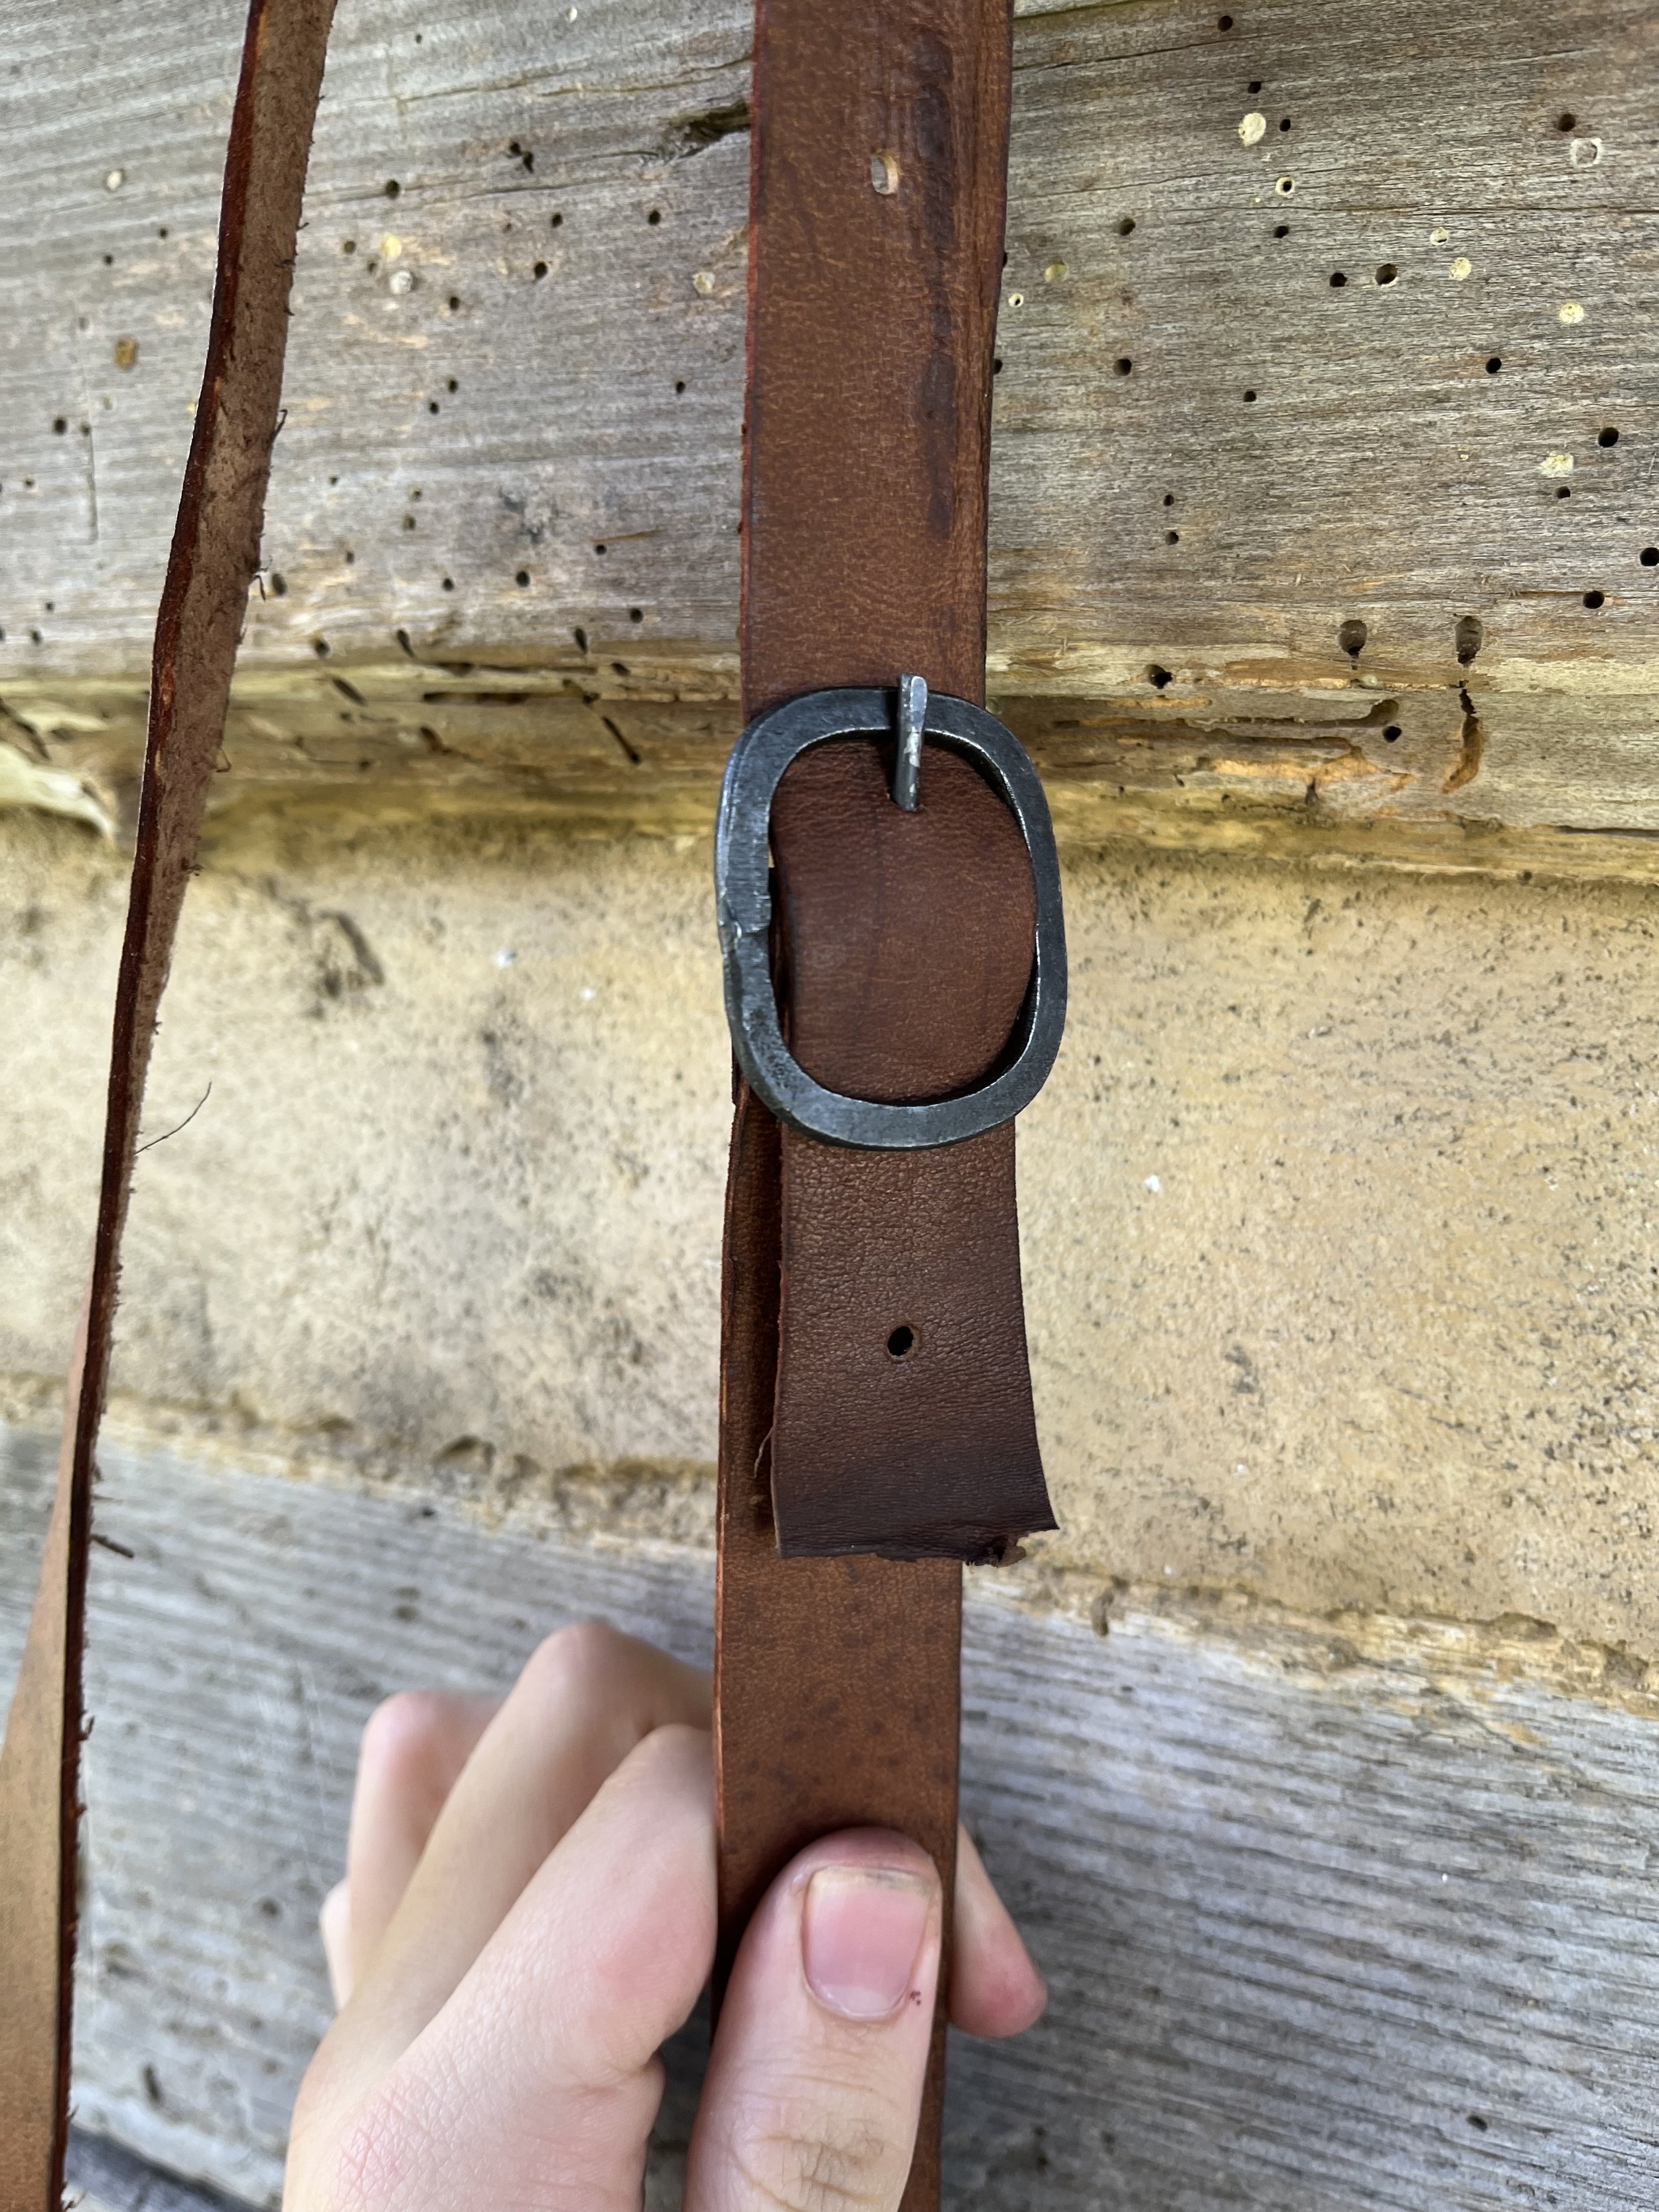
Shot Pouch #2
This project was more intentional, and I approached it with more confidence than my first bag. Like the first, it was assembled in a dorm room — but it was more refined, with fringe throughout the construction, welts, an interior pocket, artificial aging and wear, and a buckle to adjust the strap, which was of a thicker leather than before. Unlike my first bag, the dye from this project did not run nearly as much as my first — a definitive step in the right direction.


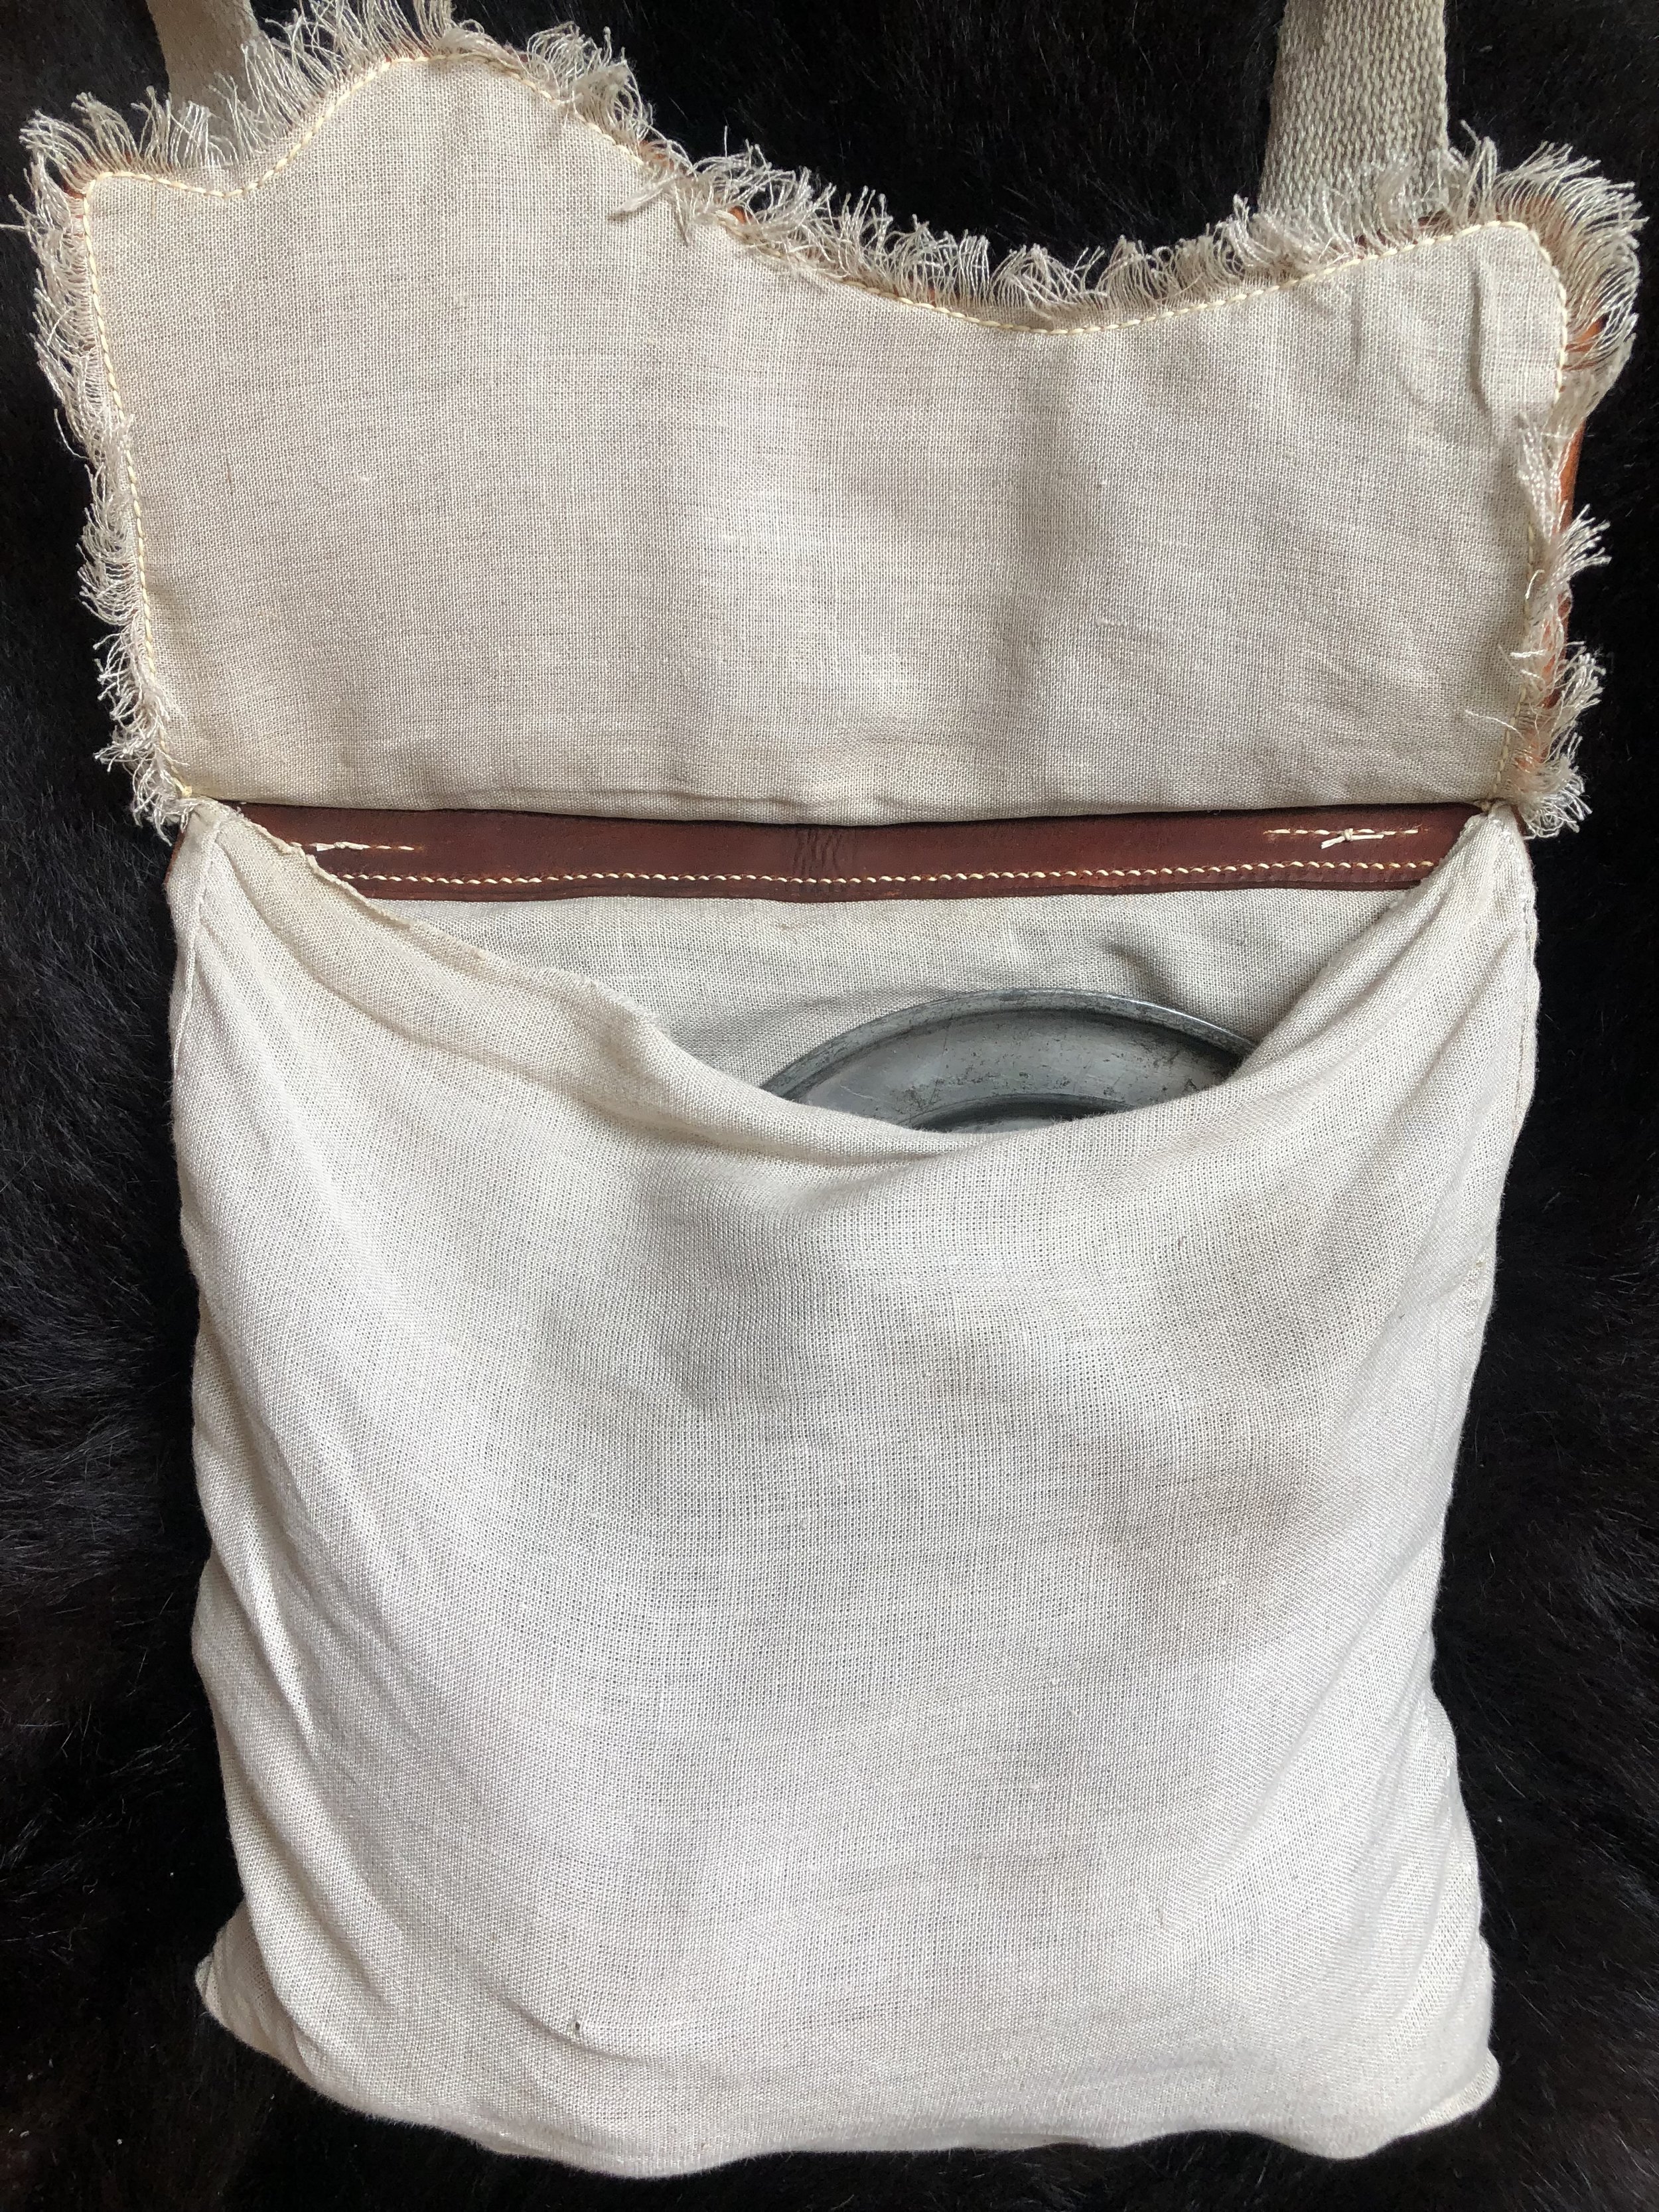
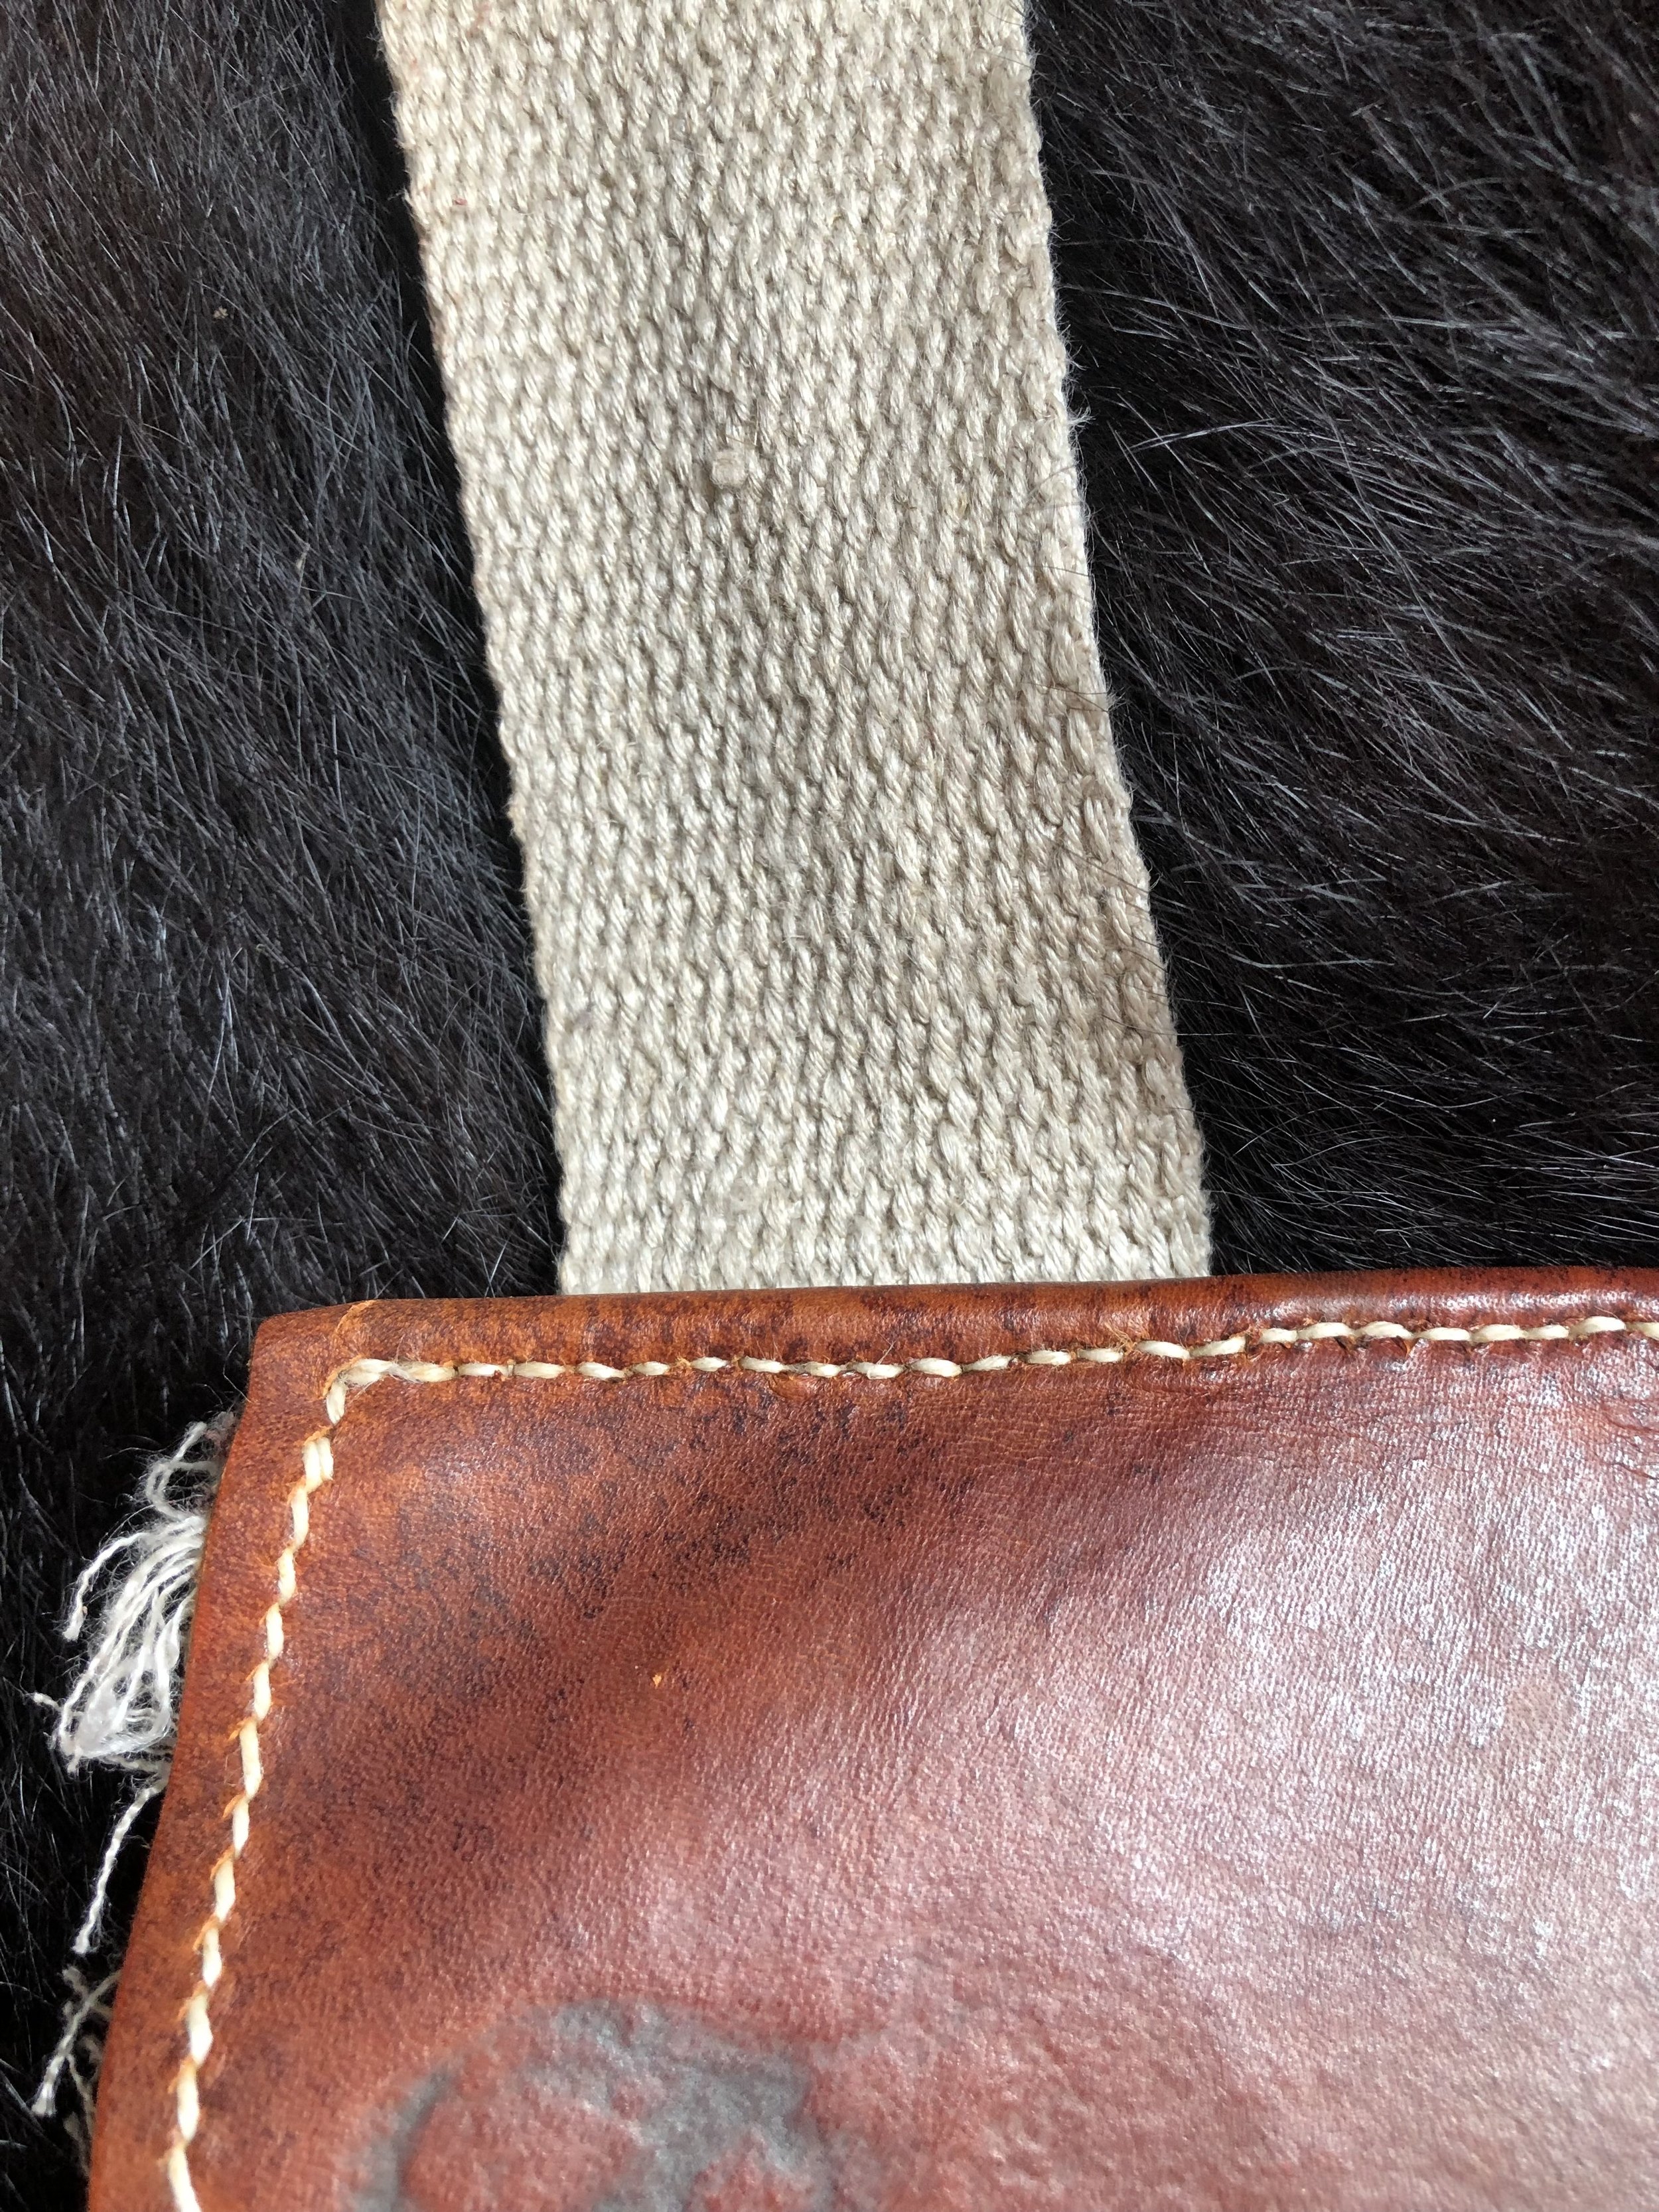
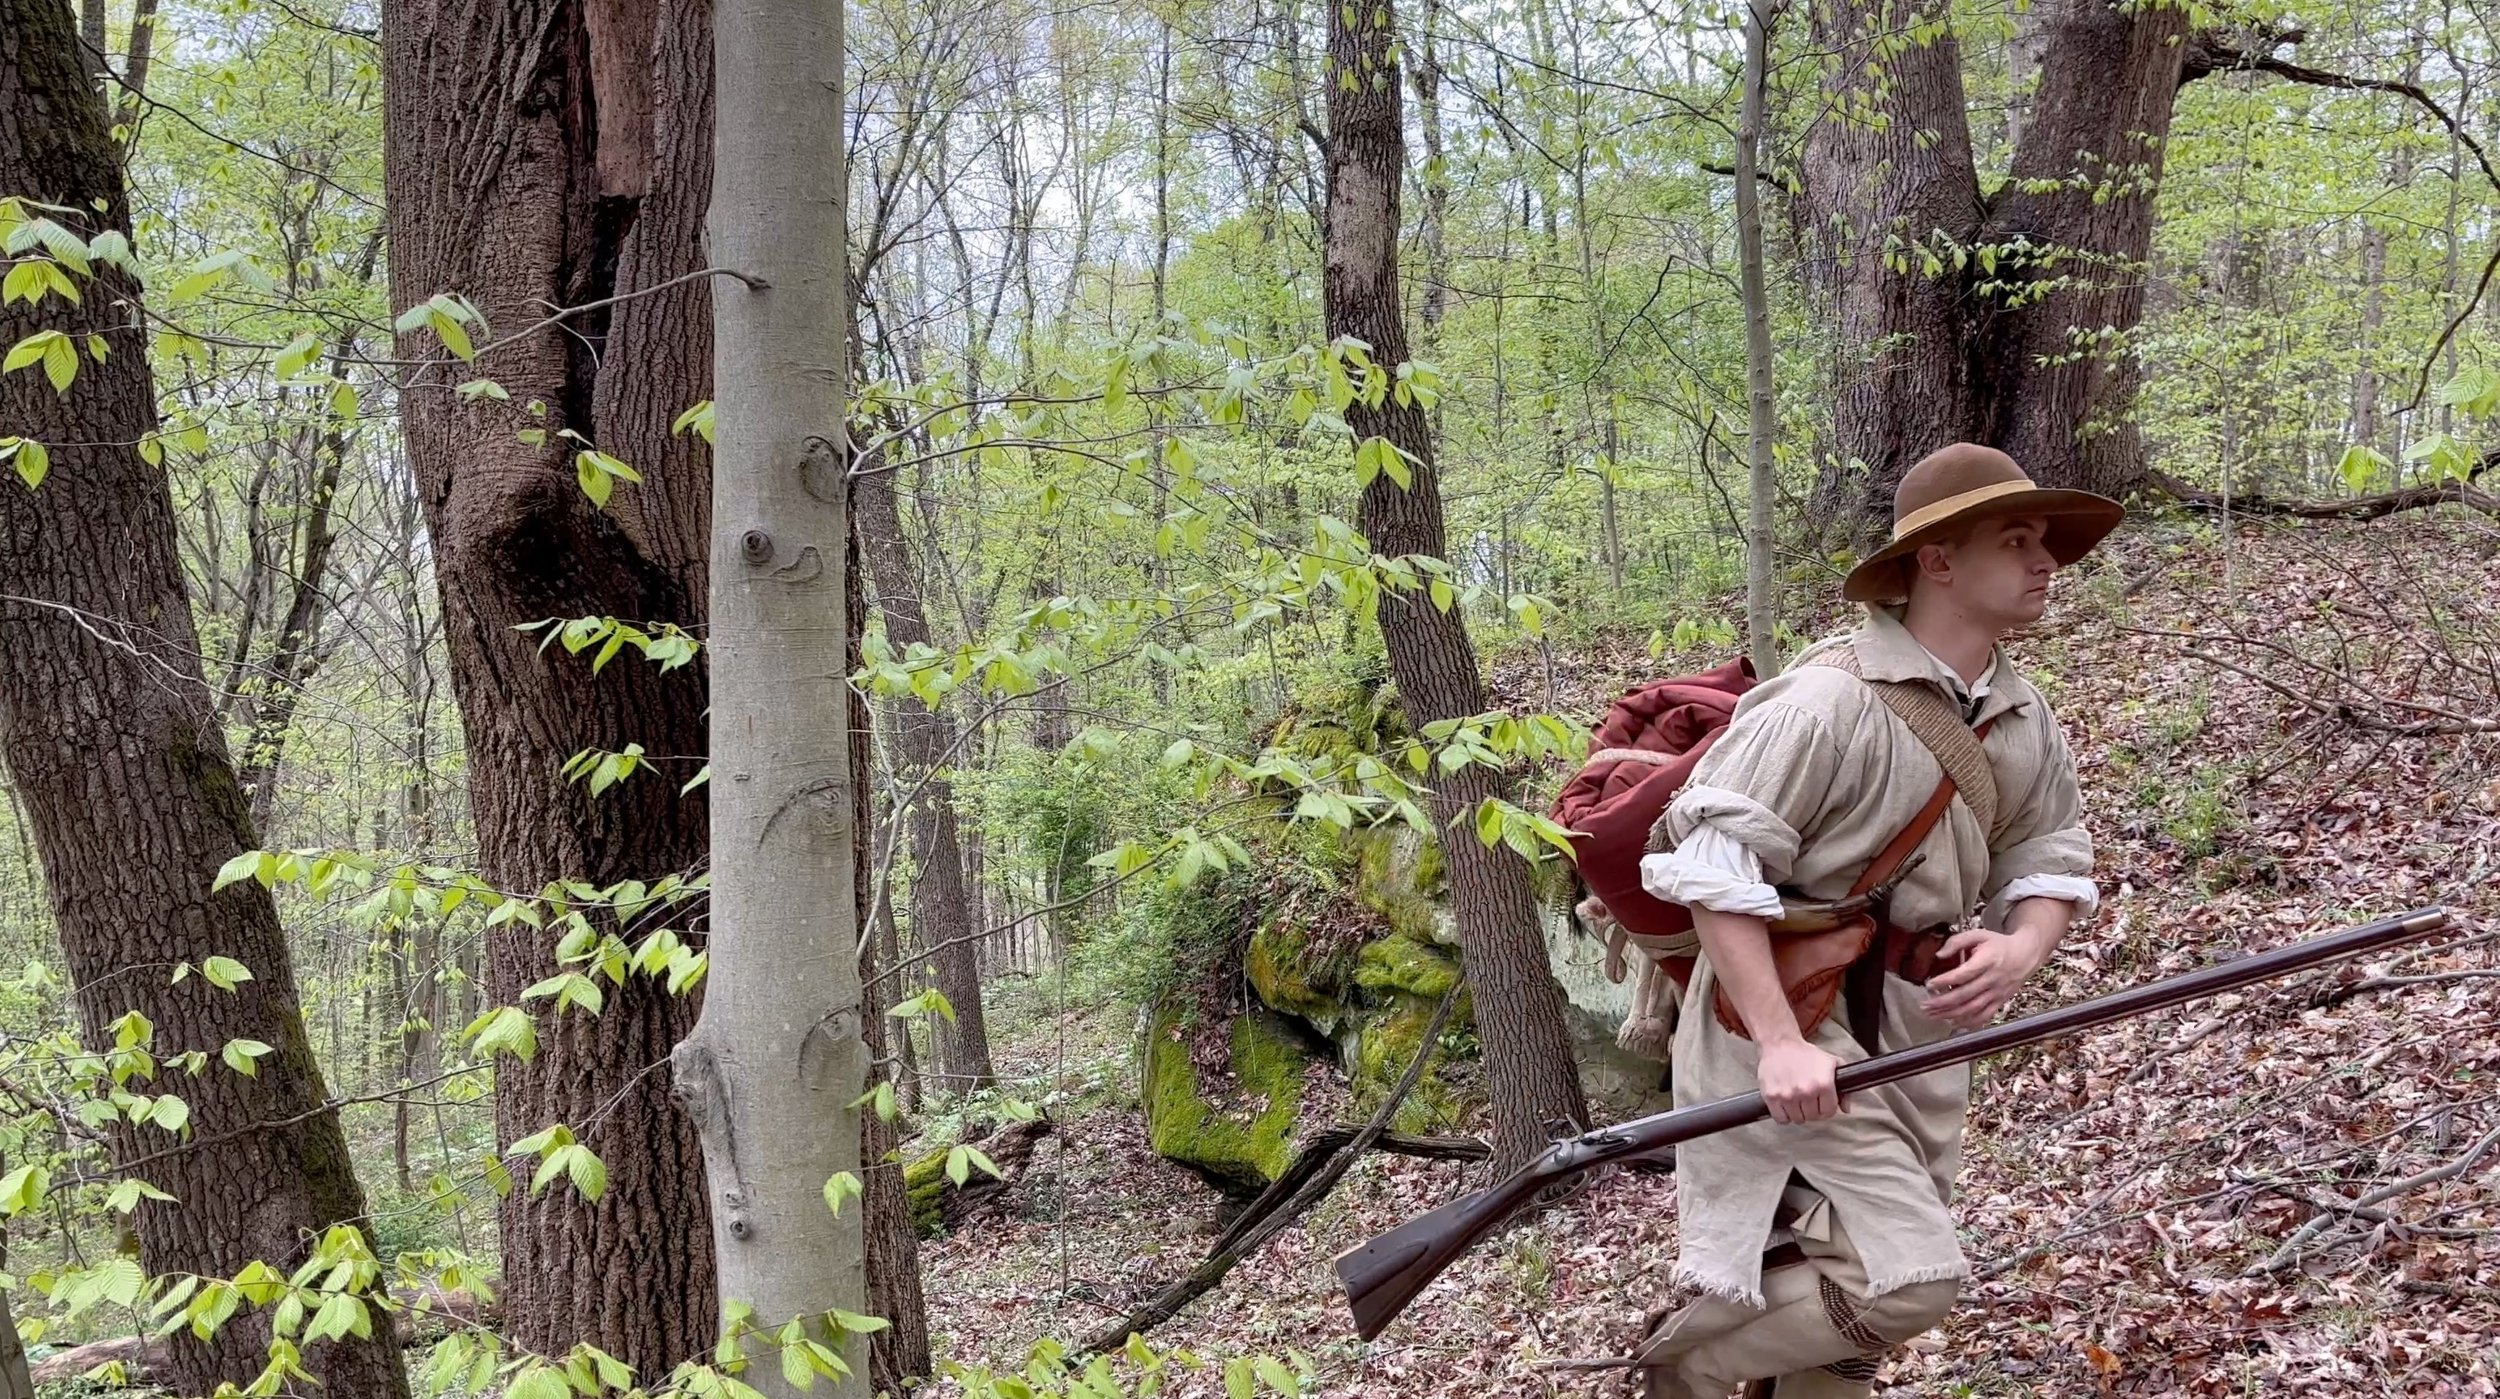
Haversack #1
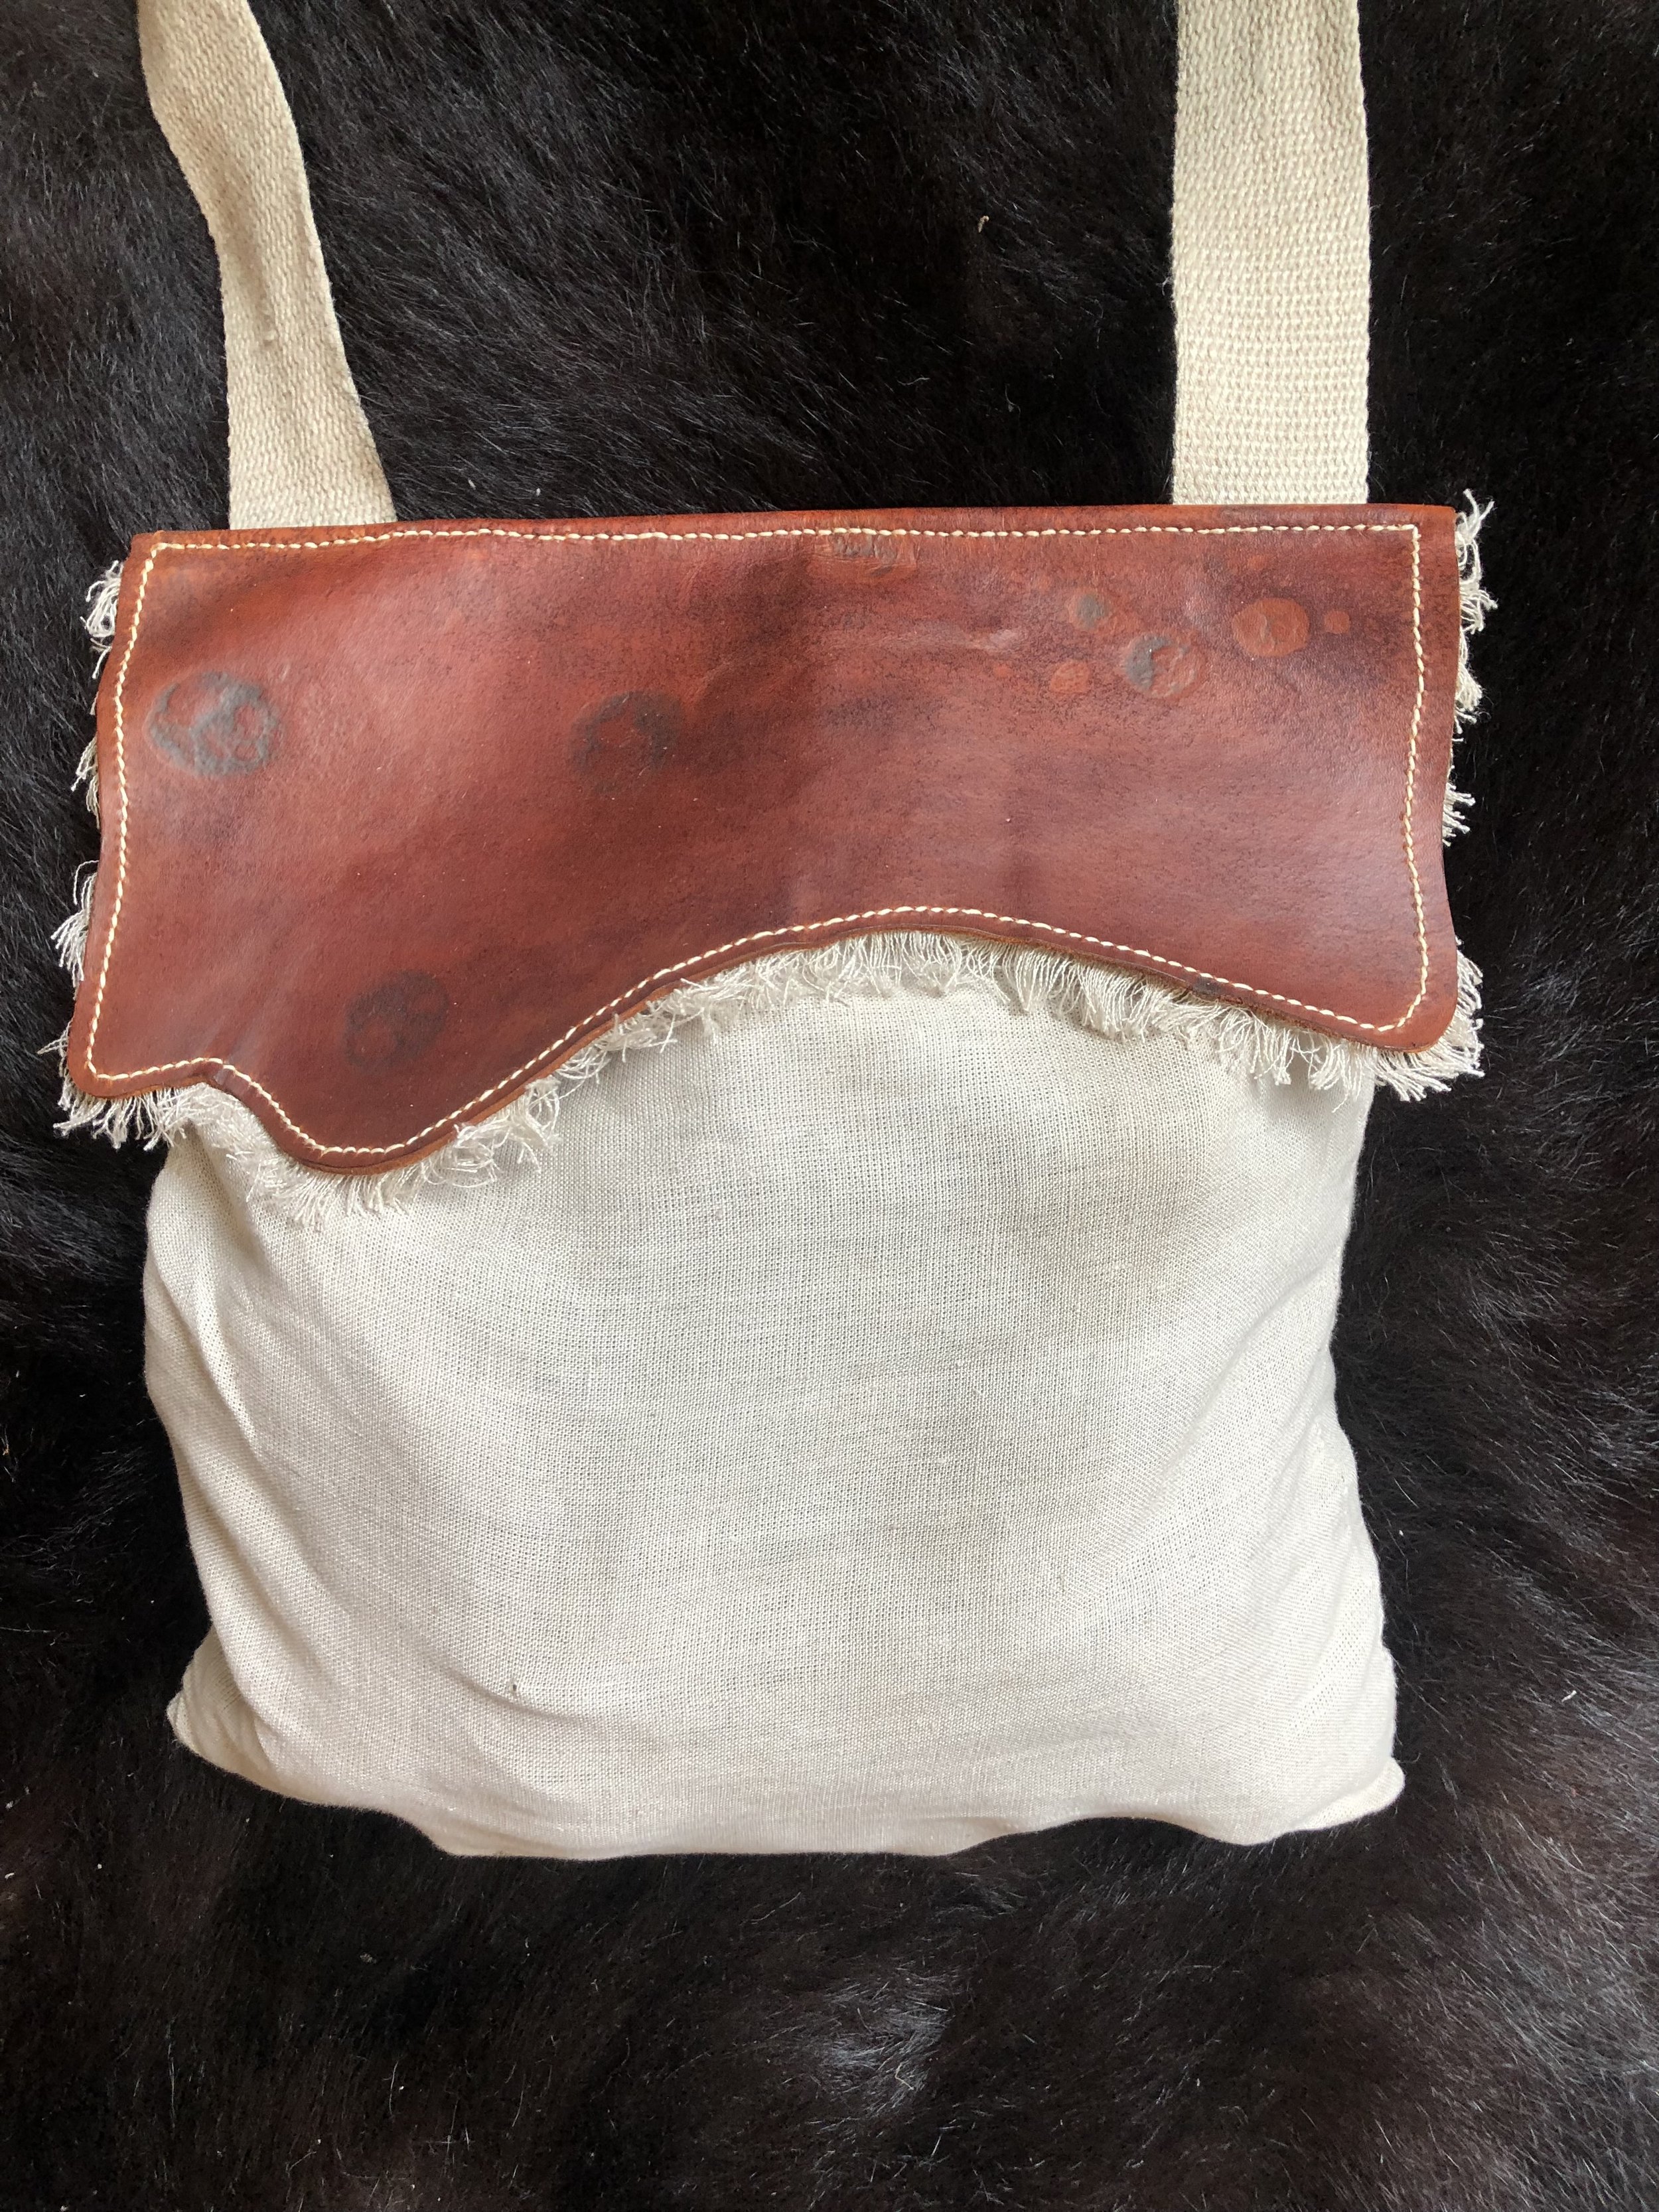
My first haversack was a learning experience. I combined fabric and leather for the first time and learned to sew to assemble the bag itself. the bag is 100% linen, stitched with linen thread and paired with aged veg-tan leather dyed brown. I added a strap of hemp webbing. I completed this project the morning of a summertime camp and put it through the wringer that day — my stitches were lacking, and I have since changed the stitch that I use on all fabric projects.


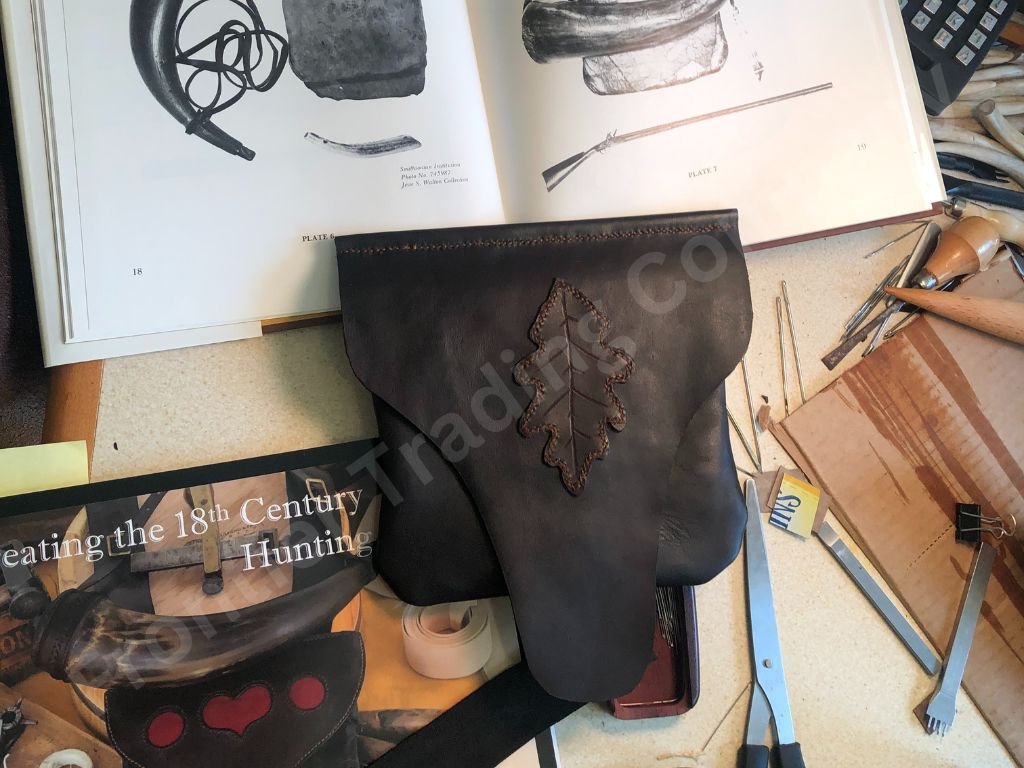


Shout Pouch #1
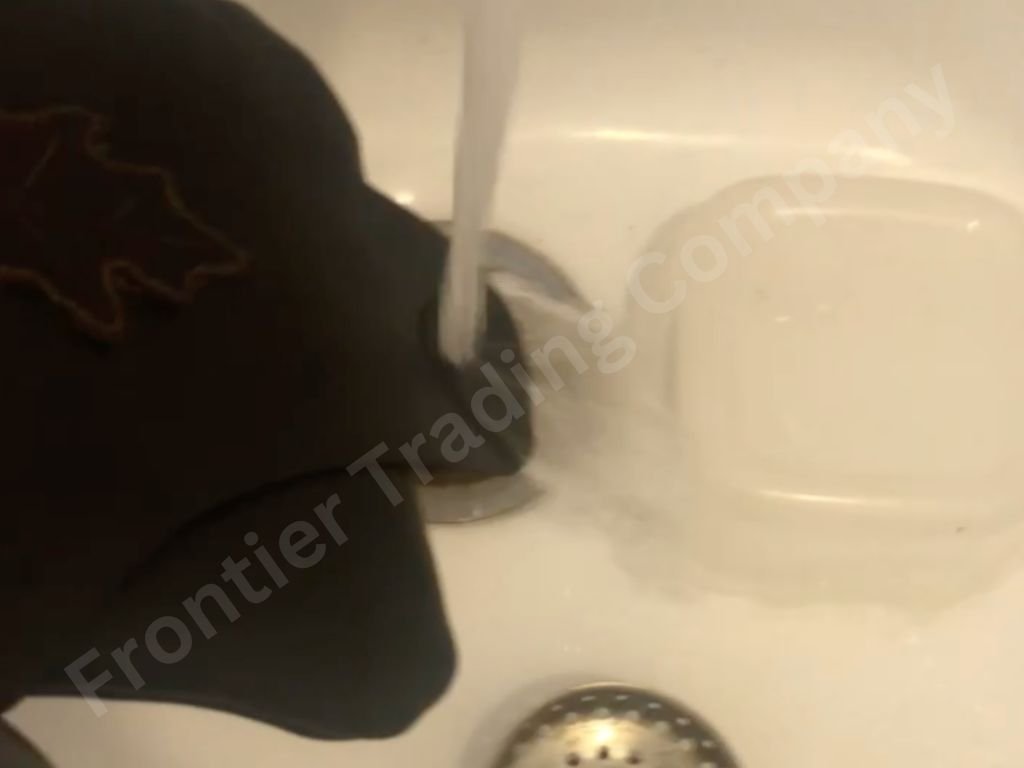
My first pouch was built out of necessity after assembling my flintlock. I went all-in on this project by purchasing tools and more leather than necessary in anticipation of building more bags in the future. The white oak leaf was traced from a leaf found at the summer camp where I first fell in love with living history. This bag did not have a welt and the dye ran in its first rainstorm — suffice it to say I learned a lot on this project.


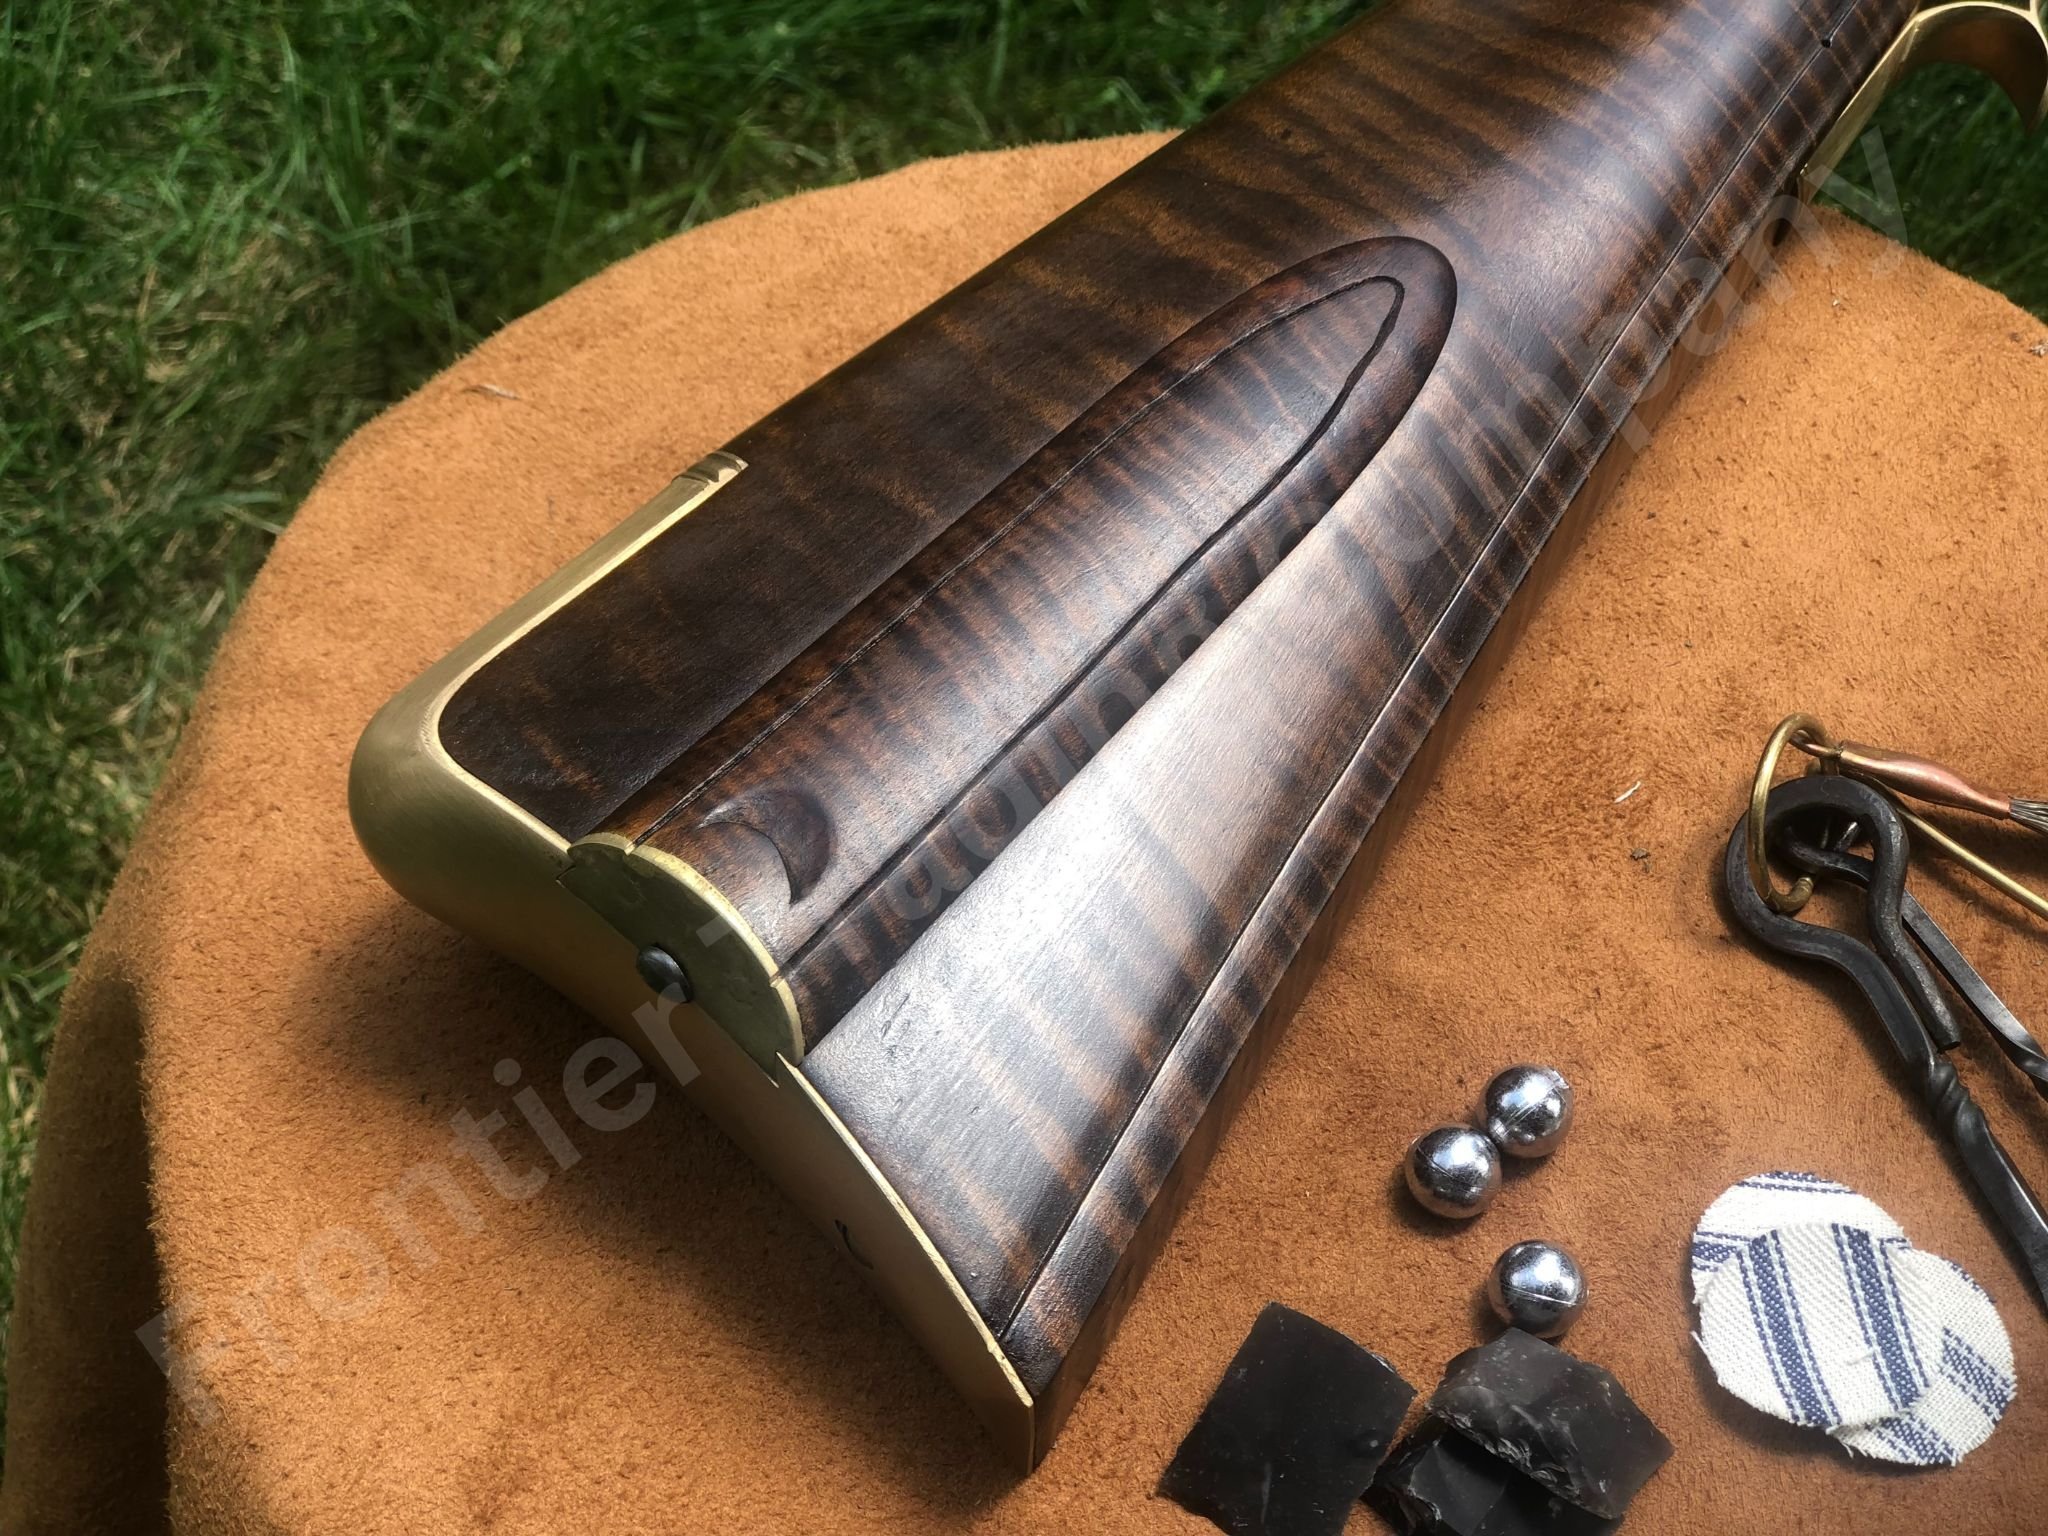
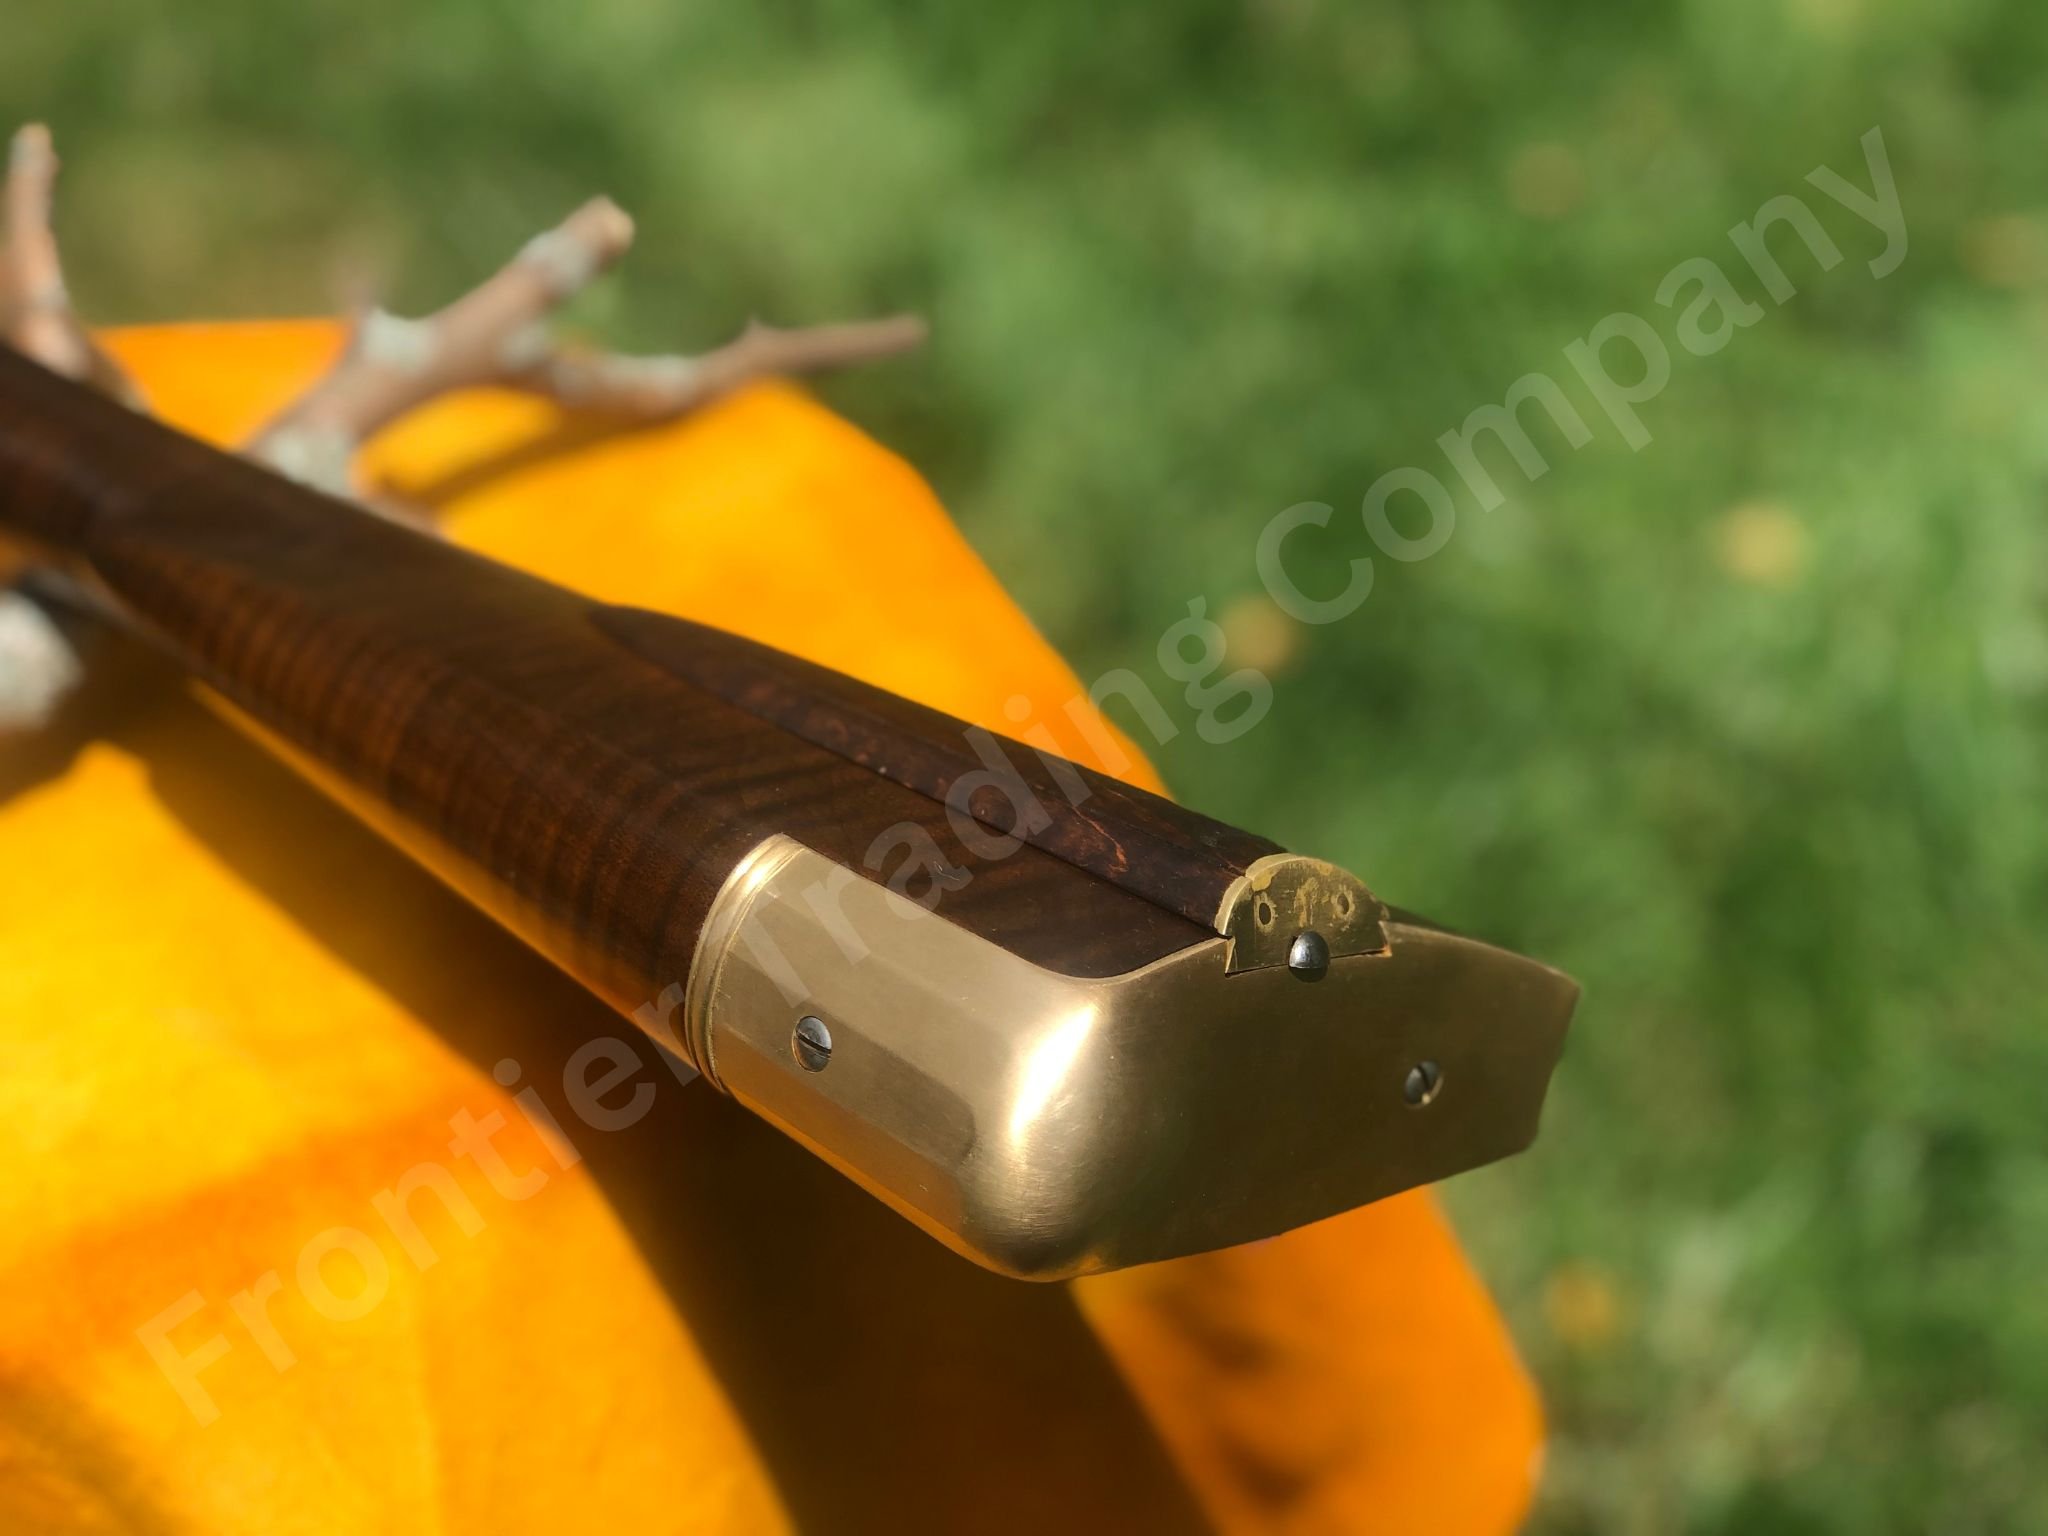


Rifle #1
My first rifle build was more of an assembly, really – a .50 caliber Kibler colonial kit stocked in curly maple. This was my first forray into muzzleloading — I had never even fired one until i pulled this trigger — and I feel fortunate to have assembled it under Wallace Gusler’s tutelage at the NMLRA WKU seminar. You can find a nearly hour-long summary of the WKU class experience on my YouTube channel.